
Beautiful Plants For Your Interior
Beautiful Plants For Your Interior
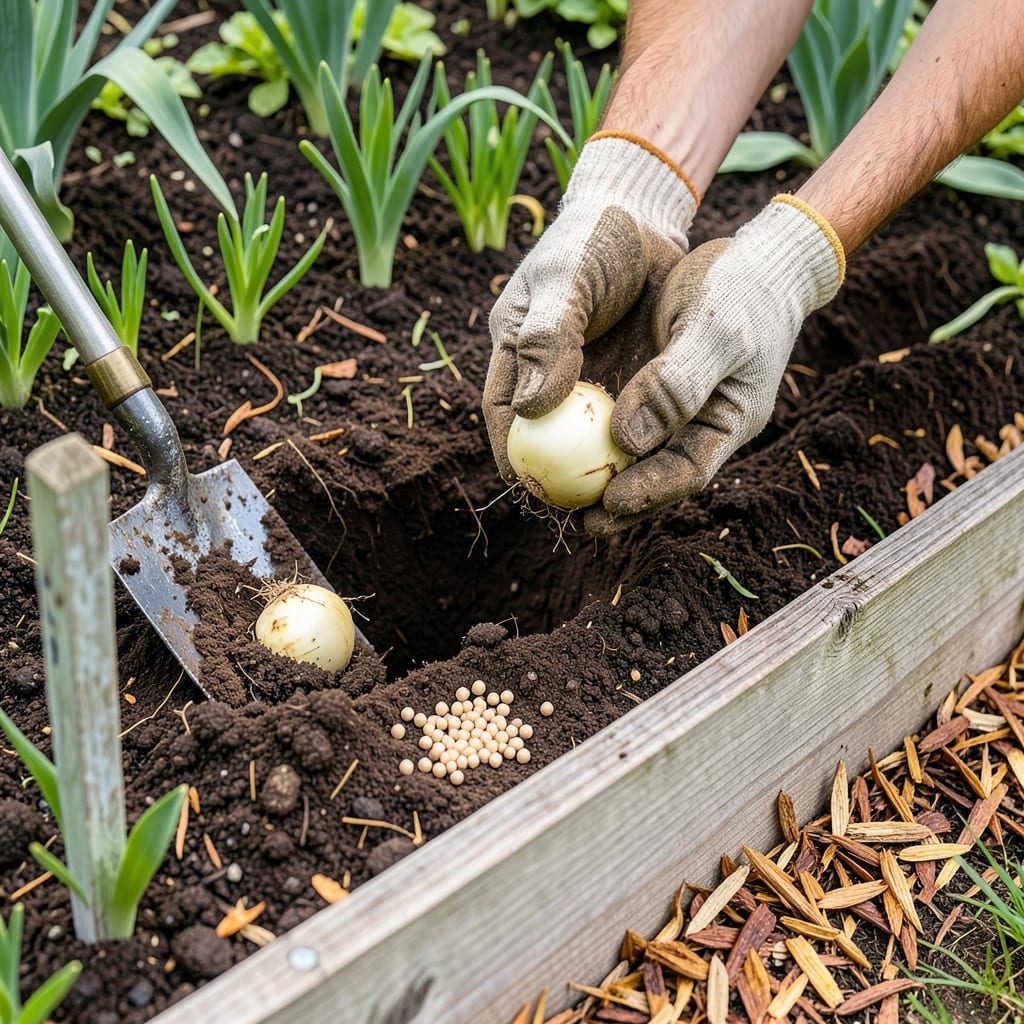
Moving gladiolus corms feels like giving your summer garden a second chance. I’ve relocated mine three seasons running, and each time, the blooms come back taller and more vibrant—as long as you nail the timing and technique. Spring transplanting, just as the soil warms to about 60°F, lets the roots establish before the heat kicks in, while fall moves (in warmer zones) can protect corms from winter rot.
The difference between thriving spikes and sad, stunted stems? Preparation. A sunny spot with well-draining soil, a handful of compost worked in, and gentle handling of those papery corms—no rough tugging, no deep planting. You’ll see the first sword-like leaves pushing up within 10–14 days, and by midsummer, those iconic flower spikes will tower over everything else in your beds.
📚 In This Guide
Moving gladiolus corms is simpler than you think—follow this method for vibrant blooms next summer.
Transplant gladiolus corms in early spring, about 2-3 weeks before your last expected frost. The soil should be workable but not waterlogged. I like to pick a day when the weather forecast shows consistent daytime temperatures above 55°F—this prevents shock to the corms.
Select a location with full sun (at least 6-8 hours daily). Gladiolus thrive in well-draining soil, so avoid low spots where water pools. If your soil is heavy clay, mix in 2-3 inches of compost to improve drainage before planting.
Use a garden fork to gently loosen the soil around your gladiolus clump, starting about 6 inches away from the stems to avoid slicing into corms. Work your way underneath the clump and lift it out in one piece. Shake off excess soil, but don’t rinse the corms—you want to keep their protective papery covering intact.
Inspect each corm for firmness. Discard any that feel soft or show signs of rot. You’ll notice the old corm (flattened and shriveled) attached to the new one (plump and rounded). Gently separate them by hand—no tools needed. The new corm is what you’ll replant.
Dig holes 4-6 inches deep and space them 6-8 inches apart. Place each corm in the hole with the pointed end facing upward. This is where the new growth will emerge. If you plant them upside down, they’ll still grow but will take much longer to surface.
Cover with soil and firm gently with your hands. Don’t compact the soil—just ensure good contact between the corm and surrounding earth. Water thoroughly after planting until the soil feels moist 3-4 inches down. This initial deep watering helps settle everything in place.
Keep the soil evenly moist (but not soggy) for the first 2-3 weeks after transplanting. You’ll see the first shoots emerge in about 10-14 days if conditions are right. Once sprouts appear, you can reduce watering frequency—gladiolus are fairly drought-tolerant once established.
Apply a balanced 10-10-10 fertilizer when shoots reach 6 inches tall, then again when flower spikes begin to form. I’ve found this two-step feeding produces the strongest stems and largest blooms. Watch for slugs and snails—they love tender new gladiolus shoots.
When stems reach 12-18 inches tall, install stakes or a simple wire support system. Gladiolus stems can become top-heavy with blooms and topple in wind or rain. I use 3-foot bamboo stakes placed every 2 feet along the row, with twine running between them.
Tie stems loosely to the support system using soft plant ties or strips of old nylon stockings. The goal is to keep stems upright without restricting growth. You’ll notice flower spikes forming about 60-70 days after planting, depending on the variety. That’s when your careful transplanting really pays off with spectacular vertical color.
Transplanting gladiolus doesn’t have to be complicated—these practical insights will help you avoid common pitfalls and set your plants up for success.
Timing Secret: That 2-3 week window before your last frost mentioned in Step 1 is crucial. I’ve found that transplanting too early when soil is still cold can delay sprouting by weeks, while waiting too long risks stressing the corms in summer heat. Check your local frost dates carefully—this small detail makes a surprising difference in bloom quality.
Soil Preparation Tip: When mixing in the 2-3 inches of compost as suggested in Step 1, take it a step further by also working in a handful of sand if your soil is particularly heavy. This creates pockets of air that prevent corms from sitting in moisture. I learned this after losing several plants to rot in clay soil—it’s a simple addition that prevents heartache later.
Planting Depth Matters: The 4-6 inch depth specified in Step 3 isn’t arbitrary. Shallower planting can cause stems to flop, while deeper planting may prevent sprouting. Here’s what nobody tells you—if you’re in a windy area, lean toward the deeper end (6 inches) for better anchor. In sheltered spots, 4 inches works fine. This small adjustment saves you from staking problems later.
Watering Wisdom: During those critical first 2-3 weeks after transplanting (Step 4), I use the “finger test” to check moisture. Stick your finger into the soil up to your second knuckle—if it feels dry at that depth, it’s time to water. This is more reliable than surface checks and prevents both overwatering and underwatering during that vulnerable establishment period.
Early spring (after the last frost) or fall (4-6 weeks before the first frost) is ideal. In warmer zones (8-10), late winter works too. Avoid transplanting during extreme heat or flowering—stress can stunt growth.
It’s risky! Blooming plants focus energy on flowers, not root recovery. If absolutely necessary, trim stems post-move and water deeply. For best results, wait until after flowering or early spring.
Plant corms 4–6 inches deep in well-draining soil, spacing them 6 inches apart. Deeper planting protects from heat but may delay sprouting. In sandy soil, add 1 inch extra depth for stability.
Common causes: overcrowding, poor sunlight (needs 6+ hours/day), or shallow planting. Nutrient deficiency? Add balanced fertilizer (10-10-10) at planting. Patience—some varieties take a season to adjust!
In zones 7 and colder, dig up corms before winter to prevent rot. In warmer zones (8+), they may overwinter with mulch. Lifting corms annually also helps control pests and divide clumps for better blooms.
