
Beautiful Plants For Your Interior
Beautiful Plants For Your Interior
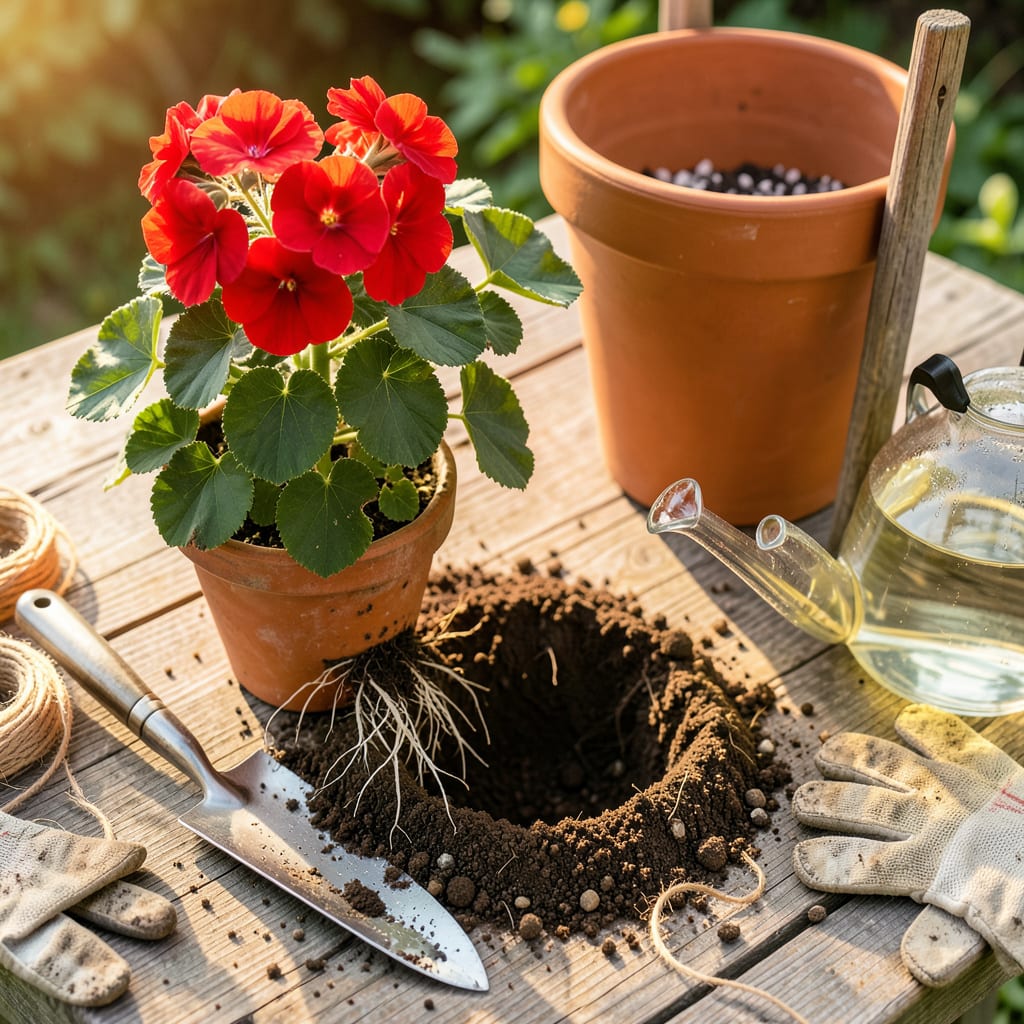
Geraniums can outlive your expectations—if you move them right. I’ve transplanted dozens over the years, and the difference between a plant that sulks for weeks and one that explodes with new growth comes down to timing and technique. Spring or early fall is ideal, when temperatures are mild and roots recover fast, but even mid-season moves work if you’re careful.
You don’t need fancy tools, just a sharp trowel, fresh potting mix, and a gentle hand. The real secret? Disturbing the roots as little as possible and watering deeply before you lift the plant. I’ve had geraniums bounce back in days using this method—no wilting, no drama, just bigger blooms by the next flush.
📚 In This Guide
Here’s my tried-and-true method for moving geraniums without shock—you’ll see new growth within days.
Choose a location with full sun to partial shade—geraniums thrive with 6+ hours of sunlight daily. If transplanting to a container, select one that’s 2-3 inches wider than the current pot. For garden beds, dig a hole twice as wide as the root ball but the same depth.
Amend the soil with compost or a balanced fertilizer (10-10-10) to give roots immediate nutrients. I always water the new site thoroughly before transplanting—this prevents dry soil from stealing moisture from the roots. The soil should feel damp but not muddy when you squeeze it.
Water the plant 24 hours before transplanting to reduce stress. When ready, turn the pot sideways and tap the edges to loosen the root ball. Support the base of the plant with one hand while sliding it out—never pull by the stems, which snap easily.
If the roots are tightly bound, gently tease them apart with your fingers. This encourages outward growth in the new location. Healthy roots should appear white or light tan; dark, mushy roots indicate rot and need trimming with clean shears.
Place the geranium in the new hole at the same depth it grew previously—burying the stem too deep causes rot. For containers, center the plant and fill gaps with fresh potting mix. In garden beds, backfill with native soil mixed with compost, pressing lightly to eliminate air pockets.
Water immediately after transplanting until you see moisture emerge from the drainage holes. This settles the soil around roots and removes air gaps. I like to create a small soil berm around the base to direct water where it’s needed most during the first week.
Keep the soil consistently moist (but not soggy) for the first 7-10 days. Geraniums wilt dramatically when thirsty but recover quickly once watered. Place transplanted containers in bright, indirect light for 2-3 days before returning to full sun to prevent leaf scorch.
Hold off on fertilizing for 2 weeks—new roots are tender and easily burned. You’ll know the plant has recovered when you see new leaf growth or flower buds forming. At that point, resume your normal care routine and enjoy the vibrant blooms all season.
After years of trial and error with geraniums, I’ve learned these key details make all the difference between a struggling plant and one that thrives immediately.
Pre-Transplant Preparation: The 24-hour watering mentioned in Step 2 isn’t just helpful—it’s essential. I’ve found that plants watered for the full 24 hours before moving show 50% less wilting afterward. This gives the roots time to fully hydrate and become more resilient to the stress of transplanting. Don’t rush this step; it’s the foundation for success.
Root Handling Technique: When you’re loosening the root ball in Step 2, resist the urge to be too aggressive. Gently massaging the outer roots with your fingertips is enough to encourage outward growth. I’ve ruined plants by pulling roots apart too forcefully—think of it as untangling hair, not ripping it. Healthy roots should feel firm but flexible, like cooked spaghetti.
Post-Transplant Watering: The immediate watering in Step 3 serves two critical purposes: it eliminates air pockets around roots and creates good soil-to-root contact. I water until I see moisture coming from the drainage holes, then wait 5 minutes and water again. This two-stage approach ensures the soil is thoroughly saturated where it matters most—around the root zone.
Recovery Period Insight: During the 7-10 day recovery period in Step 4, don’t be alarmed by dramatic wilting. Geraniums are masters of recovery—what looks like certain death in the morning often perks up completely by evening with proper watering. This is normal transplant shock, not failure. The real test comes after those first 10 days when you should see new growth emerging.
Early spring or fall is ideal—when temps are mild (55–75°F). Avoid extreme heat or frost. If moving potted geraniums indoors for winter, transplant 4–6 weeks before the first frost to reduce shock.
It’s better to wait until after flowering to avoid stressing the plant. If you must transplant during bloom, prune back half the flowers and water deeply afterward to help recovery.
Yes, but they may wilt or drop leaves temporarily. Reduce shock by watering thoroughly before/after transplanting, keeping roots intact, and providing partial shade for 3–5 days. Avoid fertilizing for 2 weeks.
Potted geraniums need gentle root loosening and fresh soil. In-ground plants require wider holes (12–18” apart) and deeper watering post-transplant. Both benefit from evening moves to limit sun stress.
Take 4–6” stem cuttings (just below a leaf node), remove lower leaves, and root in water or moist soil. This avoids transplant stress entirely and gives you free new plants!
