
Beautiful Plants For Your Interior
Beautiful Plants For Your Interior
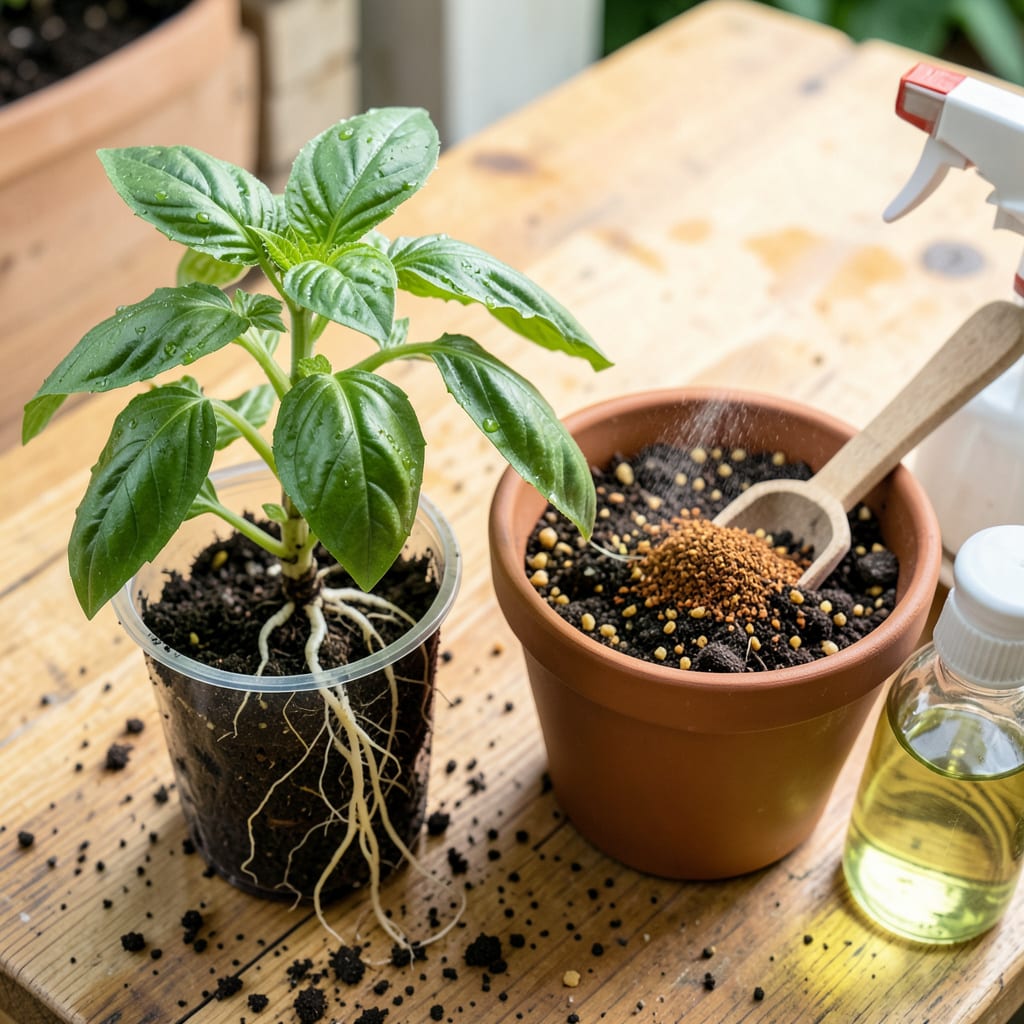
Moving plants from water to dirt feels like teaching a fish to walk—but I’ve done it successfully with everything from basil to tomatoes. The secret isn’t luck; it’s preparing the roots for their new home before they even touch soil. Too many gardeners lose plants here because they rush the transition or use the wrong soil mix.
You’ll need three things to make this work: a gentle hand, the right soil blend (think light and airy, not dense garden dirt), and a 24-hour acclimation period that eases roots into their new environment. Skip these steps, and you’re practically guaranteeing wilting or stunted growth. Here’s how to do it without the drama.
📚 In This Guide
Transitioning plants from water to soil doesn’t have to be stressful—follow this method for a smooth adaptation every time.
Begin by gradually reducing the hydroponic nutrient concentration over 5-7 days. I dilute the solution by 25% each day until you’re using plain water only. This prevents nutrient burn when roots first encounter soil microbes. You’ll notice the water appears clearer as nutrient levels drop.
Inspect the root system carefully. Healthy hydroponic roots are white and fibrous, not brown or slimy. Trim any damaged or excessively long roots with clean scissors—aim for 4-6 inches of root length. This encourages new soil-adapted root growth without overwhelming the plant.
Soak the bare roots in a weak hydrogen peroxide solution (1 tsp per gallon of water) for 10 minutes. This sterilizes the roots and removes any remaining hydroponic nutrients. You’ll see tiny bubbles forming on the roots—that’s the peroxide working to cleanse the tissue.
While roots soak, prepare your planting holes in pre-moistened soil. The holes should be twice as wide as the root mass but only deep enough to position the plant at its original growing level. I create a small mound at the base of each hole to drape roots over, preventing them from circling at the bottom.
Place the plant in the hole and gently spread the roots outward in a radial pattern. The crown (where stem meets roots) must sit 1/4 inch above soil level to prevent rot. Fill the hole in stages, firming the soil lightly around the roots with your fingers to eliminate air pockets.
Water immediately with a quarter-strength nutrient solution—just enough to settle the soil. You want moisture to reach the deepest roots without saturating the entire pot. The soil should feel like a wrung-out sponge. Avoid foliar wetting, which can encourage fungal issues during this vulnerable transition period.
Cover the transplanted plants with a clear plastic dome or bag for 3-5 days to maintain 80-90% humidity. This prevents excessive transpiration while roots establish in soil. Place in bright, indirect light only—direct sun through plastic will scorch leaves.
Monitor daily for condensation on the plastic. If droplets form, vent for 15-20 minutes to prevent mold. You’ll know roots are adapting when you see new leaf growth within 7-10 days. At this point, gradually remove the covering over 2-3 days to acclimate plants to normal conditions.
Wait 7-10 days before applying any fertilizer. Begin with a half-strength balanced solution (10-10-10) and observe the plant’s response. Yellowing lower leaves indicate nitrogen deficiency, while brown leaf tips suggest excess salts—adjust your next feeding accordingly.
After 2-3 weeks, you can transition to a regular feeding schedule. I recommend a fish emulsion or seaweed extract for the first month to support beneficial soil microbes. The plant is fully adapted when you see robust new growth matching the vigor of its hydroponic phase.
Transitioning hydroponic plants to soil becomes much smoother when you understand these key details that make all the difference.
Root Preparation Insight: During the 5-7 day nutrient reduction in Step 1, pay special attention to water clarity. When the solution becomes completely clear (usually by day 4), you’re ready to begin the 25% daily dilution. This visual cue is more reliable than calendar days, as different plant species metabolize nutrients at varying rates. I’ve found that lettuce adapts fastest while tomatoes often need the full 7 days.
Peroxide Technique: In Step 2, when soaking roots for 10 minutes, use room temperature water for the hydrogen peroxide solution. Cold water slows the cleansing action, while warm water can stress already vulnerable roots. The bubbles you see aren’t just oxygen—they’re actually lifting away microscopic nutrient residues that could otherwise shock soil microbes. This step is particularly crucial for plants that were in strong hydroponic solutions.
Planting Depth Precision: The 1/4 inch crown elevation in Step 3 isn’t arbitrary—it creates a micro-zone where the stem can gradually toughen up to soil contact. I use a ruler for my first few transplants until I develop the eye for it. Too deep causes rot, while too high leads to weak anchoring. For plants with particularly thick stems like basil, you can go up to 1/2 inch, but never exceed that.
Humidity Management: During the 3-5 day dome period in Step 4, the 15-20 minute daily venting serves two critical purposes: it prevents fungal spores from taking hold in the moist environment, and it begins the acclimation process. I set a timer and make this part of my morning routine. The condensation you’re wiping away contains metabolic byproducts from the roots—removing it actually speeds up adaptation.
Most plants adapt within 1–2 weeks, but delicate species (like lettuce) may need extra TLC. Reduce stress by hardening off plants—gradually expose them to soil conditions over 3–5 days. Watch for wilting or yellowing leaves as signs of adjustment.
Transplant during the early vegetative stage (before flowering) for minimal shock. Avoid extreme heat or cold—aim for mild weather (65–75°F). If growing indoors, match the light cycle to outdoor conditions for smoother transition.
Nope! Hydroponic roots are used to water-only environments—leaving nutrients or salts on them can burn roots in soil. Gently rinse with lukewarm, pH-balanced water (6.0–6.5) to remove residue before planting.
Don’t panic! Mild wilting is normal for 24–48 hours. Check soil moisture (keep it damp but not soggy) and trim any damaged roots. If wilting persists, mist leaves with water or use a humidity dome to ease stress.
It’s tricky but possible! Wash all soil from roots, trim rot, and soak in hydroponic nutrient solution for 24 hours. Start in a sterile medium (like clay pebbles) to avoid contamination. Success rates vary—leafy greens adapt better than fruiting plants.
