
Beautiful Plants For Your Interior
Beautiful Plants For Your Interior
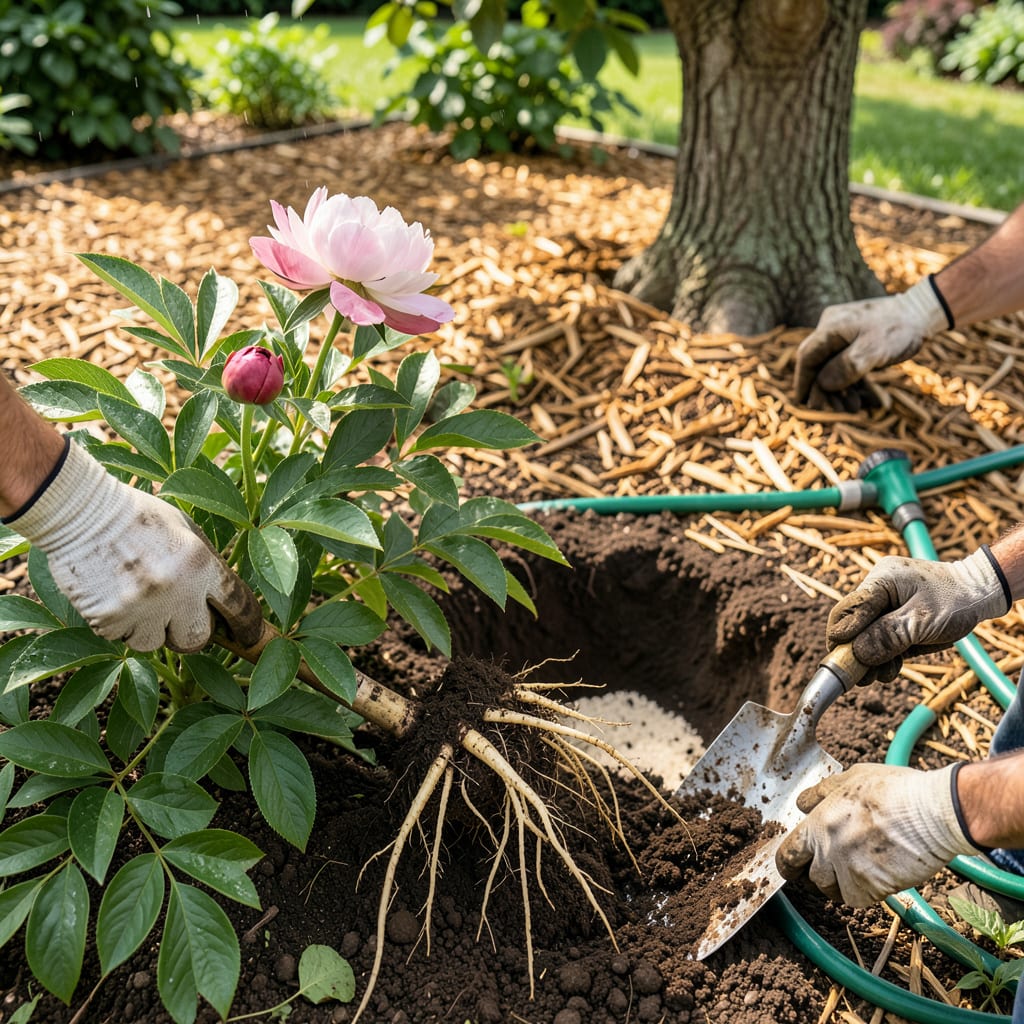
That moment when you move a plant and watch it either thrive or struggle—it’s make-or-break for gardeners. I’ve lost count of how many flowers I’ve killed by transplanting too late, too rough, or in the wrong conditions. But after years of trial and error, I’ve landed on a method that turns nervous guesswork into confident success.
Timing and technique matter more than luck. Move plants when they’re actively growing but not stressed, handle roots like they’re made of silk, and give them a cozy new home with the right depth and moisture. Do it right, and you’ll see new growth within days, not wilted leaves. Here’s how to get it spot-on every time.
📚 In This Guide
Moving plants can stress them—but with this method, your blooms won’t even notice the change.
Transplant on a cloudy day or in the late afternoon to avoid heat stress. I always check the forecast first—48 hours of mild weather after moving gives roots time to settle. Dig the new hole twice as wide as the root ball but no deeper; you want the plant to sit at the same soil level as before.
Loosen the soil at the bottom of the hole with a fork so roots can penetrate easily. If your soil is heavy clay, mix in a handful of compost to improve drainage. Water the empty hole thoroughly and let it drain—this creates a moist pocket for the roots to grow into immediately.
Water the plant deeply 1-2 hours before transplanting—this helps the root ball hold together. For potted plants, gently squeeze the container sides to loosen, then turn it upside down while supporting the stem base. Tap the bottom if needed, but never pull by the stems.
For in-ground plants, dig a wide berth around the drip line (where water drips from outer leaves). Slide your spade under the root ball at a 45-degree angle to lift. If roots resist, dig wider rather than forcing it—you’ll lose fewer roots this way. I always keep a tarp nearby to set the plant on while transporting.
Set the plant in the hole so the soil line matches its original depth. You should see the same stem-to-soil ratio as before. Backfill with native soil, gently firming as you go to eliminate air pockets. Create a shallow water basin by mounding soil in a 3-inch ring around the plant’s edge.
Water immediately with 1 gallon per plant, letting it soak in slowly. The water settles the soil around roots and removes air gaps. I add a 2-inch layer of mulch (keeping it 1 inch away from the stem) to retain moisture and regulate temperature. This is when you’ll see any leaning—adjust now before roots take hold.
Keep the soil consistently moist (but not soggy) for the first 7-10 days. Check daily by feeling 1 inch below the surface—it should feel like a wrung-out sponge. Avoid fertilizing for 2 weeks; you want roots to establish before encouraging top growth.
Watch for wilting in the first 48 hours—this is normal transplant shock. If leaves stay wilted by morning, the plant needs water. I use a shade cloth for 3-5 days if transplanting during hot weather. You’ll know recovery is complete when you see new growth, typically within 10-14 days.
Transplanting doesn’t have to be stressful—these practical insights will help your flowers thrive through the transition.
Timing is Everything: The 48 hours of mild weather mentioned in Step 1 isn’t just a suggestion—it’s critical for root recovery. I’ve found that checking the forecast for gentle rain during this period gives roots an extra boost. If you must transplant during hot weather, do it at dusk when temperatures are dropping, and consider using a temporary shade cloth for the first 48 hours to mimic overcast conditions.
Watering Wisdom: When you water the plant 1-2 hours before transplanting in Step 2, think of it as giving the roots a protective coating. The moisture helps soil cling to roots during the move. Here’s what nobody tells you—if you’re working with very dry soil, you might need to water twice: once the night before, then again 1-2 hours before moving. This ensures the entire root ball is properly hydrated without being waterlogged.
Depth Matters More Than You Think: In Step 3, when positioning your plant, I can’t stress enough how important that “same soil level” detail is. Planting too deep can suffocate stems, while planting too shallow exposes roots. Here’s my trick: lay a straight stick (like a chopstick) across the hole to compare the original soil line on the plant with your new hole depth. This visual guide prevents guessing and ensures perfect placement every time.
Aftercare Attention: During those first 7-10 days of consistent moisture mentioned in Step 4, resist the urge to check soil moisture by just looking at the surface. That 1-inch depth check is crucial because the top can dry out while deeper soil stays wet. I use an old butter knife to create a small trench—it’s less disruptive than fingers and gives a more accurate read of moisture levels below the surface.
Early morning or late afternoon is ideal! These times reduce stress on plants by avoiding peak sun and heat. Aim for overcast days if possible—your flowers will thank you with less shock and quicker recovery.
Check for these signs: roots peeking from drainage holes, slowed growth, or soil drying out too fast. Seedlings should have 2-3 sets of true leaves. Pro tip: Gently tug the stem—if roots resist, it’s ready!
For larger plants, yes! Use the “root pruning” method: dig a trench around the plant 6-12 inches out, then lift. This preserves key roots while reducing shock. Works best for shrubs and perennials.
This is transplant shock—usually from damaged roots, over/under-watering, or sun stress. Trim wilted leaves, water deeply (but don’t drown!), and provide temporary shade. Most bounce back in 1-2 weeks!
Try “potting up” first! Move plants to slightly larger containers before ground transplanting. This eases the transition, especially for delicate annuals or seedlings. Bonus: You can delay transplanting if weather’s unfavorable.
