
Beautiful Plants For Your Interior
Beautiful Plants For Your Interior
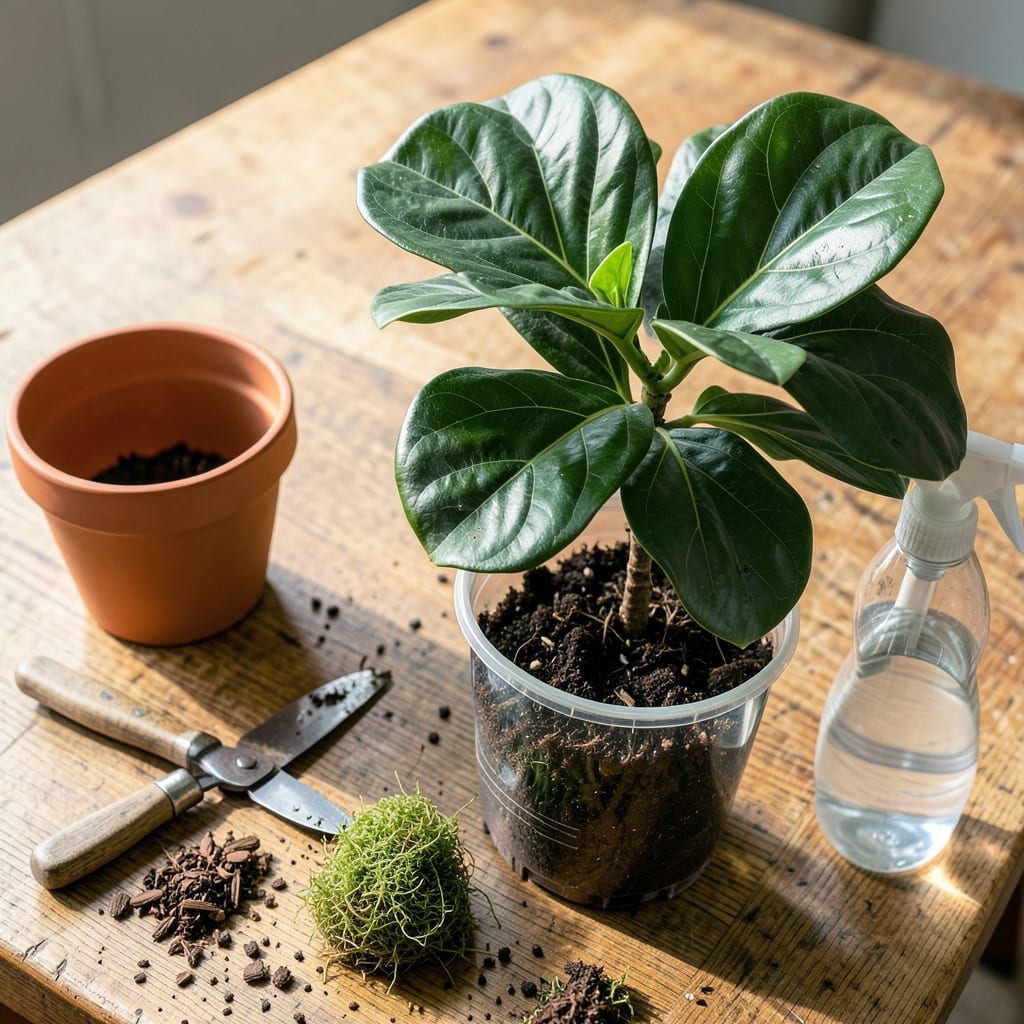
That moment when your fiddle leaf fig’s roots start peeking through the drainage holes? It’s not just growth—it’s a cry for help. I’ve learned the hard way that waiting too long to transplant these dramatic divas leads to stunted growth, yellow leaves, and a plant that sulks for months. The good news? A well-timed move to a roomier home can trigger a growth spurt that’ll make you question why you ever hesitated.
Here’s what most guides won’t tell you: the 48 hours after transplanting are make-or-break. Get the soil mix right (think chunky and fast-draining), choose a pot just 2-3 inches wider than the current one, and prepare for some temporary drama as your fig adjusts. The payoff comes in 3-4 weeks when you’ll see fresh leaves unfurling—bigger, glossier, and healthier than before. No green thumb required, just the right timing and technique.
📚 In This Guide
Moving your fiddle leaf fig doesn’t have to be stressful—here’s how to do it with confidence and care.
Spring or early summer is ideal for transplanting, when your plant is entering its active growth phase. Select a container that’s 2-3 inches wider than the current pot—too much extra space holds excess moisture and risks root rot. I always use containers with drainage holes to prevent water from pooling at the roots.
Before removing your plant, prepare the new pot by adding a 1-2 inch layer of fresh, well-draining potting mix. This gives you a base to work with and prevents the plant from sitting too low in the container. Gently moisten the soil so it’s damp but not soggy—this helps the roots make immediate contact with moisture after transplanting.
Water your fiddle leaf fig thoroughly 1-2 days before transplanting—this helps the root ball hold together. To remove the plant, turn the pot sideways and tap the sides firmly to loosen the root ball. If it’s stuck, slide a clean knife around the edges to release it. Never pull by the stem; always support the base of the plant.
Once removed, inspect the roots carefully. Healthy roots should be firm and white or light tan. If you see dark, mushy roots, trim them away with clean scissors. Loosen the root ball slightly with your fingers to encourage new growth into the fresh soil—this is especially important if roots are circling the pot.
Place the plant in the new container so it sits at the same depth as before—burying the stem too deep can cause rot. Hold the plant steady while adding fresh potting mix around the sides. I like to work in layers, gently pressing the soil down as I go to eliminate air pockets that could dry out roots.
Leave about 1 inch of space between the soil surface and the pot rim to make watering easier. Don’t pack the soil too tightly—you want it firm enough to support the plant but loose enough for water to drain properly. After filling, give the pot a gentle shake to help the soil settle naturally.
Water the plant deeply until you see moisture coming out of the drainage holes. This helps settle the soil around the roots and removes any remaining air pockets. I place my newly transplanted fiddle leaf fig in a spot with bright, indirect light—direct sun can stress it during this adjustment period.
Avoid fertilizing for 4-6 weeks after transplanting to give the roots time to establish. You might notice some leaf drop during this transition—this is normal as the plant adjusts. Keep the soil consistently moist (but not soggy) for the first few weeks, and avoid moving the plant to different locations until you see new growth.
Transplanting can feel intimidating, but these practical insights will help your fiddle leaf fig thrive through the transition.
Timing is Everything: The 1-2 days of pre-transplant watering in Step 2 isn’t just about hydration—it’s about root ball integrity. I’ve found that plants watered exactly 24 hours beforehand hold together best during removal. If you water too soon, the soil may dry out; too late, and the roots won’t have time to absorb moisture properly.
Root Handling Technique: When inspecting roots in Step 2, resist the urge to aggressively untangle them. Gently teasing apart only the outer 1 inch of the root ball is enough to encourage new growth. I use my fingertips rather than tools to avoid damaging the delicate feeder roots that absorb most of the water and nutrients.
Soil Settlement Secret: The 1 inch of space you leave at the top in Step 3 serves a critical purpose beyond watering ease. After your initial watering, you’ll notice the soil level drops as it settles—this extra space prevents you from needing to add more soil later, which could disturb the developing roots. I always check the soil level again after the first watering and add a little more mix if needed.
Recovery Environment: The 4-6 weeks of no fertilizer mentioned in Step 4 isn’t just about avoiding burn—it’s about root development. During this period, I focus on maintaining consistent moisture and stable temperatures. A small fan set on low nearby can help with air circulation without creating drafts, which helps prevent fungal issues while roots establish.
Transplant every 1–2 years for young plants or when roots circle the pot’s base. Mature fiddle leaf figs (4+ years) thrive with repotting every 3–4 years. Spring or early summer is ideal—avoid winter dormancy!
Nope! Regular soil retains too much moisture, risking root rot. Opt for a well-draining mix: 60% potting soil + 30% perlite/pumice + 10% orchid bark. Pre-mixed “fiddle leaf fig soil” works too!
Transplant shock is normal! Keep it in bright, indirect light, mist leaves, and avoid fertilizing for 4–6 weeks. If drooping persists, check for overwatering or root damage. Patience is key—most bounce back in 2–3 weeks!
Go 1–2 inches wider in diameter—oversized pots hold excess water, leading to root rot. A slight upgrade encourages healthy growth without stressing the plant. Think “cozy fit,” not “mansion”!
Avoid it! Cold temps slow growth, making recovery harder. If absolutely necessary, keep the plant in a warm, humid spot (65–75°F) and reduce watering. Spring is always the safest bet! →
