
Beautiful Plants For Your Interior
Beautiful Plants For Your Interior
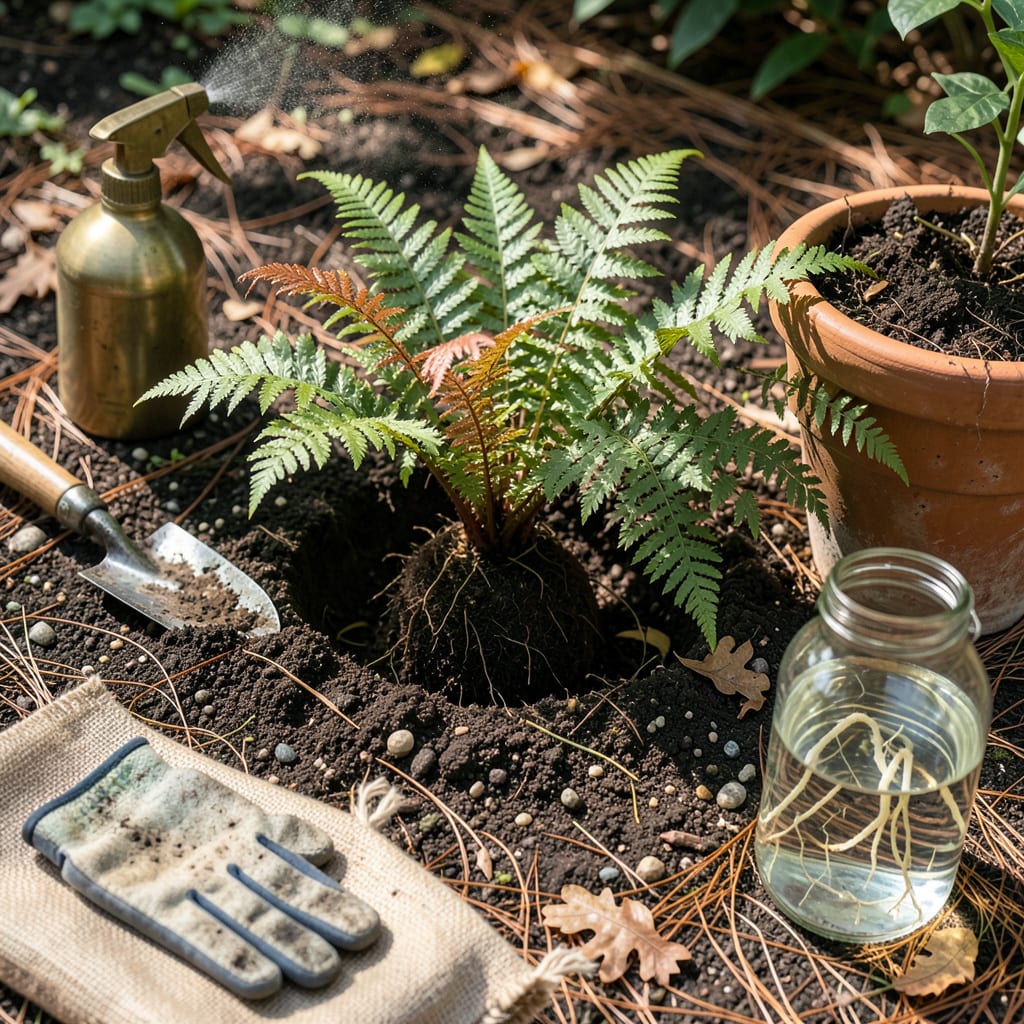
I used to lose half my ferns during transplanting—until I figured out the 30-second trick that makes all the difference. Moving ferns isn’t about brute strength; it’s about timing and tenderness. Do it right, and those delicate fronds barely skip a beat. Do it wrong, and you’re left with crispy brown reminders of what could’ve been.
The sweet spot is early spring or fall, when the soil stays damp but the sun isn’t brutal. You’ll need just a trowel, some compost, and the patience to handle roots like they’re made of spider silk. What you get in return? Ferns that establish faster, spread wider, and come back twice as lush next season. No green thumb required—just the right approach.
📚 In This Guide
Moving ferns doesn’t have to be stressful—this method keeps roots happy and fronds flourishing from day one.
Transplant ferns in early spring before new growth starts or in early fall when temperatures stay between 50-75°F. I avoid summer moves because heat stresses plants, and winter’s dormancy makes recovery slower. Pick an overcast day or late afternoon to prevent immediate sun exposure.
Prepare the new spot first by digging a hole twice as wide as the fern’s root ball but no deeper. Mix a handful of compost into the native soil you removed—this gives roots a nutrient boost without overwhelming them. Test the hole’s size by placing the fern’s current container in it; the rim should sit slightly above ground level to allow for settling.
Water the fern thoroughly 24 hours before transplanting to hydrate the roots and reduce shock. When ready, slide a garden fork around the plant’s drip line (the outer edge of the fronds) to loosen the soil. For potted ferns, gently squeeze the container’s sides and tip the plant out into your hand.
Handle the fern by its root ball, never by the fronds—they’re delicate and break easily. If roots are tightly bound (common in container-grown ferns), gently tease the outer roots with your fingers to encourage outward growth. You’ll see white, healthy roots; black or mushy ones should be trimmed away with clean shears.
Place the fern in the new hole so the top of the root ball sits 1 inch above the surrounding soil level. This prevents crown rot, which happens when the base of the plant stays too wet. For potted ferns, ensure the soil line matches where it was in the original container.
Backfill with your soil-compost mix, gently firming it around the roots to eliminate air pockets. Create a shallow water basin by mounding soil in a 3-inch ring around the plant’s edge. This helps direct water to the roots where it’s needed most during the critical first week.
Water immediately after planting until the soil feels moist 6 inches deep. I use a gentle shower setting on my hose to avoid disturbing the soil. For the first 7-10 days, keep the soil consistently moist but not soggy—think damp sponge, not muddy puddle.
Apply 2-3 inches of mulch (shredded bark works well) around the plant, keeping it 3 inches away from the stem to prevent rot. Avoid fertilizing for 4-6 weeks; let the fern focus on root establishment. You’ll know it’s thriving when new fronds begin unfurling, usually within 2-3 weeks.
Check the plant daily for the first week, then weekly thereafter. Wilting fronds in the afternoon are normal initially, but if they stay wilted overnight, the plant needs more water. Yellowing fronds often indicate overwatering—let the top inch of soil dry before watering again.
If you notice browning leaf tips, mist the fronds lightly in the morning to increase humidity. Most ferns show visible recovery within 2-4 weeks, with new growth emerging from the center. Once established, your transplanted fern will reward you with lush, vibrant fronds for years to come.
Transplanting ferns successfully comes down to a few key details that make all the difference in their recovery and growth.
Timing is Everything: The 50-75°F temperature window mentioned in Step 1 isn’t just a suggestion—it’s critical. I learned this the hard way after losing several ferns to late spring heat waves. Early morning transplanting during this temperature range gives roots the best chance to establish before daytime warmth sets in. If you must transplant in summer, wait for a cloudy day and provide temporary shade for the first week.
Root Preparation Secret: When you water the fern 24 hours before transplanting as directed in Step 2, add a teaspoon of liquid seaweed extract to the water. This gives roots an extra boost of natural growth hormones that help reduce transplant shock. I’ve noticed my ferns bounce back twice as fast when I use this trick. Also, don’t rush the root teasing process—spend an extra minute gently separating those outer roots; it pays off in faster establishment.
The Watering Technique That Changed Everything: In Step 4, when watering to 6 inches deep, here’s what nobody tells you: use your finger to test moisture at that depth. I stick my index finger straight down into the soil—if it comes out with moist soil clinging to it at the full 6-inch mark, you’ve watered enough. This simple test prevents both under and overwatering during that critical first week. For the 7-10 days of consistent moisture, set a phone reminder to check soil twice daily—morning and late afternoon.
Aftercare Observation Tip: During the 2-4 weeks recovery period mentioned in Step 5, keep a transplant journal. Note which fronds wilt each day and how quickly they recover. I use my phone to take daily photos—you’ll be amazed at how this helps you spot patterns. For instance, if the same fronds wilt every afternoon, that’s normal. But if different fronds wilt each day, you’re likely dealing with inconsistent watering. This practice helped me save three ferns that were struggling with hidden root issues.
Spring or early fall is ideal for transplanting ferns, when temperatures are mild and plants are dormant or just waking up. Avoid extreme heat or frost—stress from summer sun or winter chill can shock roots. If you must move them in summer, water deeply for weeks beforehand and shade them post-transplant.
Watch for wilting, yellowing fronds, or crispy edges—classic signs of transplant shock. If the soil feels dry 1 inch down, water gently but avoid soggy roots. Trim dead fronds to redirect energy. Most ferns bounce back in 2–4 weeks with consistent moisture and indirect light.
Skip fertilizer for the first 4–6 weeks! Freshly transplanted ferns focus on root growth, not feeding. Over-fertilizing can burn tender roots. Once established, use a diluted balanced liquid fertilizer (10-10-10) monthly in growing season—or opt for compost tea for a gentler boost.
Spring is the best time to divide mature ferns. Use a sharp knife or your hands to separate root clumps, ensuring each division has 2–3 healthy fronds and roots. Replant immediately, water well, and keep soil moist. Smaller divisions may take a season to fill out.
For potted ferns or small garden clumps, try the “root ball lift” method: Slide a spade deep around the plant’s drip line, then gently lift the entire root ball. Minimal disturbance = less shock. For wild ferns, collect spores (from undersides of fronds) to grow new plants instead of transplanting.
