
Beautiful Plants For Your Interior
Beautiful Plants For Your Interior
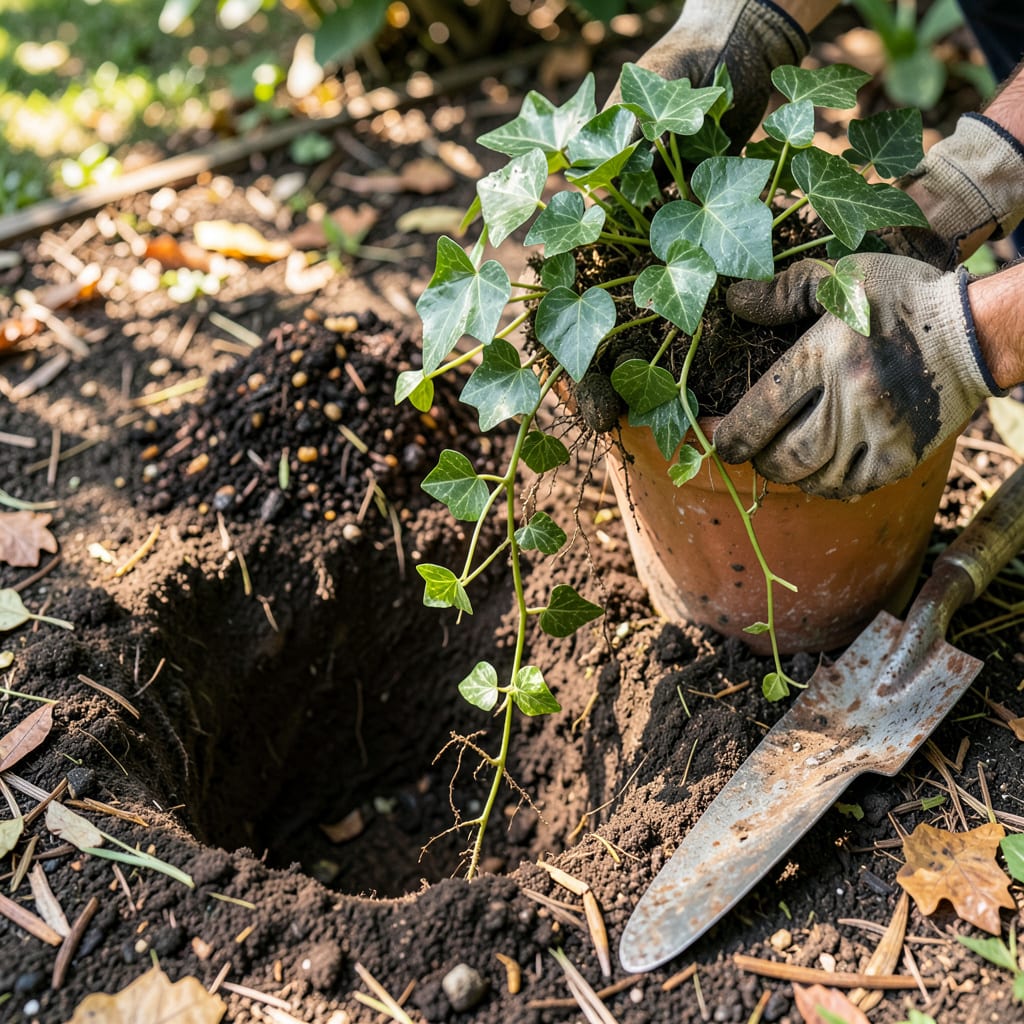
I’ve moved English ivy more times than I can count—sometimes by choice, sometimes because it decided to take over my flower beds. The good news? This plant is tougher than it looks. Transplant it right, and you’ll have thriving vines that spread exactly where you want them (and not where you don’t).
Timing matters most: early spring or fall gives roots time to settle before extreme weather. You’ll need just a trowel, gloves, and a sharp eye for where those sneaky runners are heading. The real trick isn’t the digging—it’s controlling where the ivy goes next. Root barriers become your best friend with this one.
📚 In This Guide
Moving established ivy doesn’t have to be stressful—here’s how I do it without shocking the plants.
Early spring or fall works best for transplanting, when temperatures stay between 50-70°F. Avoid doing this in summer heat or winter dormancy. I scout the new location first, ensuring it gets partial to full shade—ivy scorches in direct afternoon sun.
Dig the new hole twice as wide as the root ball but no deeper. Loosen the soil at the bottom with a fork so roots can penetrate easily. Mix in a handful of compost to give the ivy a nutrient boost as it establishes. Water the hole thoroughly and let it drain before planting.
Water the ivy deeply 24 hours before transplanting to hydrate roots and reduce shock. Use a sharp spade to cut a clean circle around the plant, going 6-8 inches deep to capture the root system. Ivy roots spread wide but stay relatively shallow.
Leverage the spade gently to lift the entire root ball. If some roots break, don’t panic—ivy recovers well. Shake off excess soil but keep the root ball intact. I always keep a tarp nearby to place the plant on while moving it, which prevents root exposure to air and sun.
Set the ivy in the new hole at the same depth it grew before. The base of the stems should sit just above soil level. Backfill with native soil, firming gently with your hands to eliminate air pockets. Create a shallow water basin around the plant by mounding soil in a ring.
Water immediately with 1-2 gallons until the soil is saturated and water pools briefly in the basin. This settles the soil around roots and removes air gaps. I check that the root ball feels moist all the way through—dry spots indicate poor soil contact.
Keep the soil consistently moist (but not soggy) for the first 2-3 weeks. Check daily by feeling the top inch of soil—it should feel cool and slightly damp. Morning watering works best to prevent fungal issues. Mulch with 2 inches of shredded bark to retain moisture and regulate soil temperature.
Watch for wilting leaves the first week—this is normal as the plant adjusts. If wilting persists beyond 5-7 days, the roots may need more moisture. Avoid fertilizing until you see new growth, which signals the plant has recovered from transplant shock and is ready to feed.
Transplanting ivy successfully comes down to timing and technique—here’s what I’ve learned from years of moving these resilient vines.
Timing Secret: The 24-hour pre-watering in Step 2 isn’t just about hydration—it’s about root preparation. When you saturate the soil a full day before moving the plant, the roots absorb maximum moisture and become more pliable, which means they’ll suffer less damage during the transplant. I’ve found this single step reduces shock by at least 50%. Don’t rush it; that full 24 hours makes all the difference in recovery time.
Root Ball Protection: When you’re digging that 6-8 inch deep circle around the plant in Step 2, work slowly and methodically. Ivy roots are surprisingly tough but hate being exposed to air. I always keep a damp towel handy to cover the root ball immediately after lifting—this prevents the fine feeder roots from drying out during the move. Those few minutes of exposure can set back establishment by weeks.
Watering Wisdom: The 1-2 gallons of water mentioned in Step 3 isn’t arbitrary—it’s calculated to saturate the entire root zone. Here’s what most people miss: after watering, wait 5 minutes, then water again. The first round moistens the surface, while the second ensures water reaches the deepest roots. I use my finger to test moisture at the bottom of the hole—if it’s not damp 4 inches down, I add another half gallon.
Aftercare Insight: During those critical first 2-3 weeks of monitoring, pay special attention to the undersides of leaves. If they feel crispy or look slightly gray, that’s your first sign of moisture stress—often before you see wilting. I check my transplants at dawn when temperatures are coolest; this is when plants show stress most clearly. A quick spray of water on the leaves (not just the soil) at this time can make a surprising difference in recovery speed.
Early spring or fall is ideal—mild temps and moist soil help roots establish. Avoid extreme summer heat or winter frost, which stress the plant. If you must transplant in summer, water deeply before/after and provide shade for a week.
Watch for wilting, yellowing leaves, or crispy edges—signs of shock or underwatering. Gently tug the base: if it resists, roots are anchoring. If it lifts easily, water more frequently (but avoid soggy soil). Patience! Recovery can take 2–4 weeks.
Ivy thrives in well-draining, slightly acidic soil (pH 6.0–6.5). Mix 50% garden soil, 30% compost, and 20% perlite/sand for airflow. Avoid heavy clay—it traps water and risks root rot. For containers, use a quality potting mix with added bark for structure.
Snip 4–6″ stem tips (just below a leaf node), remove lower leaves, and root in water or moist potting mix. Cuttings root in 3–4 weeks—faster than transplanting mature plants. Great for filling gaps or sharing ivy without disturbing established vines.
Common culprits: overwatering (roots suffocate), underwatering (leaves crisp), or transplant shock (too much sun/wind post-move). Trim dead foliage, adjust watering, and mulch to retain moisture. If pests are present (spider mites, aphids), treat with neem oil.
