
Beautiful Plants For Your Interior
Beautiful Plants For Your Interior
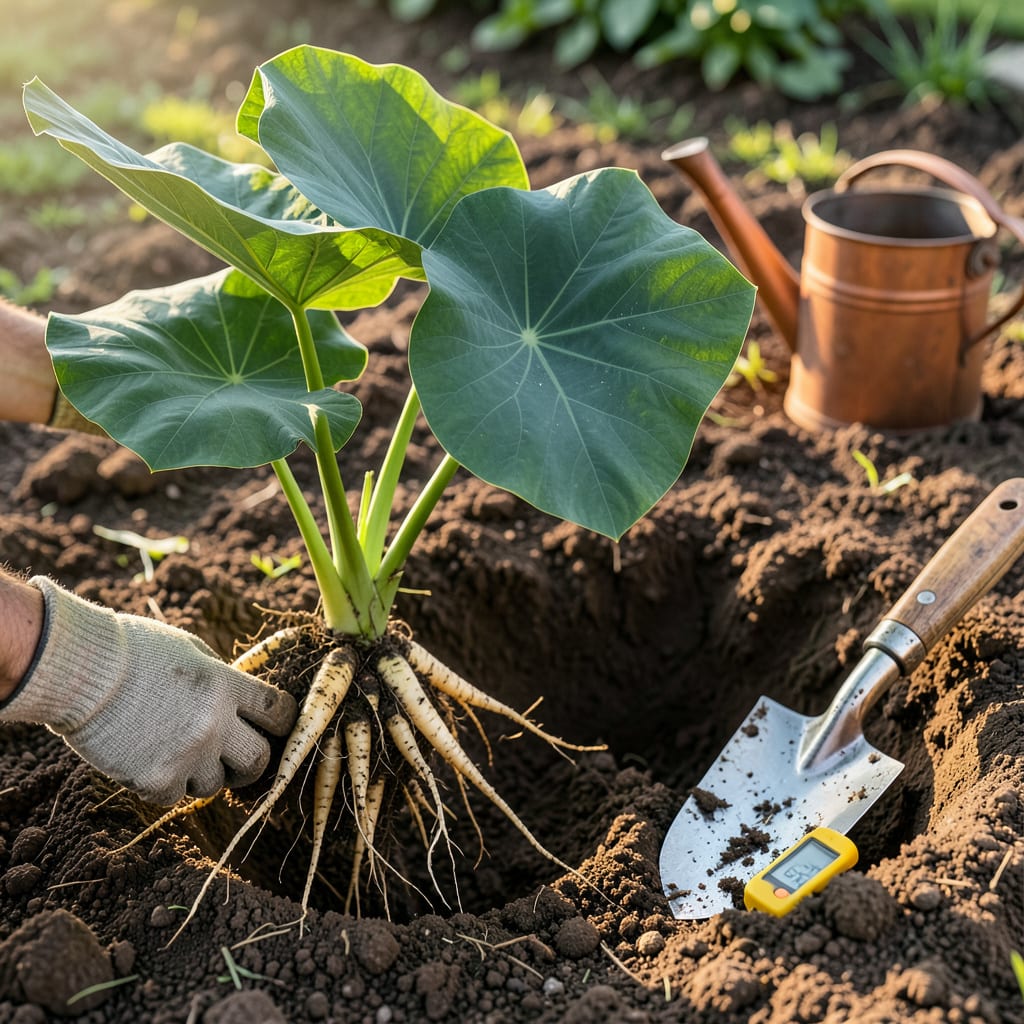
That moment when your elephant ears outgrow their space is both exciting and nerve-wracking. I’ve moved dozens of these dramatic tropical plants over the years, and the difference between a thriving transplant and a wilted disappointment comes down to timing and technique. Spring or early summer—when soil temps hit 60°F—is ideal, giving roots time to establish before winter.
What surprises most gardeners is how forgiving these plants actually are if you handle the tubers gently. The key is keeping the root ball intact during the move and replanting at the same depth. I’ve had 3-foot-tall colocasias bounce back from transplant shock in under two weeks with proper aftercare. You’ll want to prep the new spot first—these plants demand rich, moist soil and protection from harsh afternoon sun.
📚 In This Guide
Moving these dramatic tropical plants is simpler than it looks—follow my method for zero transplant shock and explosive new growth.
Elephant ears transplant best in spring after the last frost when soil temperatures reach 60°F. I check soil temps with a probe thermometer—don’t guess. Morning transplanting works best; the cooler temps and afternoon shade give roots time to settle before heat stress hits.
Watch the weather forecast for 5-7 days of mild conditions post-transplant. You want no temperature swings below 55°F or above 85°F. If you must move plants during summer heat, do it on an overcast day and provide temporary shade for the first week.
Choose a location with partial shade to full sun (morning sun with afternoon shade is ideal). Dig a hole twice as wide as the root ball but only as deep. I mix 3 inches of compost into the backfill soil—elephant ears are heavy feeders and need rich, organic matter.
Test drainage by filling the hole with water. If it doesn’t drain within 30 minutes, amend with perlite or coarse sand. These plants rot quickly in soggy soil. Create a slight mound at the base of the hole to elevate the tuber slightly—this prevents water pooling around the stem.
Water the plant deeply 24 hours before moving to reduce root damage. Slide a shovel around the drip line, angling inward to preserve feeder roots. Lift the entire clump gently—elephant ear tubers bruise easily, and damaged tissue invites fungal infections.
Inspect the tuber for soft spots or rot. Use sterilized pruners to trim any damaged roots or foliage. I always keep at least two healthy leaves per stem to support photosynthesis during recovery. Handle the plant by the root ball, never the stems—they snap under pressure.
Set the plant in the hole so the top of the tuber sits 1-2 inches below soil level. Backfill with your amended soil, firming gently to eliminate air pockets. Create a 3-inch water basin around the plant to direct moisture to roots during the critical first month.
Water immediately with 2-3 gallons per plant, allowing it to soak in slowly. The soil should feel moist 6 inches deep—check with your finger. Apply a 2-inch mulch layer of shredded bark to conserve moisture and regulate soil temperature, but keep it 3 inches away from the stem to prevent rot.
Check soil moisture daily for the first week—it should stay consistently moist but never waterlogged. Wilting is normal for 2-3 days post-transplant, but leaves should perk up by evening. If they remain limp after 48 hours, the plant needs more water or temporary shade.
Withhold fertilizer for 10-14 days to avoid burning new roots. Watch for yellowing lower leaves—this indicates either overwatering or insufficient nutrients. I stake tall varieties immediately with bamboo supports; the large leaves catch wind like sails and can topple unestablished plants.
Transplanting these tropical giants doesn’t have to be stressful—here’s what I’ve learned from years of moving them successfully.
Timing Precision: The 60°F soil temperature mentioned in Step 1 isn’t just a suggestion—it’s critical. I’ve ruined transplants by guessing and planting when soil was still at 55°F. Use a probe thermometer (they’re inexpensive) and check at 6 inches deep where the roots will be. Morning planting gives roots the entire cooler day to establish before heat stress, which makes a surprising difference in recovery time.
Root Ball Handling: When you’re executing Step 3 and lifting the plant, here’s what nobody tells you—the feeder roots you’re trying to preserve are often 6-8 inches out from the main stem. That’s why you need to dig twice as wide as the root ball appears. I use a sharp spade and work in a circle, angling inward like I’m cutting a cake slice. If you hear roots tearing, you’ve gone too fast.
Watering Strategy: The 2-3 gallons per plant immediately after planting in Step 4 isn’t excessive—it’s exactly what these tropical plants need to overcome transplant shock. Here’s my method: Water in stages. Pour 1 gallon, let it absorb completely, then add the second. This prevents runoff and ensures moisture reaches 6 inches deep. Check with your finger—if it’s not moist at the full depth, add that third gallon. The 3-inch water basin you create will make subsequent waterings more efficient.
Recovery Monitoring: During that critical first week mentioned in Step 5, don’t just watch the leaves—check the stem base daily. If it feels soft or mushy, you’re overwatering despite the daily moisture check recommendation. The 48-hour rule for limp leaves is your warning system: at 24 hours, increase shade; at 36 hours, water deeply again; at 48 hours, you’ll need to troubleshoot drainage. I keep a notebook to track which plants perk up overnight and which don’t—it reveals patterns you’d otherwise miss.
Early spring or late summer (USDA zones 8-11) is ideal—when soil temps hit 60°F+ and frost risk is gone. In cooler zones, transplant potted elephant ears after the last frost. Avoid extreme heat or dormancy (winter) for stress-free roots!
Yes, but only in mild summers or with extra care! Water deeply 2-3 days before moving, transplant on a cloudy day, and provide temporary shade. High heat stresses plants, so avoid midday sun. Hydration is key!
Overwatering or poor drainage is usually the culprit. Trim mushy roots with sterilized shears, replant in fresh, well-draining soil, and hold off on watering for 3-5 days. Add fungicide (like neem oil) if rot spreads. Act fast!
Spring is perfect for dividing mature clumps. Use a sharp knife to separate tubers, ensuring each has 1-2 growth buds. Replant divisions immediately, keeping soil moist. Smaller starts may need a season to reach full size.
They thrive in rich, loose, slightly acidic soil (pH 5.5–7.0). Mix compost or peat moss into garden beds. For pots, use a well-draining mix (e.g., 60% potting soil + 40% perlite). Avoid heavy clay—it suffocates roots!
