
Beautiful Plants For Your Interior
Beautiful Plants For Your Interior
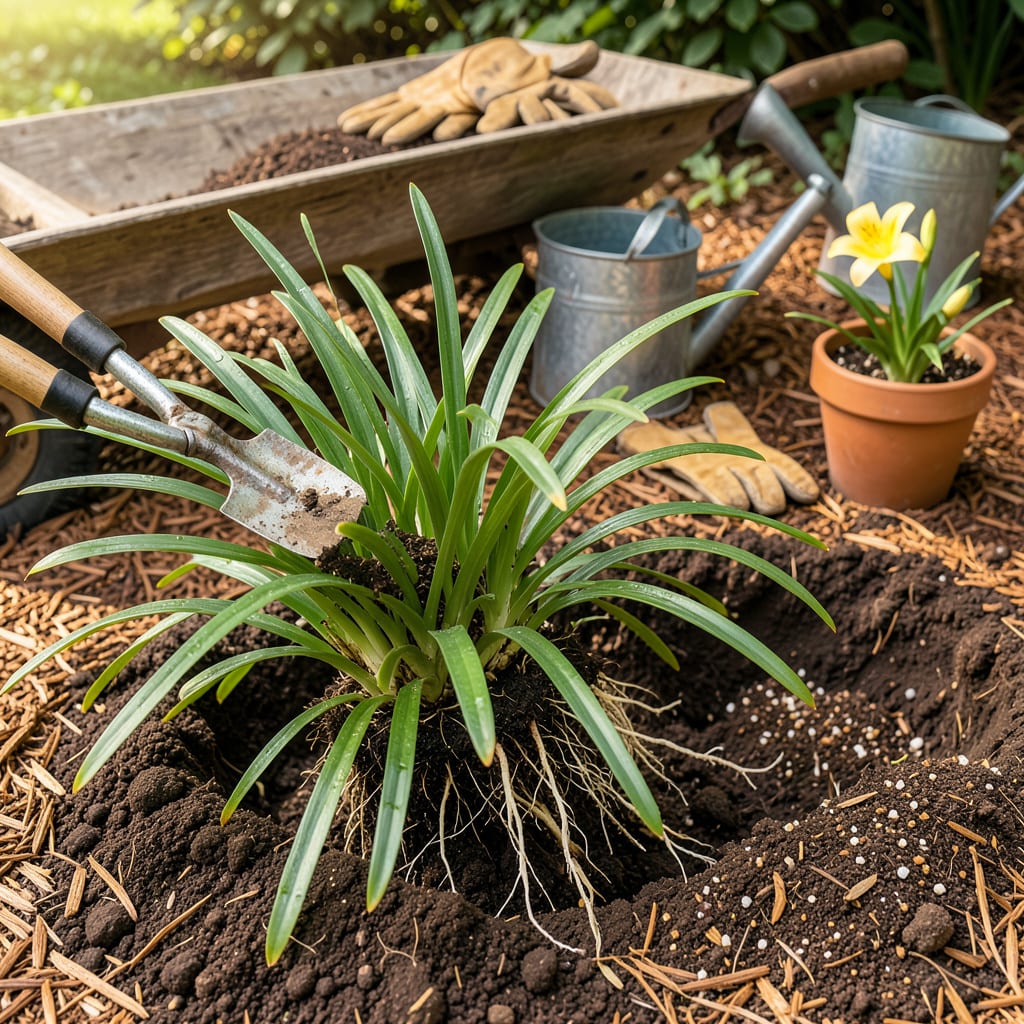
I used to dread moving daylilies—until I realized they practically beg to be transplanted. These tough perennials bounce back faster than you’d expect, and doing it right means doubled blooms next summer. The secret isn’t luck; it’s timing and technique.
Late summer or early fall works best in most zones, giving roots time to settle before winter. You’ll need a sharp spade, some compost, and about 30 minutes—no green thumb required. I’ve relocated dozens of clumps this way, and they always reward me with thicker foliage and more flowers the following year.
📚 In This Guide
This simple process will give your plants a fresh start—and you’ll get twice the blooms next summer.
Early spring or early fall works best for transplanting daylilies, when temperatures stay between 50-75°F. I always pick an overcast day or late afternoon to minimize stress on the plants. Avoid transplanting during summer heat or right before hard frost.
Dig your new holes 12-18 inches apart and just as deep as the root ball. Mix a shovelful of compost into the soil you removed—this gives the roots a nutrient boost. Water the new holes thoroughly before planting; you want the soil moist but not muddy.
Use a garden fork to gently lift the entire clump from the ground. Start about 6 inches away from the base to avoid slicing through roots. Daylilies have tough roots, so you might need to rock the fork back and forth to loosen them.
Once lifted, shake off excess soil so you can see the root structure. Use your hands or a clean knife to separate the clump into smaller sections, each with 3-5 fans of leaves. Discard any dead or mushy sections—healthy divisions will have firm, white roots.
Place each division in its new hole so the crown (where roots meet leaves) sits 1 inch below soil level. This prevents the plant from heaving during winter freezes. Spread the roots outward in the hole—they should fan out naturally, not bend upward.
Backfill with your compost-amended soil, firming gently as you go. Water immediately after planting to eliminate air pockets. The soil should settle just enough to leave a slight depression around the plant—this helps direct water to the roots during future waterings.
Give each transplanted daylily 1-2 gallons of water right after planting. This deep watering encourages roots to grow downward. For the first week, check soil moisture daily—it should stay consistently damp but never soggy.
Apply a 2-3 inch layer of mulch around each plant, keeping it 1 inch away from the stems. I use shredded bark or straw, which helps retain moisture while allowing air circulation. This mulch layer also prevents weeds that would compete with your new transplants.
Watch for new growth in 2-3 weeks—this confirms successful transplanting. If leaves yellow, don’t panic; some dieback is normal. Remove any completely brown leaves to keep the plant focusing energy on new growth.
Hold off on fertilizing until you see new leaves emerging. Then apply a balanced 10-10-10 fertilizer lightly around each plant. By next summer, your transplanted daylilies will reward you with thicker clumps and more abundant blooms than ever.
Here’s what I’ve learned from years of dividing and moving daylilies—small details that make a big difference in how quickly your plants establish themselves.
Timing is Everything: The 50-75°F temperature range mentioned in Step 1 isn’t just a suggestion—it’s critical for root development. I’ve found that early fall transplanting (about 6 weeks before your first frost) gives roots time to establish without the stress of summer heat. If you must transplant in spring, do it as soon as new growth appears but before the plants get too tall.
Root Handling Technique: When you’re dividing clumps in Step 2, resist the urge to pull sections apart. Instead, use two garden forks back-to-back to gently pry divisions apart—this preserves more roots than cutting. I aim for divisions with at least 3 fans of leaves, as smaller sections may struggle to establish quickly.
Watering Wisdom: The 1-2 gallons of water immediately after planting in Step 4 might seem like a lot, but it’s the single most important step for success. I use a watering can to deliver water slowly at the base of each plant, which prevents runoff and ensures deep penetration. For the first week, water in the morning so foliage dries before evening—this prevents fungal issues while roots are vulnerable.
Depth Matters More Than You Think: That 1 inch below soil level planting depth in Step 3 isn’t arbitrary—it’s the sweet spot that protects the crown from winter damage while allowing new growth to emerge easily. I use a ruler to check my first planting, then use that as a visual guide for the rest. Too shallow, and plants may heave out of the ground during freeze-thaw cycles; too deep, and they’ll struggle to emerge in spring.
The ideal time is early spring (as new growth starts) or early fall (4-6 weeks before frost). This gives roots time to establish before extreme heat or cold. Avoid transplanting during peak summer or while blooming—stress can delay next year’s flowers!
It’s not recommended. Transplanting during blooming diverts energy from root growth, risking weaker plants. If unavoidable, trim back flowers/stems first to reduce stress. Wait until after flowering ends for best results.
Set the crown (where roots meet foliage) 1–2 inches below soil level. Too deep = rot; too shallow = drying out. Water thoroughly after planting to eliminate air pockets. A quick check: The base of the leaves should sit just above ground.
This is normal transplant shock! Keep soil moist (not soggy) for 2–3 weeks. Trim back wilted leaves to redirect energy to roots. If yellowing persists, test for overwatering or poor drainage. Most rebound in 3–4 weeks. Patience is key!
Not always! If the clump is small (under 3 years old), transplant it whole. For mature clumps (5+ years), divide to improve vigor—use a sharp spade to split into 3–4 sections, each with roots and foliage. Replant immediately for best success.
