
Beautiful Plants For Your Interior
Beautiful Plants For Your Interior
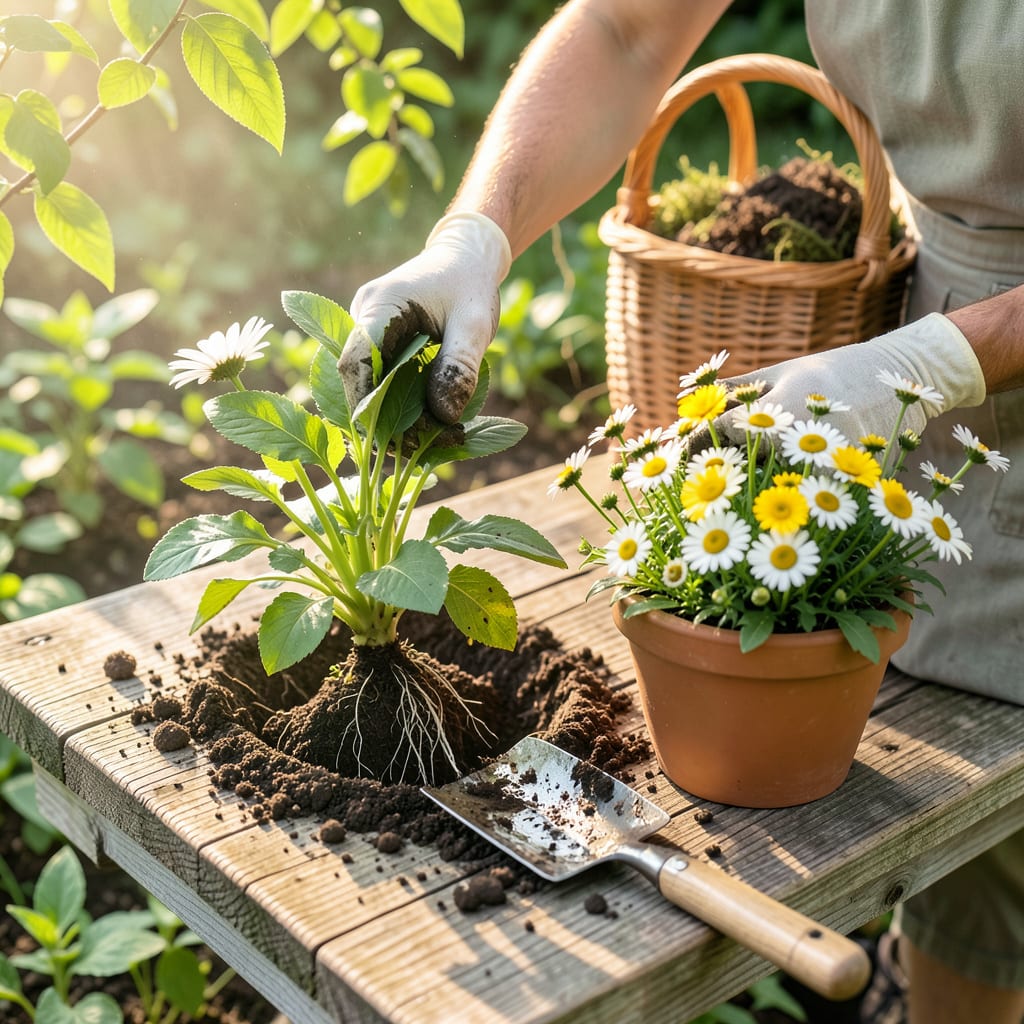
Moving daisies to a new spot doesn’t have to be stressful—for you or the plants. I’ve transplanted dozens over the years, and the ones that thrive always follow the same simple rules about timing and root care. Early spring or fall works best, when the weather’s cool but the ground isn’t frozen. That 6-week window before your first frost or after your last gives roots time to settle without heat stress.
The difference between wilted disappointment and explosive blooms next season comes down to three things: keeping the root ball intact, watering immediately after moving, and giving them partial shade for the first few days. My transplanted daisies always bounce back faster when I do this in the evening—less sun shock means they recover overnight. You’ll see new growth within 10-14 days if you nail these basics.
📚 In This Guide
Moving daisies doesn’t have to be stressful—follow this method and they’ll reward you with vibrant blooms.
Transplant daisies in early spring or early fall when temperatures stay between 50-70°F. Avoid moving them during summer heat or winter dormancy, as the stress can kill even established plants. I always check the forecast for a stretch of mild, overcast days—this gives roots time to settle without immediate sun stress.
Prepare the new planting hole before digging up the daisy. Dig a hole twice as wide as the root ball but no deeper. Mix a handful of compost into the soil you removed—this gives the roots a nutrient boost as they spread. Water the new hole thoroughly and let it drain while you prepare the plant.
Use a sharp spade to dig a wide circle around the plant, starting 6-8 inches away from the stem. Daisy roots spread horizontally, so you want to capture as much of the root system as possible. Slide the spade underneath at a 45-degree angle to lift the entire root ball intact.
Once lifted, gently shake off excess soil to inspect the roots. Healthy roots appear white or light tan—dark or mushy roots indicate rot. If you spot damaged sections, trim them cleanly with pruners. Keep the root ball moist by wrapping it in damp burlap if you’re not replanting immediately.
Place the daisy in the new hole so the top of the root ball sits 1 inch above the surrounding soil level. This prevents crown rot, which daisies are particularly susceptible to. Fill the hole halfway with your amended soil, then water deeply to eliminate air pockets. The water will compact the soil naturally around the roots.
After the water drains, finish filling the hole and create a shallow water basin around the plant. This helps direct moisture to the roots during the critical first week. Don’t tamp the soil down too firmly—you want the roots to establish without resistance, but the plant should stand upright without support.
Water the transplanted daisy immediately until the soil feels moist 4-6 inches deep. For the first week, water every 2-3 days unless rain provides at least an inch of moisture. The goal is consistently damp (not soggy) soil while roots re-establish.
Watch for signs of transplant shock: wilting leaves, yellowing edges, or drooping stems. If you see these, provide temporary shade with a lightweight row cover for 3-5 days. Avoid fertilizing for 2-3 weeks—new roots can’t process nutrients until they’ve recovered from the move.
Apply a 2-inch layer of organic mulch around the base, keeping it 3 inches away from the stem. This conserves moisture and regulates soil temperature while preventing rot. I use shredded bark or straw—both allow water through while suppressing weeds that compete with your daisy.
After 2-3 weeks, you’ll notice new growth—this signals successful establishment. At this point, resume normal care: water weekly unless rain occurs, and deadhead spent blooms to encourage continuous flowering. Your daisy should produce its first full flush of blooms 6-8 weeks after transplanting.
Transplanting daisies successfully comes down to a few critical details—here’s what I’ve learned from years of moving these cheerful bloomers.
Timing is Everything: The 50-70°F temperature window mentioned in Step 1 isn’t just a suggestion—it’s crucial. I’ve ruined daisies by transplanting during a late spring heatwave when temps hit 75°F. Even within the ideal range, aim for the cooler morning hours when the soil is moist and roots experience less immediate stress. Check the 10-day forecast for consistent mild weather before starting.
Root Ball Handling: When digging that 6-8 inch circle in Step 2, resist the urge to rush. I use a clean, sharp spade and make my initial cuts vertically before angling underneath. If the root ball starts to crumble, stop and water the area—moist soil holds together better. For large clumps, I slide a piece of burlap underneath before lifting to keep everything intact during the move.
Watering Wisdom: The “4-6 inches deep” moisture guideline in Step 4 is your best insurance against transplant shock. Here’s how I test it: push a wooden dowel into the soil after watering. When you pull it out, the damp portion should reach 4-6 inches up the stick. During that first critical week, I water in the early morning so foliage dries before evening, reducing disease risk. If your soil is heavy clay, reduce frequency slightly—soggy roots rot faster than dry ones.
Depth Discipline: That 1-inch-above-soil-level rule in Step 3 saved my daisies from crown rot more times than I can count. I use a ruler the first few times until I can eyeball it accurately. After planting, I gently tug upward on the stems—if the plant moves, the roots aren’t deep enough. If it resists but doesn’t pop out, you’ve got the depth just right. This simple test prevents countless problems later.
Early spring or fall is ideal—when temps are mild (50–70°F) and plants aren’t actively blooming. Avoid summer heat or winter frost, which stress roots. If transplanting in summer, water deeply for 2 weeks beforehand and pick a cloudy day to reduce shock.
It’s risky! Blooming drains energy needed for root recovery. If you must, trim back half the flowers first to redirect resources. Water extra for 3–4 weeks post-move. For best results, wait until after the blooming season ends.
Expect 2–4 weeks for roots to establish, with visible new growth in 4–6 weeks. Speed recovery by keeping soil moist (not soggy), adding mulch, and avoiding fertilizer for the first month. Yellowing leaves? Normal—prune them to help the plant focus on roots.
Try division instead! Every 2–3 years, dig up the entire clump, gently separate roots with your hands (or a knife for tough clumps), and replant divisions immediately. This rejuvenates crowded plants and gives you free daisies!
Common culprits:
