
Beautiful Plants For Your Interior
Beautiful Plants For Your Interior
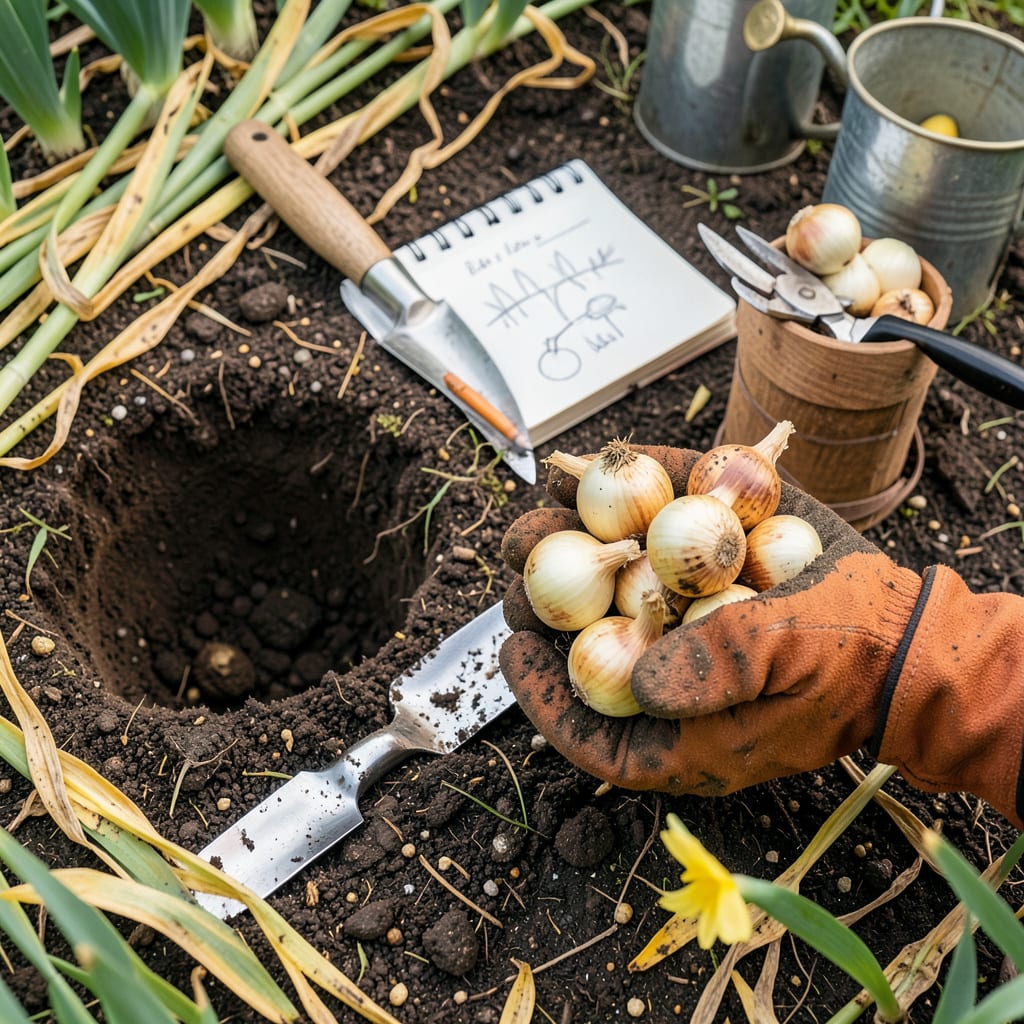
There’s something magical about moving daffodil bulbs—the way they bounce back even stronger the next spring. I’ve transplanted hundreds over the years, and the secret is timing: do it when the foliage turns yellow but before it completely dies back, usually 6-8 weeks after blooming. This gives bulbs time to store energy for next year’s show.
What most gardeners don’t realize is that daffodils actually thrive when divided and moved. You’ll get more blooms, healthier plants, and the chance to redesign your spring garden. The process takes less than an hour for a standard clump, and I’ll walk you through exactly how to lift, prepare, and replant them for guaranteed success.
📚 In This Guide
Timing and technique make all the difference when moving these hardy bulbs. Here’s how to do it without losing a single bloom.
The ideal window is 6-8 weeks after blooming, when foliage has yellowed but hasn’t completely died back. This gives bulbs time to store energy for next year while being dormant enough to handle the move. I mark my calendar right after the last flowers fade so I don’t forget.
Never transplant while daffodils are actively blooming or immediately after – you’ll shock the bulbs and sacrifice next year’s flowers. The soil should be dry enough to work easily, not soggy from recent rains. Early summer typically offers perfect conditions in most climates.
Select a location with full sun to partial shade and well-draining soil. Daffodils rot in wet conditions, so avoid low spots where water collects. I test drainage by digging a 12-inch deep hole and filling it with water – if it doesn’t drain within an hour, choose another spot.
Work the soil to a depth of 12-15 inches, removing rocks and breaking up clumps. Mix in a 2-3 inch layer of compost to provide nutrients without making the soil too rich (daffodils prefer lean conditions). The soil should feel loose and crumbly when you’re done preparing it.
Use a garden fork to gently lift the entire clump of bulbs from the ground. Start digging 6-8 inches away from the foliage to avoid slicing through bulbs. I work slowly in a circular motion until the fork slides underneath the cluster.
Once lifted, gently separate the bulbs by hand. Healthy bulbs feel firm and show no signs of softness or mold. Discard any that are mushy or have dark spots. You’ll often find smaller offset bulbs attached – these can be planted separately but may take a year to bloom.
Plant bulbs with the pointed end facing upward, 6 inches deep (measure from the base of the bulb to the soil surface). This depth protects them from temperature fluctuations. Space bulbs 4-6 inches apart – closer for a fuller look, farther for naturalizing.
After placing all bulbs, backfill with soil and gently firm the surface. Water thoroughly to settle the soil and eliminate air pockets. The soil should feel moist but not waterlogged. I like to add a 1-inch layer of mulch to conserve moisture and suppress weeds.
Water the transplanted area once a week for the first month unless rain provides about 1 inch of moisture. After that, daffodils need virtually no supplemental watering – their natural dormancy period requires dry conditions.
Resist the urge to cut back any remaining foliage. Let it die back naturally, which typically takes 4-6 weeks. The leaves are feeding the bulbs for next year’s blooms. By late summer, all traces of foliage should be gone, and your bulbs will be ready for their winter rest.
Getting this process right means the difference between a disappointing spring and a garden bursting with color. Here’s what I’ve learned from years of moving bulbs without losing blooms.
Timing Precision: That 6-8 week window after blooming mentioned in Step 1 isn’t arbitrary—it’s when bulbs are storing maximum energy for next year while being dormant enough to handle disturbance. I’ve found that marking my calendar immediately after the last petals drop helps me hit this window perfectly. Transplant too early and you’ll stress active bulbs; too late and they won’t establish properly before winter.
Soil Preparation Secret: When preparing your new site in Step 2, don’t just eyeball that 12-15 inch depth—actually measure it. I use a ruler the first time to train my eye. This depth ensures bulbs have loose soil to expand into as they grow. The 2-3 inch compost layer might seem minimal, but daffodils thrive in lean soil—too much organic matter can cause them to rot rather than bloom.
Bulb Handling Technique: In Step 3, when lifting bulbs with your garden fork, work that 6-8 inch radius methodically. I make a complete circle around the clump before leveraging the fork underneath—this prevents those heartbreaking moments when you accidentally spear a bulb. Healthy bulbs should feel like firm potatoes; if any feel soft or show dark spots, they’re already compromised and won’t recover from transplanting.
Depth and Spacing Wisdom: That 6-inch planting depth in Step 4 isn’t just about protection—it’s about temperature regulation. Too shallow and bulbs may freeze; too deep and they’ll struggle to emerge. When spacing bulbs 4-6 inches apart, consider your long-term vision: closer spacing gives immediate impact, while wider spacing allows for natural spreading over years. I use the 4-inch spacing for formal beds and 6-inch for naturalized areas.
The ideal time is early summer to fall (June–October), after foliage yellows but before new roots form. In warmer zones (7–10), wait until late fall for cooler soil. Avoid transplanting during active blooming—it stresses the bulbs and may skip next year’s flowers.
Avoid transplanting active blooms—it can kill the bulb. If foliage is still green, wait until it yellows (6+ weeks post-bloom) to let the bulb store energy. Exception: If absolutely necessary, move the entire clump with soil intact and water deeply.
Plant bulbs 2–3x their height deep (typically 6–8 inches). In sandy soil, go deeper (8+ inches) to prevent frost heave. Space bulbs 4–6 inches apart for natural clusters. Pro tip: Add bone meal to the hole for a nutrient boost!
Common causes: Transplant shock (give them a year to recover), Too shallow planting, or Overcrowding. Fertilize with low-nitrogen bulb food in fall. If no blooms by Year 2, dig up and check for rot or pests.
No! Daffodils thrive 3–5 years without dividing. Split only when clumps get crowded (fewer blooms, smaller flowers). Lift bulbs post-bloom, separate offsets (baby bulbs), and replant immediately or store in a cool, dry place until fall.
