
Beautiful Plants For Your Interior
Beautiful Plants For Your Interior
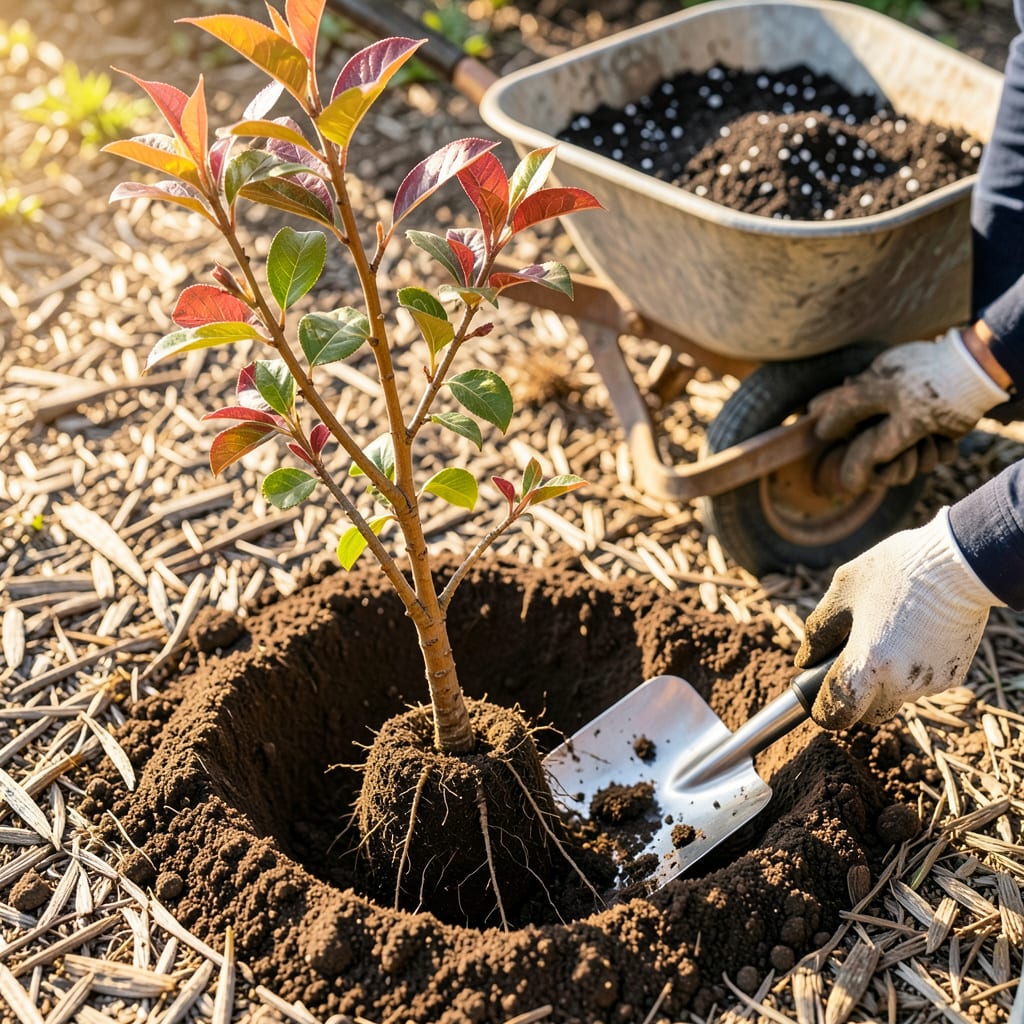
Moving a crepe myrtle feels like performing surgery on your landscape—except you don’t need a medical degree, just the right timing and technique. I’ve relocated dozens of these resilient beauties, and the ones that thrive always follow this rule: late winter or early spring, when they’re still dormant but the ground isn’t frozen. That window gives roots time to settle before summer’s heat demands performance.
Here’s the thing—most people stress over the digging, but the real magic happens after you replant. A well-prepped hole (twice as wide as the root ball), a drink of water to banish air pockets, and a 3-inch mulch blanket to lock in moisture can mean the difference between a sulking shrub and one that rewards you with blooms by midsummer. No guesswork, just science-backed steps that work.
📚 In This Guide
Moving an established crepe myrtle requires precision, but this method ensures minimal shock and vibrant reblooming next season.
Select a location with full sun (6+ hours daily) and well-draining soil. Dig a hole twice as wide as the root ball but no deeper—crepe myrtles planted too deep develop weak root systems. I test drainage by filling the hole with water; if it doesn’t drain within 30 minutes, amend with compost or sand.
Loosen the soil at the sides of the hole to encourage outward root growth. Mix a handful of slow-release fertilizer (10-10-10) into the backfill soil—this gives roots immediate nutrients without burning them. Keep the excavated soil nearby; you’ll need it for backfilling.
Three to four days before transplanting, use a sharp spade to sever roots in a 12-inch radius around the trunk. This forces the tree to produce new feeder roots within the remaining root ball, reducing transplant shock. Water the tree deeply each day until moving day—saturated soil holds the root ball intact during lifting.
On transplant day, tie lower branches with twine to protect them during handling. The root ball should be 10-12 inches in diameter per inch of trunk thickness. For a 2-inch trunk, aim for a 20-24 inch wide root ball. Wrap the ball in burlap if moving far to prevent soil crumbling.
Use the spade to undercut the root ball at a 45-degree angle, working around the tree until it’s free. Lift from the base, not the trunk—support the root ball’s weight. For trees over 6 feet tall, recruit a helper or use a tarp as a sling. Drag the tree (don’t carry) to avoid tearing roots.
Place the tree in the new hole immediately. The top of the root ball should sit 1-2 inches above ground level to allow for settling. Rotate the tree so its best side faces your viewing angle. If roots circle the ball, make three vertical cuts with a knife to encourage outward growth.
Fill the hole with native soil (no amendments) in 3-inch layers, watering between each to eliminate air pockets. Tamp gently with your foot—firm but not compacted. Create a 3-inch-high water ring around the perimeter to direct moisture to roots. Stake only if the tree can’t stand upright; use two stakes and soft tree ties to avoid bark damage.
Water deeply until the soil is muddy, then add a 2-3 inch mulch layer (wood chips or pine straw) over the root zone, keeping it 3 inches away from the trunk. Mulch retains moisture and insulates roots but should never touch the bark—this invites pests and rot.
Water daily for the first week, then taper to every 3-4 days for a month. Check soil moisture 2 inches deep—it should feel damp but not soggy. Avoid fertilizing until you see new leaf growth (usually 4-6 weeks), as roots need time to establish before processing nutrients.
Prune only to remove damaged branches—never shape the tree for 6 months post-transplant. Watch for wilting in afternoon heat; this is normal for the first two weeks. If leaves yellow or drop excessively, increase water slightly but ensure the soil drains well. Full recovery takes one season, but proper technique ensures blooms return the following year.
Transplanting established trees can feel intimidating, but these key insights will help you avoid common pitfalls and set your crepe myrtle up for success.
Root Pruning Precision: The three to four days of root pruning in Step 2 isn’t just about severing roots—it’s about timing. I’ve found that using a sharp spade (not a dull one) makes cleaner cuts that heal faster. When you make those 12-inch radius cuts, angle the blade slightly inward to create a natural tapering of the root ball. This shape helps the tree establish more efficiently in its new location. The deep watering during this period is non-negotiable; I use a soaker hose on low for 30-45 minutes daily to ensure the entire root zone stays saturated.
The Critical Lift: When it’s time to move the tree in Step 3, here’s what nobody tells you: the 45-degree undercut isn’t just about freeing the roots—it’s about creating a “bowl” that holds the root ball together during transport. For larger trees (over 6 feet), I recommend using a heavy-duty tarp as your sling rather than burlap. The tarp’s slick surface lets you drag the tree more easily, and you can use the corners as handles for positioning. Remember to lift from the root ball’s base, not the trunk—this prevents the bark from stripping away from the wood underneath, which can create entry points for disease.
Backfilling Technique: The 3-inch layer method in Step 4 isn’t arbitrary—it’s about preventing air pockets that can dry out new roots. As you add each layer of native soil, use the handle of your trowel (not your foot) to gently firm the soil around the root ball’s edges. This creates better soil-to-root contact without compacting. When building that 3-inch water ring, make it 6 inches wide—this gives you a proper basin for deep watering. I’ve seen too many people make the ring too narrow, which causes water to run off instead of soaking in where it’s needed.
Post-Transplant Vigilance: The daily watering in Step 5 during that first week should be done in the early morning. This allows foliage to dry before evening, reducing fungal risks. When checking that 2-inch soil moisture depth, use a wooden dowel or chopstick—it gives you a more accurate read than your finger. If you notice the leaves wilting dramatically by 2 PM (which is normal early on), give the tree a light misting of water on the foliage in addition to your deep root watering. This helps reduce transpiration stress while the roots re-establish.
Early spring (before new growth starts) or late fall (after leaves drop) are ideal. These seasons allow roots to establish before summer heat or winter cold. Avoid transplanting during peak blooming or extreme temperatures for best results.
For small trees (under 3″ trunk diameter), dig a root ball 12–18″ wide. For larger trees, aim for 24–36″ in diameter. Depth should match the root flare (where roots meet the trunk). Pro tip: Use a sharp spade to minimize root damage!
Younger trees (1–3 years old) transplant best with less shock. Mature trees (over 5 years) can be moved but require extra care—prune roots 6 months prior to encourage new growth and reduce stress.
Transplant shock is common! Ensure it’s getting 1–2″ of water weekly (deep soaks, not frequent light watering). Mulch 2–3″ deep to retain moisture, and avoid fertilizing for 6–8 weeks. Most trees recover within a season.
Consider propagation instead! Take 6–8″ softwood cuttings in early summer, dip in rooting hormone, and plant in moist soil. Or, grow a new tree from seeds (though it may not match the parent plant’s traits).
