
Beautiful Plants For Your Interior
Beautiful Plants For Your Interior
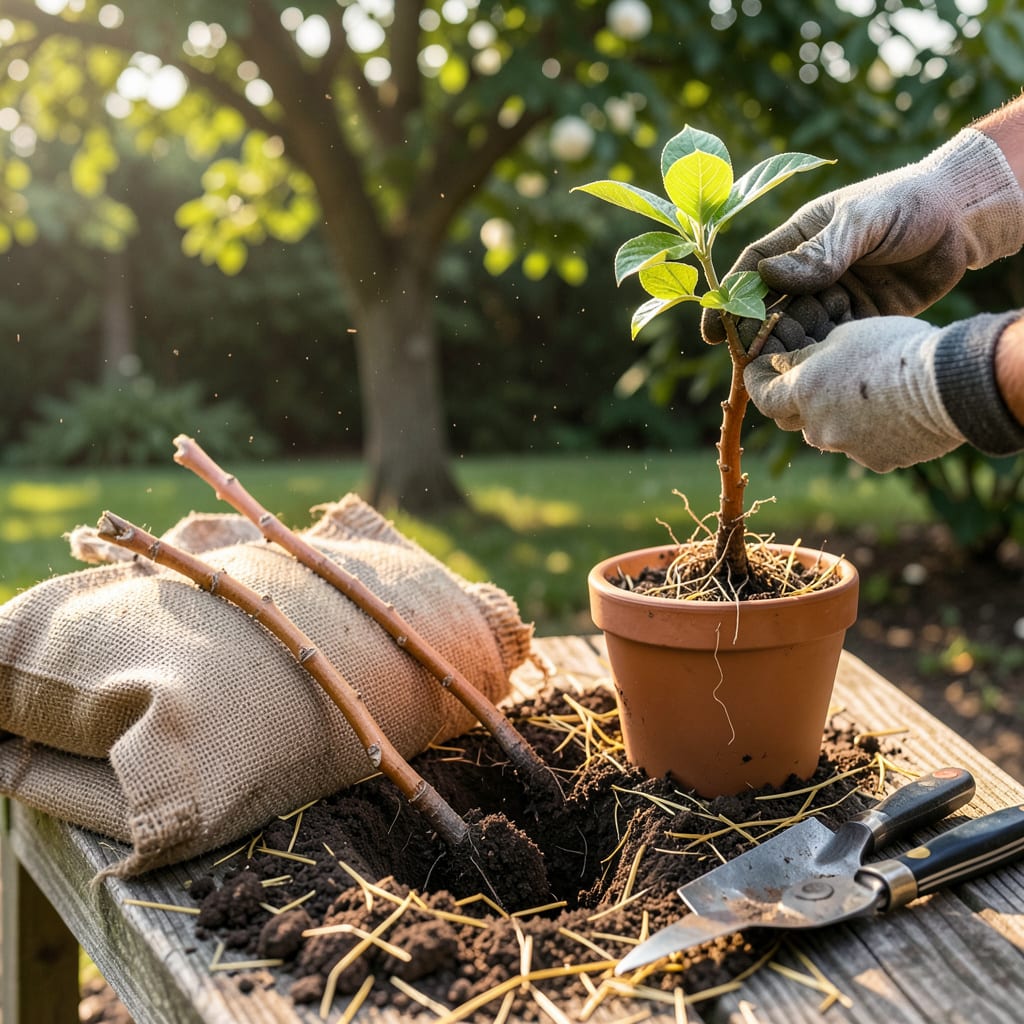
Those delicate crepe myrtle shoots popping up around your yard aren’t weeds—they’re free plants waiting to happen. I’ve turned dozens of these volunteers into thriving trees with just a little care at the right time. The secret is timing and technique: move them too late in summer, and they’ll wilt; do it properly in early spring, and you’ll have established plants by fall.
You don’t need fancy equipment—just sharp pruners, a good shovel, and about 30 minutes of focused work. What you’ll end up with is a clone of your favorite crepe myrtle, already adapted to your climate and soil. The first year is all about roots, but by year two? You won’t believe how fast they catch up to nursery-bought trees.
📚 In This Guide
This method ensures your new plants establish quickly with minimal transplant shock—perfect for beginners.
Choose pencil-thick shoots that are 12-18 inches tall with visible leaf nodes. I look for growth that’s flexible but snaps when bent sharply—this indicates the shoot has hardened enough to survive transplanting. Avoid any with yellowing leaves or soft stems, which signal disease or weakness.
Using clean pruners, cut just below a leaf node at a 45-degree angle. This slanted cut prevents water pooling on the stem while maximizing rooting surface area. Immediately place the cuttings in a bucket of water to prevent air bubbles from forming in the vascular system, which can block water uptake.
Dig holes twice as wide as the root ball but no deeper than the shoot’s current depth. I make the sides of the hole rough with my trowel—this helps roots penetrate the surrounding soil more easily. For 4 plants, space holes 3-4 feet apart to allow mature growth without competition.
Mix a handful of compost into the removed soil to boost nutrients. I avoid heavy fertilizers at this stage—they can burn tender new roots. Check that the hole’s bottom is loose; if compacted, scratch it with your trowel to encourage downward root growth.
Remove the shoot from water and trim any leaves from the bottom 6 inches of the stem. These would rot underground. I dip the cut end in water again before planting to ensure the vascular system stays hydrated during the critical first minutes in the ground.
Place the shoot in the hole so the lowest remaining leaves sit just above soil level. Backfill with your soil-compost mix, gently firming with your fingers—not your palm, which can compact too much. Water immediately with 1 gallon per plant to eliminate air pockets around roots.
Create a 2-inch high soil berm around each plant to act as a water basin. This ensures moisture reaches the roots rather than running off. I mulch with 1-2 inches of pine straw, keeping it 3 inches away from the stem to prevent rot while conserving moisture.
Insert a 2-foot stake at a 45-degree angle facing prevailing winds and loosely tie the shoot with soft twine. This prevents the flexible new stem from whipping in breezes, which can break the fragile union between shoot and developing roots. Check ties weekly—they should allow the stem to thicken without constricting.
Water deeply every 2-3 days for the first 2 weeks, then taper to weekly unless rainfall exceeds 1 inch. I check soil moisture by inserting my finger 2 inches deep—if it feels dry at that depth, it’s time to water. Morning watering allows foliage to dry before evening, preventing fungal issues.
Watch for new leaf growth, which typically appears within 3-4 weeks if the transplant succeeded. If leaves wilt by midday but recover by morning, the plant needs more water. If wilting persists overnight, check for root disturbance or disease. Remove any flowers that form the first year—this directs energy to root establishment instead of blooms.
These practical insights will help you avoid common pitfalls and ensure your new crepe myrtle plants thrive from day one.
Selection Secret: In Step 1, when choosing your 12-18 inch shoots, look for ones with at least three visible leaf nodes along the stem. I’ve found that shoots with more nodes establish roots faster and have better survival rates. The snap test is crucial – if it doesn’t break cleanly when bent sharply, it’s too soft and likely won’t survive the transplant stress.
Planting Depth Matters: When placing your shoot in the hole during Step 3, make sure the lowest remaining leaves sit exactly at soil level – not below, not above. I learned this the hard way after burying leaves on my first attempt, which caused stem rot. The 6 inches of bare stem you create by removing lower leaves should be completely underground, while all foliage stays above soil.
Watering Technique: That 1 gallon of water per plant immediately after transplanting in Step 3 isn’t just about hydration – it’s about eliminating air pockets. I pour the water slowly in stages, letting it absorb between additions. This gradual approach ensures the soil settles evenly around the roots rather than creating channels where water might run off. The soil should feel like a damp sponge when you’re done.
Staking Strategy: For the 2-foot stake in Step 4, don’t position it vertically – the 45-degree angle is critical. I face mine toward the prevailing wind direction in my area (usually northwest). This angled support prevents the stem from rubbing against the stake during wind, which can create wounds that invite disease. Check your ties weekly as the stem thickens – I’ve seen twine cut into growing stems when not adjusted.
Early spring (March–April) or fall (September–October) is ideal , when the plant is dormant. Avoid extreme heat or cold—transplanting in summer stresses shoots, while winter’s frozen ground makes digging difficult. Mild weather helps roots establish faster.
Aim for shoots 1–3 feet tall with pencil-thick stems (≈¼–½ inch diameter). Smaller shoots may not survive the shock, while larger ones risk root damage. Look for healthy leaves and flexible (not brittle) stems as signs of readiness!
Don’t panic! Wilting is normal for 1–2 weeks (transplant shock). Keep soil moist (not soggy) and provide afternoon shade. If browning spreads, check for overwatering or root damage. Trim dead leaves, but leave green growth—it may recover!
Skip fertilizer for the first 4–6 weeks! Fresh roots are sensitive. Instead, mix compost into the planting hole for nutrients. After 6 weeks, use a balanced 10-10-10 fertilizer (diluted) to encourage growth—never apply directly to roots.
Yes! Use a 5-gallon pot with drainage holes and well-draining soil. Keep potted shoots in partial sun and water when the top inch of soil dries. Warning: Potted shoots need winter protection (move indoors or insulate) in zones below 7.
