
Beautiful Plants For Your Interior
Beautiful Plants For Your Interior
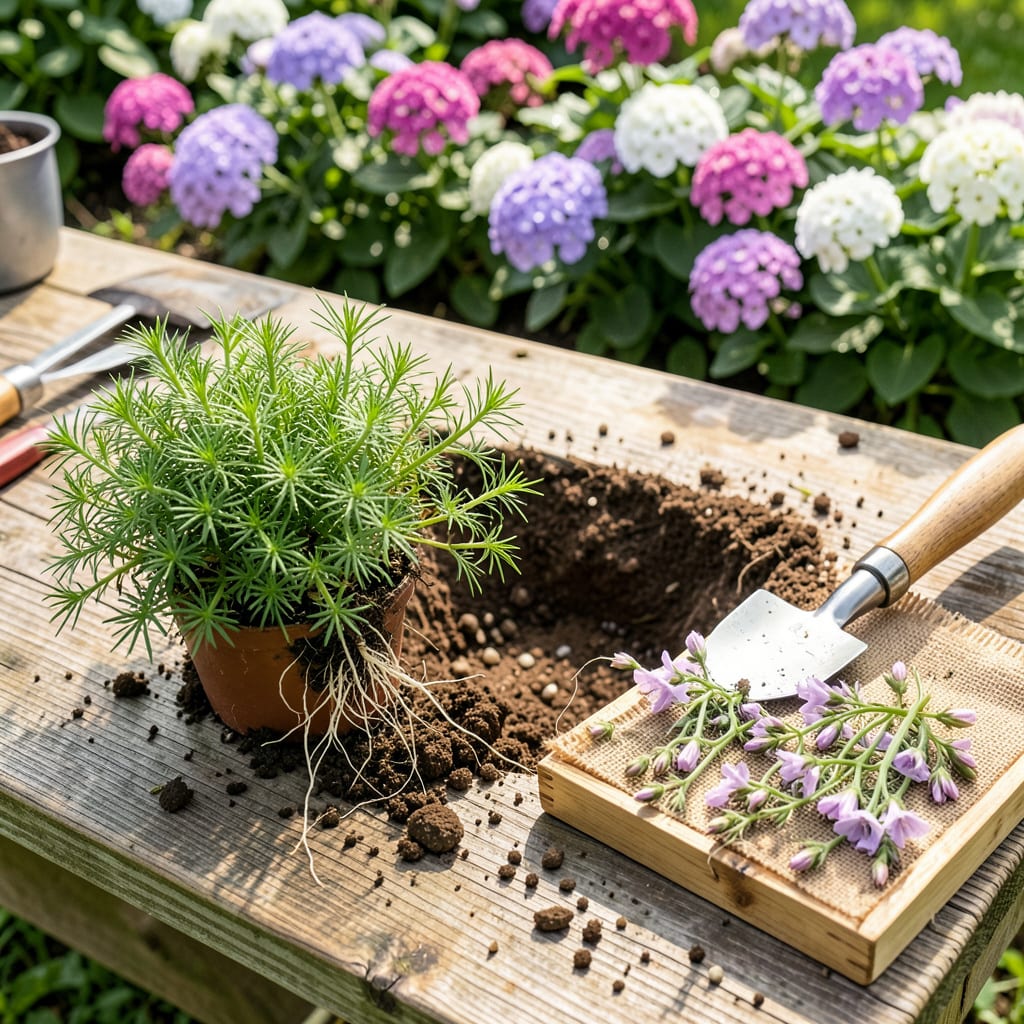
That first spring after transplanting creeping phlox changed how I think about ground cover. What started as a scraggly patch became a vibrant purple carpet by June—all because I finally nailed the timing and technique. Early fall or spring, when soil is cool but workable, gives roots time to establish before heat or frost hits.
Here’s the thing—this isn’t about luck. With a sharp trowel, some compost, and 20 minutes of careful work, even divided clumps take hold fast. I’ve moved dozens of phlox patches over the years, and the ones that thrive always get two things right: undisturbed root balls and that first deep watering. You’ll see new growth within weeks.
📚 In This Guide
Timing and technique make all the difference when moving this vibrant ground cover. Here’s how to do it without stressing the plants.
Early spring or early fall works best for creeping phlox. I aim for 4-6 weeks before your last expected frost in spring, or 6-8 weeks before first frost in fall. The plants need time to establish roots before temperature extremes hit.
You’ll know it’s the right moment when the plants show active growth but aren’t flowering yet. Transplanting during bloom stresses the plants and reduces next season’s flowers. Check that nighttime temperatures stay above 40°F consistently.
Select a location with full sun to partial shade—creeping phlox thrives with 6+ hours of sunlight daily but tolerates afternoon shade in hot climates. Clear all weeds and debris from the area, then loosen the soil to a depth of 8-10 inches.
Mix in 2-3 inches of compost to improve drainage and fertility. This plant hates soggy roots, so if your soil is heavy clay, consider amending with coarse sand or planting on a slight slope. Water the prepared area thoroughly the day before transplanting.
Use a garden fork to gently lift the phlox clumps from their current location. Start digging 4-6 inches away from the plant’s edge to avoid slicing through the root system. The roots spread wider than you might expect.
Once lifted, shake off excess soil and examine the root ball. Healthy creeping phlox has white, fibrous roots. If you’re dividing large clumps, use your hands or a clean knife to separate sections, ensuring each division has both roots and foliage. I aim for divisions about 6 inches across.
Space the transplants 12-18 inches apart to allow for spreading. Dig holes just deep enough so the top of the root ball sits level with the soil surface—planting too deep suffocates the crown. Gently firm the soil around each plant to eliminate air pockets.
Water immediately after planting until the soil is thoroughly moistened to a depth of 6 inches. You’ll see the soil darken and water may pool briefly before absorbing. Add a 1-2 inch layer of mulch around (but not touching) the plants to conserve moisture and suppress weeds.
Keep the soil consistently moist (but not waterlogged) for the first 2-3 weeks. You’ll know the plants need water when the top 1 inch of soil feels dry. Morning watering works best to allow foliage to dry before evening.
Watch for wilting in the first week—this is normal as roots adjust. If wilting persists beyond 3-4 days, the plants may need temporary shade or more frequent watering. Avoid fertilizing until you see new growth, typically within 3-4 weeks, which signals successful establishment.
Transplanting creeping phlox doesn’t have to be stressful—these practical insights will help your plants thrive in their new location.
Timing Precision: The 4-6 week window before last frost in spring (or 6-8 weeks before first frost in fall) isn’t arbitrary. I’ve found that transplanting during this period gives roots enough time to establish before summer heat or winter cold sets in. If you miss this window, wait until the next ideal season rather than risking plant shock. Pay special attention to nighttime temperatures—consistent 40°F readings mean you’re in the safe zone for transplanting.
Root System Protection: When digging up phlox in Step 3, resist the urge to rush. Starting 4-6 inches from the plant’s edge might seem excessive, but I learned the hard way that creeping phlox roots spread much wider than they appear. Use a garden fork rather than a spade to minimize root damage. If you’re dividing plants, aim for 6-inch sections as suggested—smaller divisions often struggle to establish.
Watering Wisdom: The instruction to water until moisture reaches 6 inches deep in Step 4 is crucial. I check this by pushing a wooden dowel into the soil after watering—it should come out with damp soil clinging to it. During the first 2-3 weeks, water in the morning so foliage dries before evening. This simple practice prevents fungal issues that can set back your newly transplanted phlox.
Establishment Monitoring: Don’t panic if you see wilting in the first week—this is completely normal as roots adjust. However, if wilting continues beyond 3-4 days as mentioned in Step 5, provide temporary shade with a lightweight fabric. I’ve saved many struggling transplants by creating a simple shade structure with stakes and burlap during the hottest part of the day.
The ideal time is early spring (just after the last frost) or early fall (4-6 weeks before the first frost). These seasons give roots time to establish before extreme heat or cold. Avoid transplanting in summer—stress from heat can shock the plants!
Spring or fall is perfect for dividing overgrown clumps. Use a sharp spade to split the plant into sections with healthy roots and foliage. Each division should be at least 4–6 inches wide for best results. Replant immediately and water well.
Wilting is often due to transplant shock (too much sun, dry soil, or root damage). Water deeply every 2–3 days for the first week, provide temporary shade, and avoid fertilizing until recovery. If roots were disturbed, trim damaged parts before replanting.
Mulch with 1–2 inches of shredded bark or compost to retain moisture and suppress weeds. Water consistently (1 inch per week) and avoid foot traffic. For a boost, mix a balanced 10-10-10 fertilizer (diluted) into the soil at planting. Growth should accelerate in 3–4 weeks!
Yes! Choose a pot at least 8–12 inches deep with drainage holes. Use well-draining potting mix (add perlite for airflow). Keep pots in partial sun and water when the top inch of soil feels dry.
