
Beautiful Plants For Your Interior
Beautiful Plants For Your Interior
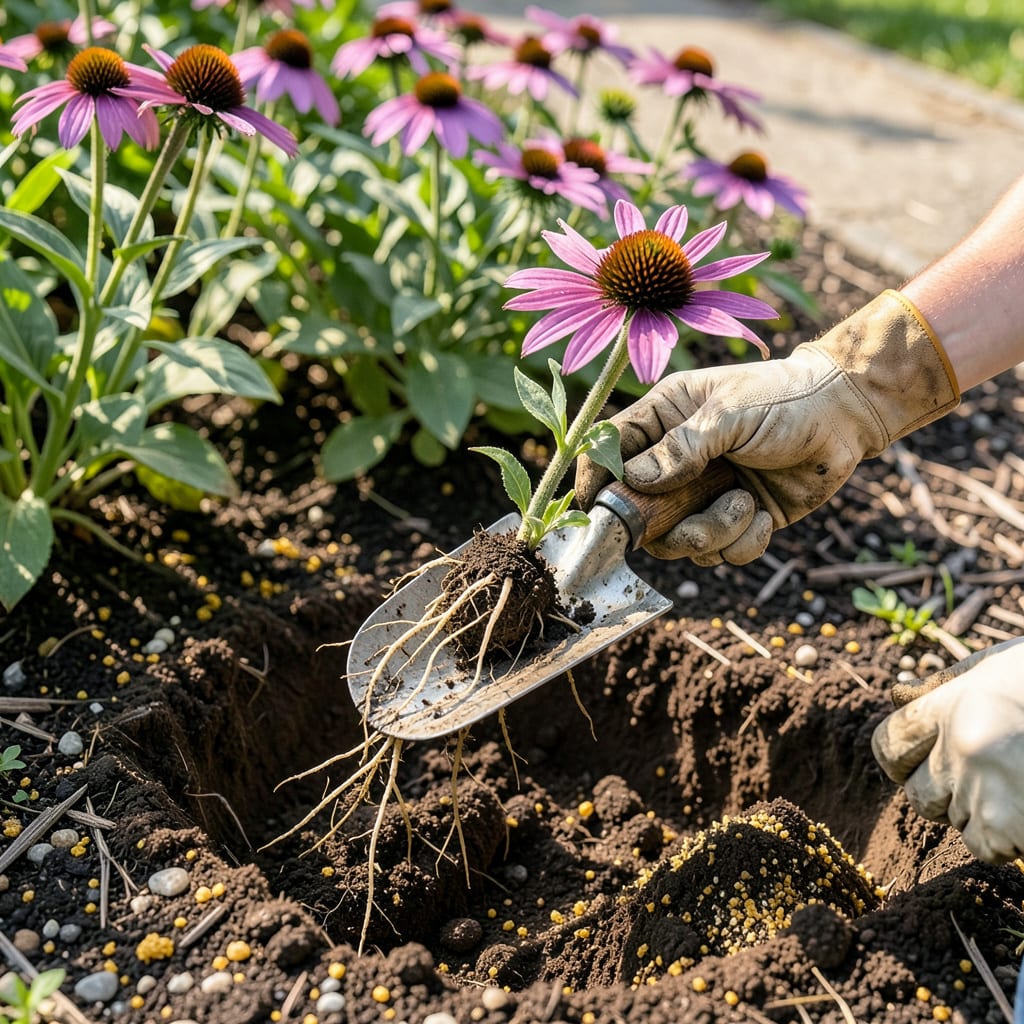
Moving coneflowers feels intimidating until you realize how forgiving these tough perennials actually are. I’ve relocated dozens over the years—some in early spring, others in fall—and the ones that follow a few simple rules always bounce back stronger. The key is timing: aim for early spring or early fall when plants are dormant but soil is workable.
What surprises most gardeners is how little coneflowers demand during the move. A sharp trowel, some compost, and a watering can are all you really need. The real secret? Keep the root ball intact and water deeply before lifting—this prevents shock and gives your plants a head start in their new home. You’ll see fresh growth within 2-3 weeks if done right.
📚 In This Guide
Moving established coneflowers doesn’t have to be stressful—here’s how to relocate them with minimal shock and maximum success.
Early spring or early fall represents the ideal window for transplanting coneflowers, when temperatures remain consistently between 50-75°F. I avoid mid-summer moves because the heat stresses plants during recovery. Late fall transplanting risks insufficient root establishment before winter dormancy.
Watch for new basal growth emerging at the plant’s base in spring—this signals active root growth and prime transplanting conditions. In fall, transplant at least 4-6 weeks before your first expected frost date to allow root systems to anchor before winter.
Dig the new hole twice as wide as the coneflower’s root ball but maintain the same depth. Coneflowers thrive in well-draining soil with a pH between 6.0-7.0. I amend heavy clay with compost to improve drainage, creating a loose, friable texture that encourages root expansion.
Position the hole so the plant will sit at the same soil level as its original location—the crown (where stems meet roots) should remain exactly at soil surface. Planting too deep encourages crown rot, while planting too shallow exposes roots to drying. Water the new hole thoroughly before transplanting to create a moisture reservoir.
Using a sharp spade, dig a 12-inch diameter circle around the plant, working outward from the drip line. Coneflowers develop deep taproots, so I angle the spade 45 degrees inward to sever roots cleanly while preserving as much of the root system as possible. Lift the plant by grasping the root ball, not the stems.
Immediately place the coneflower in its new hole, backfilling with native soil and gently firming to eliminate air pockets. Water deeply with 1-2 gallons per plant to settle the soil around roots. The soil should feel moist but not saturated—think of a wrung-out sponge’s consistency.
Maintain consistent moisture for 2-3 weeks post-transplant, watering whenever the top 2 inches of soil feel dry. I apply a 2-inch layer of mulch around the base (keeping it 3 inches away from stems) to conserve moisture and regulate soil temperature. Avoid fertilizing immediately—wait until you see new leaf growth before applying any nutrients.
Watch for wilting in the first week—this often indicates transplant shock rather than permanent damage. If leaves droop by midday but recover by morning, the plant is adjusting normally. However, if wilting persists beyond 72 hours, the root system may need additional moisture or the plant may require temporary shade protection during peak sun hours.
Transplanting coneflowers successfully comes down to timing and technique—here’s what I’ve learned from years of trial and error.
Timing Secret: The 4-6 week window before frost mentioned in Step 1 isn’t just a suggestion—it’s critical for root establishment. I’ve found that transplanting exactly 6 weeks before the first expected frost gives roots the maximum time to anchor without risking new growth that winter could damage. Use your local agricultural extension’s frost date calculator for precision rather than guessing based on past years.
Root Ball Technique: When digging that 12-inch diameter circle in Step 3, resist the urge to rush. I angle my spade at exactly 45 degrees and work methodically around the plant, severing roots cleanly rather than tearing them. This preserves the fine feeder roots that are most vulnerable during moves. If you encounter resistance, rock the spade gently rather than forcing it—you’ll save more of the root system this way.
Watering Wisdom: The 1-2 gallons per plant immediately after transplanting in Step 3 should be applied slowly, over 5-10 minutes per plant. I use a watering can with a breaker attachment to prevent soil erosion around the newly placed roots. The goal is deep saturation without creating puddles—think of it as giving the roots a welcoming drink rather than a quick splash. This initial watering is more important than any subsequent one.
Post-Transplant Monitoring: During those first 72 hours mentioned in Step 4, I check plants at three specific times: early morning, midday, and late afternoon. Morning checks reveal overnight recovery, midday shows heat stress levels, and afternoon observations help me decide if temporary shade is needed. Keep a transplant journal noting which plants perked up overnight and which didn’t—this pattern tells you more than any single observation.
Got questions about moving your coneflowers? You’re not alone! Here are the most common concerns gardeners have—with quick, action-packed answers to keep your plants happy.
When’s the best time to transplant coneflowers?
Early spring (as new growth emerges) or early fall (4–6 weeks before frost) are ideal. Avoid transplanting in summer heat or during blooming—stress levels spike! For container-grown plants, mild weather (60–75°F) works year-round.
It’s not recommended—transplant shock can cut short blooms or kill the plant. If you must, prune back half the flowers, water deeply, and provide shade for 3–5 days. Wait until after blooming for best results.
Match the original depth: The crown (where stems meet roots) should sit just at soil level. Too deep = rot; too shallow = drought stress. Pro tip: Loosen roots gently if pot-bound to encourage outward growth!
Don’t panic! Wilting is normal for 2–7 days. Keep soil moist (not soggy) and provide afternoon shade. If leaves crisp or blacken after a week, check for root damage or overwatering. Most bounce back with TLC!
Skip heavy fertilizers for 3–4 weeks—they can burn stressed roots. Instead, mix compost into the hole before planting or use a weak liquid seaweed solution after 2 weeks. Let roots establish first!
