
Beautiful Plants For Your Interior
Beautiful Plants For Your Interior
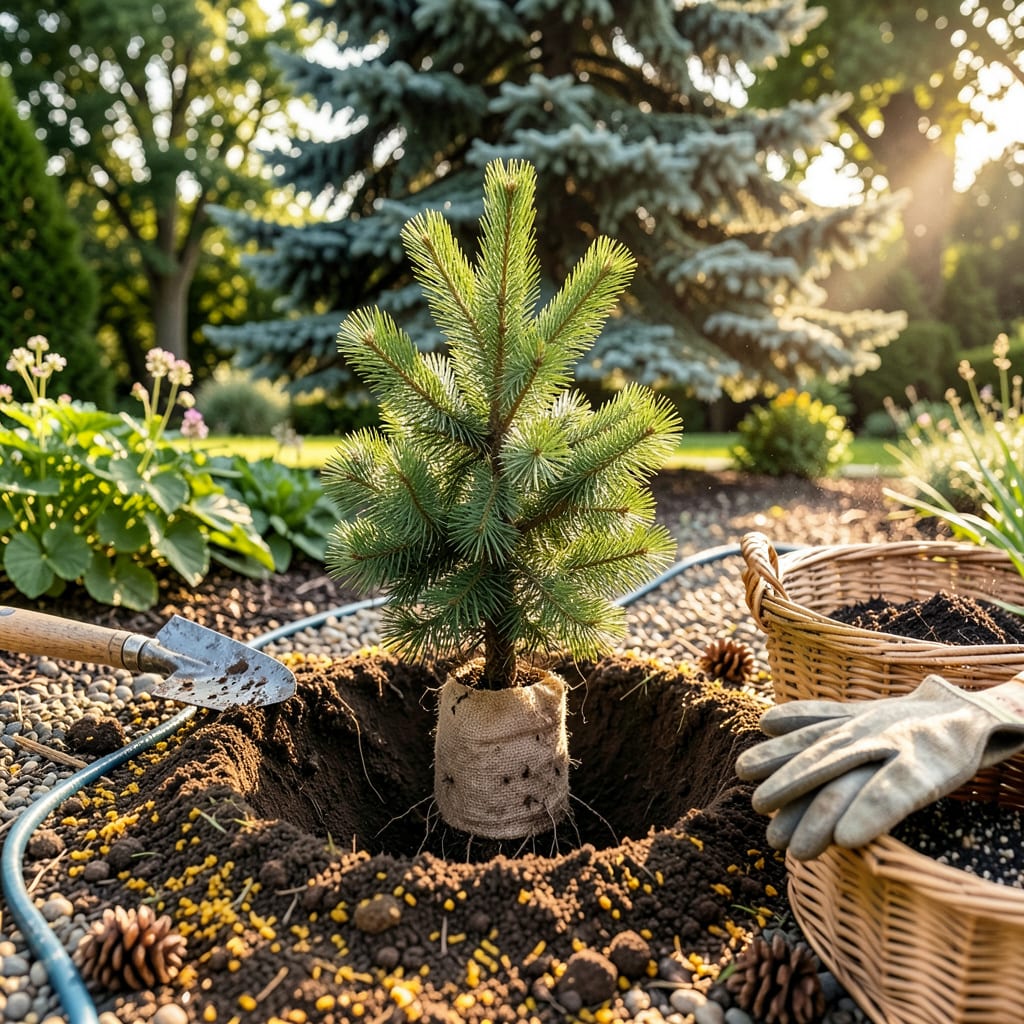
Moving a cedar tree feels intimidating—until you realize it’s about timing and technique, not luck. I’ve transplanted dozens over the years, and the ones that thrive always follow the same rules: early spring or fall, a generous root ball, and zero guesswork about soil prep. The difference between a tree that struggles and one that takes off? Preparation.
You’ll end up with a cedar that establishes faster, resists transplant shock, and grows with the same vigor as if it had never moved. No fancy tools required—just a shovel, some burlap, and the confidence to cut through roots (yes, really). The secret? Watering deeply before and after, then letting the tree tell you what it needs in those first critical weeks.
📚 In This Guide
Moving established cedars takes patience, but this method ensures they thrive in their new home.
Choose a location with full sun to partial shade and well-draining soil. Cedars despise soggy roots, so avoid low spots where water pools. Dig a hole twice as wide as the root ball but only as deep as the container or current root system. This loose surrounding soil encourages rapid root expansion.
Mix the excavated soil with 20-30% compost to improve drainage and fertility. I always test the hole by filling it with water—if it drains slower than 1 inch per hour, amend further with coarse sand or pine bark fines. The goal is soil that crumbles easily in your hand but holds shape when squeezed.
Water the cedar deeply 24-48 hours before transplanting. This ensures the root ball stays intact during moving and reduces transplant shock. For container-grown cedars, soak until water runs freely from drainage holes. For field-dug trees, saturate the root zone 12-18 inches deep.
If transplanting a field-grown cedar, use a sharp spade to root prune in a circle around the tree 6-12 months before moving. This encourages compact root growth. For immediate transplants, trim any circling or damaged roots with clean pruners—never tear roots, as this creates entry points for disease.
Lift the cedar by the root ball—not the trunk—to avoid damaging the bark. For large specimens, slide a tarp underneath to drag it without disturbing roots. Position the tree so the top of the root ball sits 1-2 inches above the surrounding soil level. This accounts for settling and prevents the trunk from staying too moist.
Rotate the tree to show its best face forward. Step back and view it from multiple angles—the most attractive side should face your primary viewing area. I always take a photo before moving to reference the original orientation if needed. Once satisfied, backfill with your amended soil, gently firming as you go to eliminate air pockets.
Create a 3-4 inch high watering berm around the edge of the root ball to direct water where it’s needed. Water immediately after planting until the soil is saturated 12-18 inches deep. Use a hose on trickle setting for 30-45 minutes, allowing water to penetrate slowly without runoff.
Apply 2-3 inches of organic mulch (pine straw or shredded bark) over the root zone, keeping it 3 inches away from the trunk to prevent rot. Mulch conserves moisture and regulates soil temperature—critical for cedar establishment. Check moisture weekly; the soil should feel damp but never soggy 2 inches below the mulch layer.
Water deeply 2-3 times weekly for the first month, then taper to once weekly unless rainfall exceeds 1 inch. Cedars show stress through needle discoloration—yellowing indicates overwatering, while browning suggests drought. I use a rain gauge to track precipitation accurately.
Avoid fertilizing for 6-8 weeks post-transplant. Let the roots establish first. Watch for new growth—2-3 inches of fresh tip growth signals successful establishment. Remove any competing weeds immediately, as they steal water and nutrients during this critical period. Stake only if necessary, using soft tree ties that won’t girdle the trunk.
Transplanting cedars successfully comes down to a few critical details that make all the difference between thriving trees and struggling ones.
Watering Wisdom: The 24-48 hour pre-transplant watering in Step 2 isn’t just helpful—it’s essential. I’ve found that deeply saturated soil acts like a protective cushion for roots during the move. For container-grown cedars, don’t just water until it runs out the bottom—let the pot sit in a saucer of water for 30 minutes to ensure complete saturation. This extra step prevents root ball disintegration when lifting.
Root Pruning Insight: If you’re planning to move a field-grown cedar, that 6-12 month root pruning window in Step 2 is your secret weapon. I learned this the hard way after losing a beautiful specimen—pruning forces the tree to develop a dense, transportable root system. For immediate moves, be ruthless with damaged roots; clean cuts heal faster than torn ones.
Positioning Precision: When placing your cedar in Step 3, that 1-2 inch elevation above soil level is non-negotiable. I use a straight board laid across the hole to check the height before backfilling. This prevents the “bathtub effect” where water pools around the trunk. Also, take that photo suggestion seriously—it’s amazing how disorienting a large tree can be once it’s out of the ground.
Aftercare Attention: The 2-3 times weekly watering in Step 5 during the first month should follow the “finger test”—push your finger 2 inches into the soil. If it feels dry at that depth, it’s time to water. I’ve saved several cedars by catching underwatering early this way. And when checking for those 2-3 inches of new growth, look at the tip color too—healthy new growth is brighter green than older needles.
The ideal time is early spring (before new growth starts) or late fall (after leaves drop but before frost). Avoid transplanting in summer heat or winter freezes—cedars stress easily! For container-grown cedars, mild weather (50–70°F) works year-round with extra watering.
For trees under 6 feet tall, dig a root ball 12–18 inches wide per inch of trunk diameter. Larger cedars (8+ feet) need 24+ inches. Use a sharp spade to cut cleanly around the drip line (outer branches). Pro tip: Wrap the root ball in burlap to hold soil during the move!
Water deeply 2–3 times per week for the first month (daily in hot/dry climates). After 4–6 weeks, taper to once weekly. Check soil moisture 2 inches deep—it should feel damp, not soggy. Mulch (2–3 inches of wood chips) helps retain moisture and reduce shock.
Success depends on size, timing, and aftercare! Small cedars (<5 feet) have a 70–90% survival rate if transplanted correctly. Larger trees (>10 feet) drop to 50% or less. Minimize root damage, avoid bare-rooting, and use anti-stress treatments (like mycorrhizal fungi) to boost odds.
Instead of risking transplant shock:
