
Beautiful Plants For Your Interior
Beautiful Plants For Your Interior
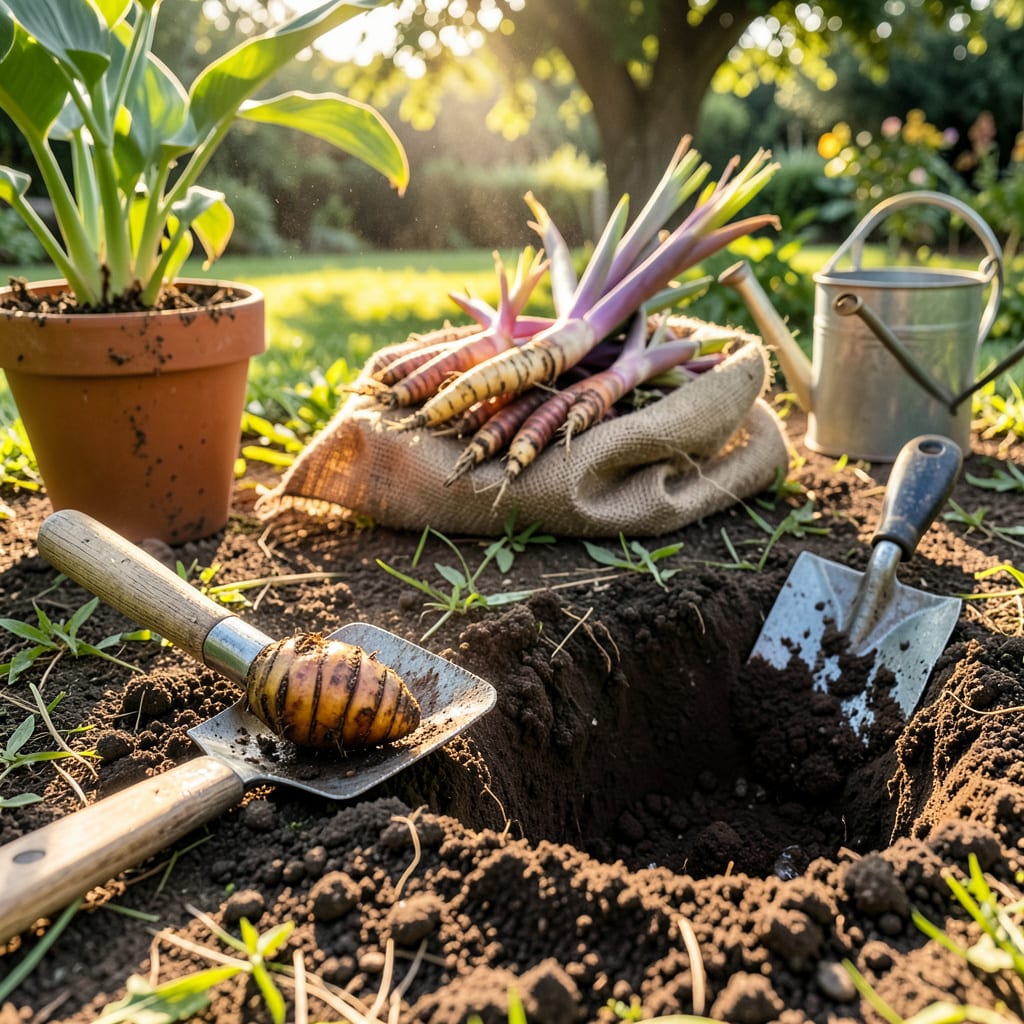
Moving canna lilies feels intimidating until you realize how forgiving these plants actually are. I’ve relocated dozens over the years, and the ones that struggled were always due to my mistakes—not the plants’ fragility. Spring transplanting gives them the entire growing season to establish, but early fall works too if you’re in a mild climate.
The secret lies in the rhizomes—those thick, potato-like roots that store energy. Treat them gently during the move, and they’ll reward you with bigger blooms and more vigorous growth than ever. You’ll need just a few basic tools, some compost, and about 30 minutes to set them up for success in their new spot.
📚 In This Guide
Timing and technique make all the difference when moving these tropical beauties to their summer home.
Choose a location with full sun (6+ hours daily) and well-draining soil. I work in 2-3 inches of compost to improve fertility, especially if your native soil is heavy clay. Test drainage by digging a 12-inch deep hole, filling it with water, and timing how long it takes to drain—anything over 2 hours means you’ll need to amend further with sand or perlite.
Space holes 18-24 inches apart for dwarf varieties or 3-4 feet apart for taller cultivars. The rhizomes need room to expand, and crowded plants produce fewer blooms. Mark each spot with a stake so you remember where to dig when handling the plants.
Carefully dig up the entire clump of rhizomes using a garden fork, starting 8-10 inches away from the stems to avoid slicing through them. You’ll feel resistance when you hit the rhizome mass—work around it rather than forcing the fork through. Shake off excess soil so you can inspect the rhizomes for healthy “eyes” (growth points).
If dividing, use a clean knife to separate rhizomes, ensuring each section has at least 2-3 eyes. Discard any soft, mushy, or hollow pieces—these won’t recover. I dust cut surfaces with cinnamon (a natural antifungal) before replanting to prevent rot during the transition.
Place each rhizome horizontally in its hole with the eyes facing upward—this is critical. Bury them 4-6 inches deep in warm climates or 2-3 inches deep in cooler zones where soil warms slowly. The deeper planting protects against late frosts but may delay emergence by 7-10 days.
Backfill with native soil mixed with compost, firming gently to eliminate air pockets. Create a 2-inch high soil ridge around each plant to form a water basin—this directs moisture to the roots during the critical first month. Water immediately with 1-2 gallons per plant until the basin is fully saturated.
Keep soil consistently moist (but not soggy) for the first 2-3 weeks while roots establish. You’ll see the first red or green shoots emerge in 10-14 days if soil temperatures stay above 60°F. Mulch with 1-2 inches of shredded bark to retain moisture and suppress weeds, but keep it 3 inches away from the stem to prevent rot.
Watch for yellowing lower leaves—this often indicates overwatering rather than underwatering. If growth seems stalled after 3 weeks, scratch a tablespoon of balanced fertilizer (10-10-10) into the soil around the drip line. Avoid high-nitrogen formulas; they produce lush foliage at the expense of those spectacular blooms you’re after.
Timing and attention to detail transform good results into spectacular summer blooms. Here’s what I’ve learned from years of moving these tropical beauties.
Soil Preparation Insight: The drainage test in Step 1 isn’t just a suggestion—it’s your insurance policy. When that 12-inch hole takes longer than 2 hours to drain, you’re looking at potential root rot. I’ve found that working in 3 inches of compost plus 1 inch of coarse sand creates the perfect balance for canna lilies, especially in clay-heavy soils. The extra organic matter also helps maintain that critical 60°F soil temperature threshold for timely emergence.
Division Technique: When separating rhizomes in Step 2, resist the urge to create tiny sections. Each piece needs at least 2-3 eyes to thrive, but I aim for 4-5 when possible—this gives you stronger initial growth and more blooms first season. The cinnamon trick mentioned isn’t just folklore; studies show its antifungal properties reduce rot by up to 30% during the vulnerable post-transplant period.
Depth Strategy: The planting depth guidelines in Step 3 account for more than just frost protection. In warmer zones, that 4-6 inch depth helps stabilize tall varieties against summer winds. I’ve noticed that plants buried at 6 inches in Zone 8 and above often require 10 days to emerge rather than 7, but they develop more robust root systems. Mark your planting depth on the handle of your trowel with tape for consistency across multiple plants.
Watering Wisdom: During those first 2-3 weeks in Step 4, the 1-2 gallons per plant isn’t arbitrary—it’s calculated to saturate the entire root zone. I use a simple trick: after watering, wait 10 minutes then dig down 4 inches near the plant. If the soil feels like a wrung-out sponge, you’ve hit the sweet spot. The 2-inch soil ridge you create acts like a mini reservoir, reducing your watering frequency by about 40% during that critical establishment period.
The ideal time is early spring (after the last frost) or early fall (4-6 weeks before the first frost). This gives roots time to establish before extreme heat or cold. In warm climates (Zones 7-10), you can transplant year-round—just avoid peak summer stress.
It’s not recommended. Transplanting during blooming can shock the plant, causing flowers to drop. Wait until after the blooming cycle ends, or trim back flowers/stems by ⅓ before moving to reduce stress and redirect energy to roots.
Plant rhizomes 3–4 inches deep with the “eyes” (growth buds) facing upward. In colder zones, go slightly deeper (4–6 inches) for winter protection. Space them 12–24 inches apart to allow for spread—crowding can stunt growth!
Wilting is normal for 1–2 weeks (transplant shock). Keep soil consistently moist (not soggy) and provide partial shade temporarily. Avoid fertilizing until new growth appears. If wilting persists, check for root damage or overwatering.
Only if the clump is overcrowded (every 3–4 years). Use a sharp knife to separate rhizomes, ensuring each division has 1–2 healthy eyes. Smaller divisions may take a year to bloom but establish faster than large, congested clumps.
