
Beautiful Plants For Your Interior
Beautiful Plants For Your Interior
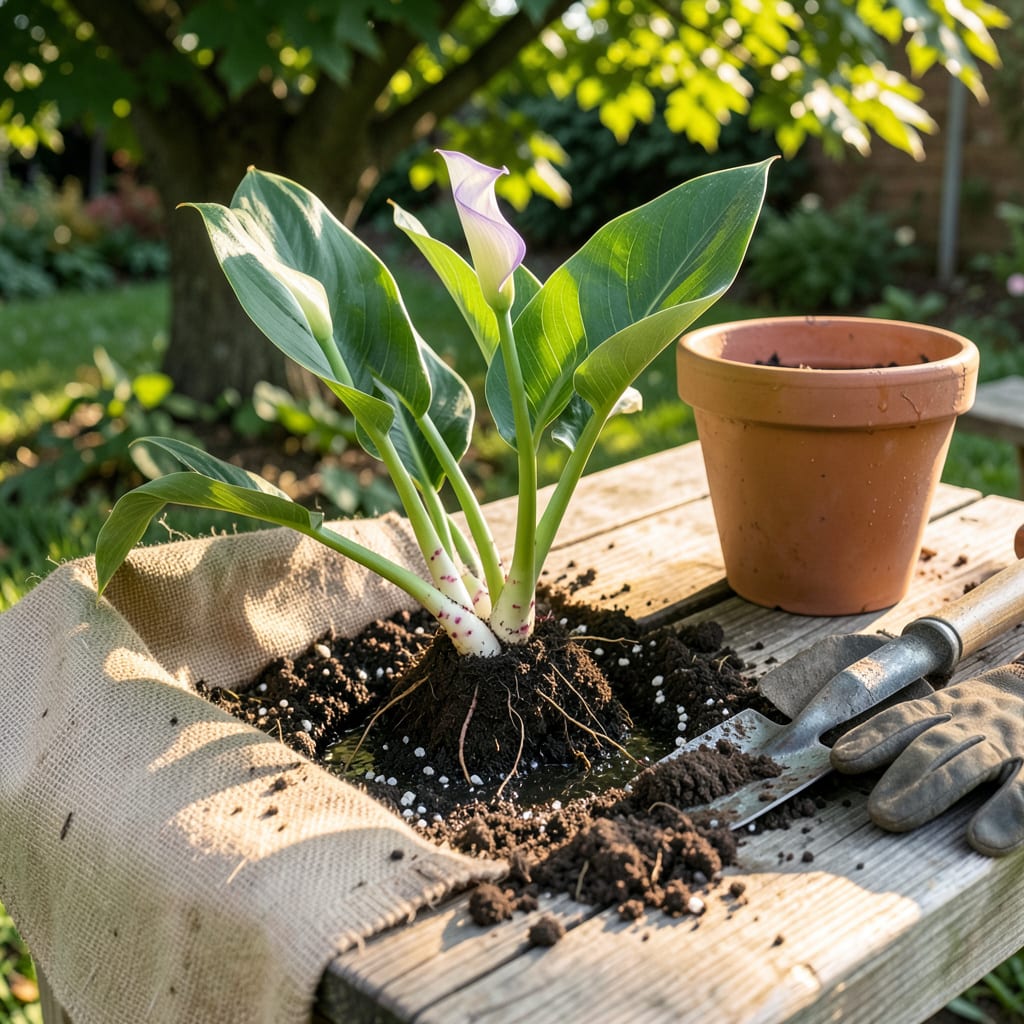
Moving calla lilies can feel like performing surgery on your garden—until you realize how simple it actually is. I’ve transplanted dozens of these elegant plants over the years, and the secret lies in timing and gentle handling. Early spring, just as new growth begins, is your golden window. The rhizomes wake up hungry for fresh soil, and you’ll see them establish faster than you’d expect.
What you’re really doing is giving these plants a fresh start. A sharp trowel, some compost-rich soil, and 15 minutes of careful work can transform struggling lilies into showstoppers. I’ve watched divided rhizomes triple their blooms the following season when given proper spacing and good drainage. The key is disturbing the roots as little as possible while upgrading their living conditions.
📚 In This Guide
Moving these elegant plants doesn’t have to be stressful—here’s how I do it with zero transplant shock.
The ideal window for transplanting calla lilies is in early spring just as new growth begins, or in fall after blooming finishes. I avoid moving them during summer heat or winter dormancy, when plants are most vulnerable. Select a location with partial shade—morning sun and afternoon shade produces the strongest blooms.
Prepare the new site by digging a hole twice as wide as the root ball but no deeper. Loosen the soil at the bottom to encourage root penetration. If your soil is heavy clay, mix in a few handfuls of compost to improve drainage—calla lilies rot quickly in soggy conditions.
Use a garden fork to gently lift the entire clump from the ground, starting about 6 inches away from the stems to avoid slicing through rhizomes. Shake off excess soil so you can see the natural divisions. Healthy rhizomes are firm and plump—discard any that feel mushy or hollow.
Separate the rhizomes by hand, pulling apart where they naturally divide. Each section should have at least one growing eye (the small bump where new shoots emerge). I use clean pruners only if absolutely necessary—tearing by hand causes less damage. Keep the divisions shaded and moist while preparing their new homes.
Place each rhizome in its hole with the growing eye facing upward, about 2 inches deep. This shallow planting prevents rot while giving roots room to establish. Space multiple plants 12-18 inches apart—they’ll fill in beautifully by next season.
Backfill with native soil, gently firming it around the rhizome. Don’t pack it down tightly—you want air pockets for oxygen flow. Water immediately with 1 inch of water to settle the soil and eliminate air gaps around roots. The soil should feel moist but never waterlogged.
Keep the soil consistently moist (but not soggy) for the first 2-3 weeks while roots establish. I check moisture daily by feeling 1 inch below the surface—if it’s dry, it’s time to water. Mulch with 2 inches of shredded bark to retain moisture and suppress weeds.
Withhold fertilizer until you see new leaf growth, usually within 3-4 weeks. This tells you the plant has recovered and is ready to use nutrients. Watch for yellowing leaves—this often means overwatering rather than transplant stress. Your callas will reward you with stronger blooms next season.
Transplanting calla lilies successfully comes down to a few key details that make all the difference in their recovery and future blooms.
Timing is Everything: The early spring or fall window mentioned in Step 1 isn’t just a suggestion—it’s critical. I learned this the hard way after losing several plants to summer heat stress. Early spring gives roots time to establish before summer, while fall transplanting lets them settle before winter dormancy. If you must move them in summer, choose a cloudy day and provide temporary shade for at least a week afterward.
Rhizome Handling: When dividing rhizomes in Step 2, resist the urge to “clean them up” by washing or scrubbing. The natural soil coating protects them during the transition. If you notice any soft spots while dividing, cut them away immediately with clean pruners—they’ll only spread rot to healthy sections. I keep a bucket of water nearby to dip rhizomes in if they start drying out while I work.
Planting Depth Precision: That 2-inch depth in Step 3 might seem arbitrary, but it’s the sweet spot. Too shallow and rhizomes dry out; too deep and they suffocate. Here’s my trick: after planting, the soil surface should just cover the top of the rhizome. You should still be able to feel its firmness when pressing lightly on the soil. This ensures proper oxygen flow while preventing sunburn on exposed sections.
Watering Wisdom: The 1-inch watering immediately after planting (Step 3) serves two purposes: it eliminates air pockets and kickstarts root growth. But here’s what most guides don’t tell you—use room temperature water. Cold water can shock the roots, while hot water may encourage fungal growth. I use a watering can without a sprinkler head to deliver a gentle, targeted flow right at the base of each plant.
The ideal time is early spring (just before new growth starts) or fall (4-6 weeks before the first frost). Avoid transplanting during extreme heat or blooming season, as stress can stunt growth. In warm climates (Zones 8-10), fall planting works best for spring blooms!
It’s risky! Transplanting during blooming can shock the plant, causing wilted flowers or dropped buds. If absolutely necessary, trim back flowers first, water deeply afterward, and provide shade for 3-5 days to reduce stress.
Yes! In Zones 3-7, calla lilies won’t survive winter outdoors. Dig up rhizomes after the first frost, dry them for 1-2 days, and store in a cool (50-55°F), dark place (like a paper bag with peat moss) until spring.
Potted lilies need gentler handling—loosen roots carefully and refresh soil. Garden lilies require deeper holes (4-6 inches) and spacing (12-18 inches apart). Both need well-draining soil! Pro tip: Soak bare roots in water for 1 hour pre-transplant to rehydrate.
Wilting is normal for 2-3 days (transplant shock). Check for:
