
Beautiful Plants For Your Interior
Beautiful Plants For Your Interior
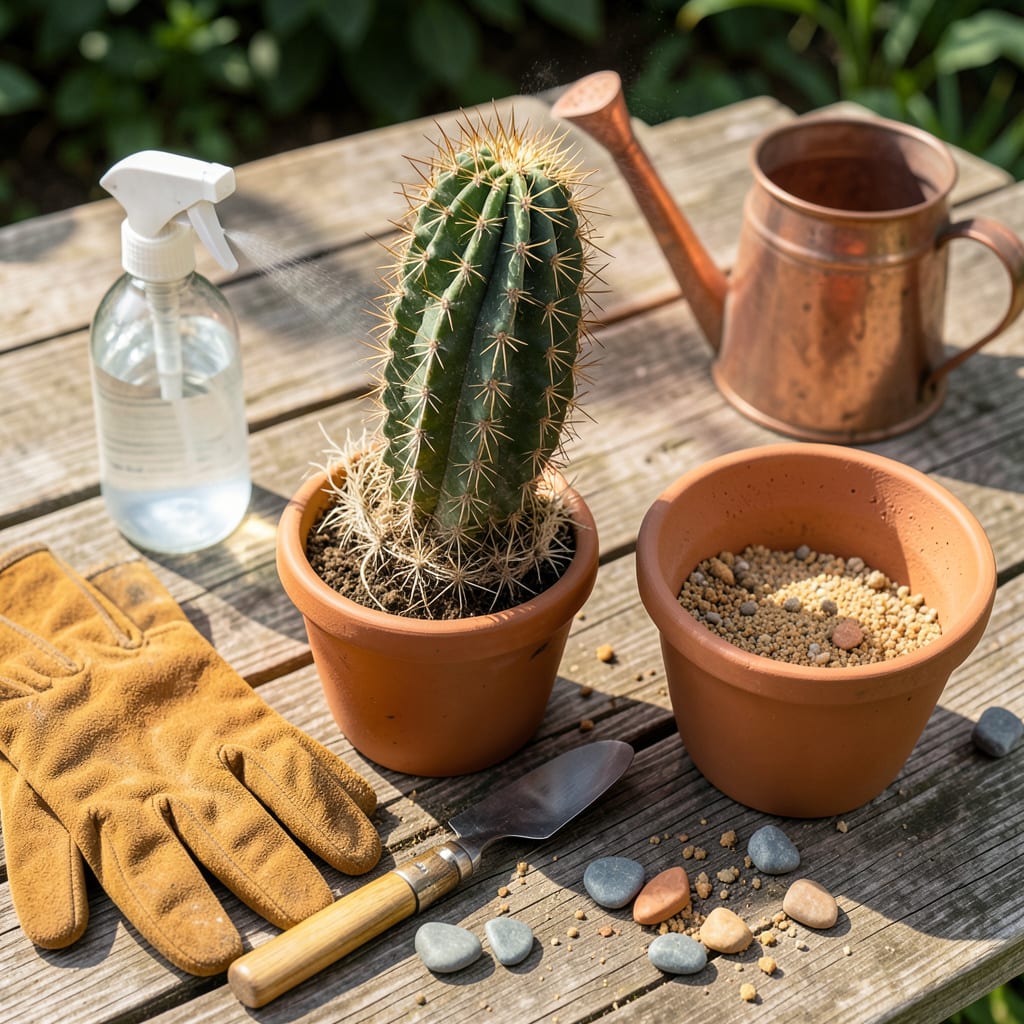
Moving a cactus doesn’t have to end in disaster. After years of trial and error with prickly plants, I’ve perfected a method that minimizes stress for both the plant and the gardener. The key lies in timing—waiting until the cactus is slightly root-bound but before it becomes pot-bound ensures a smoother transition.
You’ll need just three essentials: heavy-duty gloves, a well-draining soil mix, and a container with drainage holes. The process itself takes less than 20 minutes, but proper preparation prevents the most common issues like root rot or sunburn. What you’ll end up with is a cactus that establishes quickly and continues growing without missing a beat.
📚 In This Guide
Here’s the no-fail way I move cacti without losing a single spine or root. Works every time.
Select a container that’s 1-2 inches wider than the current pot—cacti thrive when slightly root-bound, so don’t oversize. Unglazed terra cotta is ideal because it wicks away excess moisture through the walls. Ensure it has at least 3 drainage holes; cactus roots rot instantly in standing water.
Use a fast-draining cactus mix (never regular potting soil). I blend mine with 30% perlite or coarse sand for extra grit. Fill the new container one-third full with dry mix—you’ll add more after positioning the plant. Don’t pre-moisten; damp soil sticks to roots and tears them during transplanting.
Wear thick leather gloves or use folded newspaper to grip the plant. For spiny species, loop a belt or strip of cloth around the body and lift from both sides. Tilt the pot horizontally and tap the rim on a solid surface to loosen the root ball. If it resists, run a knife around the inner edge to break suction.
Inspect the roots once free. Healthy roots are firm and white; black or mushy sections mean rot. Trim damaged roots with sterilized scissors and dust cuts with sulfur powder (optional but prevents infection). Let the plant sit bare-root in a shaded, breezy spot for 24-48 hours—this calluses any wounds and reduces transplant shock.
Center the cactus in the new pot so it sits at the same depth as before—burying the stem invites rot. Hold it upright while backfilling with dry mix, tapping the pot occasionally to settle soil around roots. Leave the top ½ inch of the root ball exposed; this prevents moisture from pooling at the base.
Surround the base with small rocks or gravel to anchor the plant and keep soil from compacting during watering. Don’t water immediately—wait 5-7 days before the first drink. This gives disturbed roots time to heal in their new environment. Place the pot in bright, indirect light (no full sun) for the first week to reduce stress.
After the initial dry period, water deeply until it runs from the drainage holes, then don’t water again until the soil is bone-dry (stick your finger 2 inches deep to check). Cacti in new homes are prone to edema—those ugly, water-filled blisters—if kept too wet. I use the “weight test”: lift the pot after watering, then again when dry. The difference tells you when it’s time to water.
Resist fertilizing for 4-6 weeks post-transplant. Fresh roots are sensitive to salts in fertilizer. When you do feed, use a low-nitrogen cactus formula (5-10-10 ratio) diluted to half strength. Rotate the pot quarter-turn weekly so all sides get even light—prevents lopsided growth. Watch for etiolated (stretched) growth; if you see it, move to brighter light immediately.
Transplanting cacti doesn’t have to be stressful—here’s what I’ve learned from years of moving prickly plants without casualties.
Soil Preparation Secret: In Step 1, when mixing your cactus soil with 30% perlite or coarse sand, I recommend sifting the components together to eliminate dust. Fine particles can compact over time and reduce drainage. For extra insurance against root rot, add a tablespoon of crushed charcoal to the mix—it naturally absorbs excess moisture and prevents bacterial growth.
Root Recovery Timing: The 24-48 hour drying period in Step 2 is non-negotiable, but here’s what nobody tells you: smaller cacti (under 6 inches) only need 24 hours, while larger specimens benefit from the full 48. Create a drying station with a fan set to low—gentle airflow speeds callusing without dehydrating the plant. Skip this step, and you risk introducing pathogens through unhealed root wounds.
Positioning Precision: When centering your cactus in Step 3, use a ruler to verify the top ½ inch of the root ball remains exposed. I mark the pot with a dry-erase marker at the correct depth before adding soil—this prevents the common mistake of gradual sinking as you backfill. The exposed section should match the plant’s original soil line; even ¼ inch too deep can lead to stem rot within weeks.
Post-Transplant Monitoring: During the 5-7 day waiting period before first watering, check the cactus daily for subtle signs of stress. Healthy plants will maintain their color and firmness; if you notice slight shrinking, that’s normal—it’s the cactus using stored water. However, if the plant feels soft or shows yellowing, move it to slightly brighter indirect light (but still no direct sun) and extend the dry period by 2 more days.
Spring or early summer is ideal—your cactus is actively growing then! Avoid winter (dormancy) or extreme heat (stress risk). If you must transplant off-season, keep it in bright, indirect light and skip watering for 1–2 weeks to reduce shock.
Check for these signs: roots circling the drainage holes, top-heavy wobbling, or slowed growth despite good care. If it’s been 2–3 years in the same pot, it’s likely time! Pro tip: Choose a pot just 1–2 inches wider—too much space holds excess moisture.
Even smooth cacti have tiny, irritating glochids (hair-like spines). Use thick gardening gloves or wrap the cactus in a towel. For large species, tongs or folded cardboard strips help grip safely. Safety first—those spines don’t forgive!
This is transplant shock, but don’t panic! Hold off on watering for 5–7 days, keep it in bright shade, and avoid fertilizing. If it’s mushy (not just limp), overwatering or rot may be the culprit—unpot and check the roots for black/brown spots.
Can I transplant a cactus without repotting it (e.g., into the ground)?strong>
Yes! Follow the same steps: let the soil dry, gently remove the plant, and acclimate it to outdoor conditions gradually (1–2 hours more sunlight per day). For ground planting, ensure well-draining soil (mix in sand/perlite) and a slope to prevent water pooling.
