
Beautiful Plants For Your Interior
Beautiful Plants For Your Interior
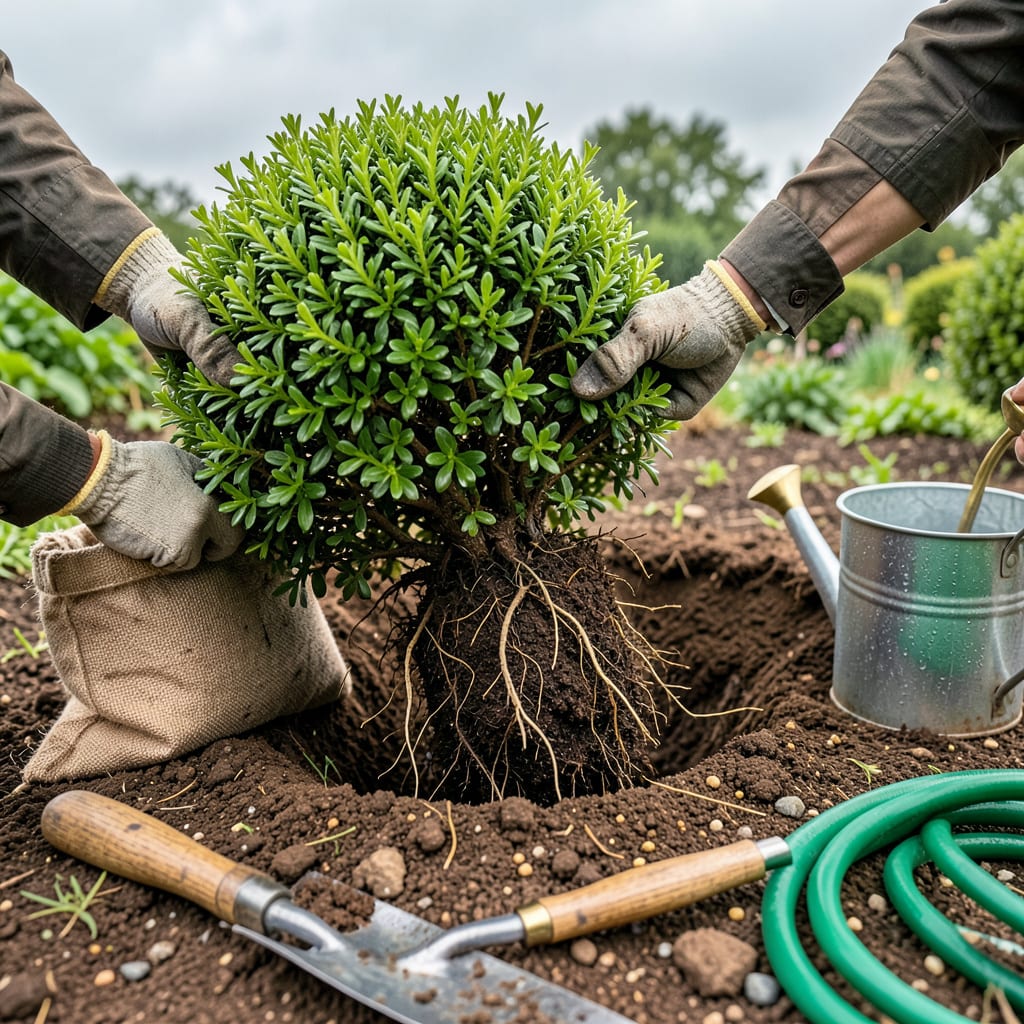
Moving boxwoods always felt risky—until I learned the timing and technique that turns stress into success. The difference between a shrub that struggles and one that thrives comes down to three key moments: when you dig, how you handle the roots, and those first critical weeks in its new home.
I’ve relocated dozens of boxwoods over the years, and the ones that bounce back fastest share the same secret: minimal root disturbance and a smart watering routine. You don’t need fancy tools—just a sharp spade, some patience, and the right season (hint: early spring or fall wins every time). Let’s get those roots happy in their new spot.
📚 In This Guide
Moving established boxwoods doesn’t have to be stressful—follow this method and your shrubs will thrive in their new home.
Early spring or late fall is ideal for transplanting boxwoods, when the plant is dormant and temperatures are mild (50-65°F). Avoid moving them during summer heat or winter freezes, as this stresses the roots beyond recovery. I always pick an overcast day to minimize transplant shock.
Dig the new hole first—it should be twice as wide as the root ball but no deeper. This gives roots room to spread without sinking. Test the depth by placing a flat board across the hole; the top of the root ball should sit 1 inch above ground level to allow for settling.
Water the boxwood deeply 24 hours before moving to hydrate the roots and make the soil easier to work with. Use a sharp spade to dig a trench around the shrub, starting 12 inches out from the trunk for mature plants (smaller shrubs need less clearance). Go deep enough to get under the root ball—you’ll feel resistance when you hit the main roots.
Once the trench is complete, angle your spade under the root ball and lift gently. For large shrubs, you may need help sliding a tarp underneath to drag it to the new location. Don’t shake off the soil—keeping the root ball intact is critical for survival.
Place the boxwood in the new hole, ensuring it sits at the same depth it was growing before. The soil line on the trunk should match the surrounding ground level. If it’s too deep, lift it and add soil underneath. If it’s too high, remove it and deepen the hole slightly.
Backfill with native soil (no amendments needed—boxwoods adapt better to local conditions). Water thoroughly as you fill to eliminate air pockets, adding soil in 3-inch layers and firming gently with your hands. Create a 3-inch-high water ring around the edge of the hole to help direct moisture to the roots.
Water deeply immediately after transplanting, then maintain consistent moisture for the first 4-6 weeks. Check soil daily—it should feel damp 1 inch below the surface. Morning watering is best to allow foliage to dry before evening.
Apply 2-3 inches of mulch (shredded bark or pine straw) around the base, keeping it 3 inches away from the trunk to prevent rot. Avoid fertilizing until you see new growth (usually 6-8 weeks), as you want roots to establish before encouraging top growth. Prune only to remove damaged branches—wait until next season for shaping.
Watch for signs of transplant shock: yellowing leaves, wilting, or leaf drop. This is normal for the first 2-3 weeks. If you see severe wilting in hot weather, provide temporary shade with burlap or a light cloth for 3-5 days to reduce stress.
After the first month, gradually reduce watering frequency but increase depth to encourage deep root growth. By the second growing season, your boxwood should be fully established and require only normal maintenance. The key is patience—don’t expect vigorous growth the first year as the plant focuses energy on root development.
Transplanting boxwoods successfully comes down to timing and technique—here’s what I’ve learned from years of moving these resilient shrubs.
Timing is Everything: The 24-hour pre-watering in Step 2 isn’t just about hydration—it’s your insurance policy against root damage. I’ve found that watering in the evening before moving gives the roots maximum time to absorb moisture overnight. When digging your trench, start exactly 12 inches out from mature plants as specified; this preserves the critical feeder roots that extend beyond the drip line.
Root Ball Protection: When lifting the shrub in Step 2, resist the urge to “clean up” the root ball by shaking off soil. That soil contains beneficial microbes that help the plant recover. For large boxwoods, use a sturdy tarp to drag rather than lifting—this prevents the root ball from cracking. I always keep a spray bottle handy to mist exposed roots if the move takes longer than expected.
Planting Depth Precision: The 1-inch-above-ground-level rule in Step 3 is non-negotiable. I use a straight board laid across the hole to check depth from multiple angles. If you plant too deep, the trunk can rot; too shallow, and roots dry out. When backfilling, those 3-inch soil layers might seem tedious, but they eliminate air pockets that could desiccate roots. Pack each layer firmly with your hands—don’t stomp, as this compacts soil too much.
Aftercare Discipline: The 4-6 weeks of consistent moisture in Step 4 is when most people fail. Don’t rely on rain—check that 1-inch depth daily with your finger. Morning watering is crucial to prevent fungal issues. I create my water ring by mounding soil into a shallow berm, which directs water right to the root zone where it’s needed most during those critical first weeks.
The ideal time is late fall to early spring (October–March), when the plant is dormant. Avoid extreme heat or cold—aim for cool, overcast days to reduce stress. If transplanting in summer, water deeply for weeks beforehand and provide temporary shade afterward.
You can transplant mature boxwoods (up to 6–8 feet tall), but it’s riskier. Larger roots mean more shock—prune roots 6–12 months prior to encourage new growth. Smaller shrubs (under 3 feet) adapt faster. For big moves, hire a pro with a tree spade!
Don’t panic! Mild wilting is normal for 1–2 weeks. Keep soil consistently moist (not soggy) and mulch to retain water. Brown leaves? Trim damaged foliage and avoid fertilizer until recovery. If wilting persists beyond 3 weeks, check for root rot or poor drainage.
Yes! For hedges, try “root pruning” a year ahead: slice a trench around the plant to encourage compact root growth. For potted boxwoods, transplant directly from the container. Bare-root moves are riskier—stick to balled-and-burlapped or container-grown plants.
Expect 6–12 months for full recovery. New growth signals success! Speed it up by:
