
Beautiful Plants For Your Interior
Beautiful Plants For Your Interior
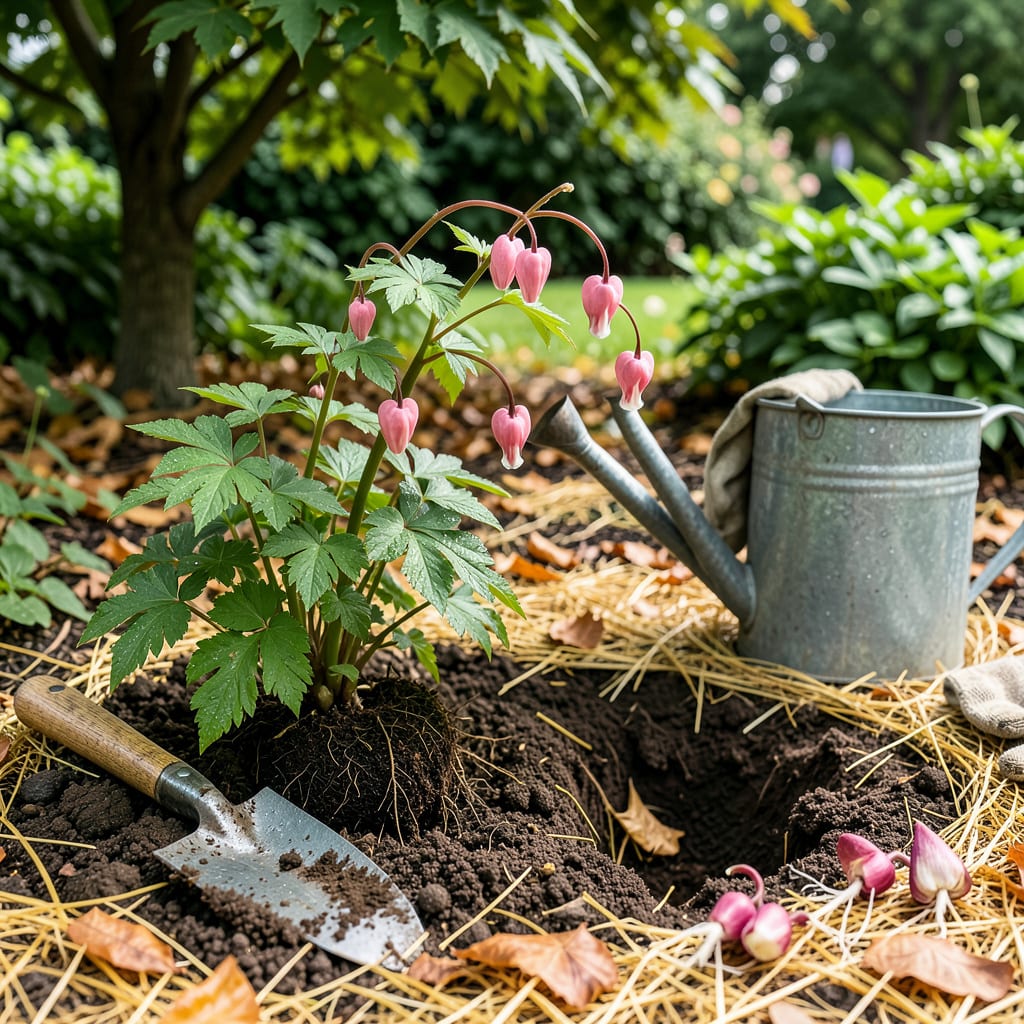
Moving bleeding hearts feels intimidating—until you realize they’re tougher than they look. I’ve relocated dozens of these delicate-looking plants over the years, and the ones that thrive always follow the same simple rules about timing and root care. Early spring or fall, when the plant is dormant, is your golden window for success.
What you’ll end up with is a stronger, bushier plant that rewards you with even more of those heart-shaped blooms next season. The key is keeping the root ball intact and giving it a shady, moist new home. My transplanted bleeding hearts consistently outperform the ones I left in place—once you see that first flush of new growth, you’ll wonder why you didn’t do it sooner.
📚 In This Guide
Moving these delicate beauties doesn’t have to be stressful—here’s how to relocate them with zero transplant shock.
Early spring or early fall is ideal for transplanting bleeding hearts—avoid moving them during summer heat or winter dormancy. I always pick an overcast day or late afternoon to minimize stress on the plant. The new location should offer partial shade (morning sun with afternoon protection works perfectly).
Dig the new hole twice as wide as the root ball but the same depth. Mix a handful of compost into the native soil you removed—this gives the roots a nutrient boost without overwhelming them. Water the hole thoroughly and let it drain before planting; you want the soil moist but not muddy.
Water your bleeding heart deeply 1-2 days before transplanting—this hydrates the roots and makes the soil easier to work with. Use a sharp spade to dig a wide circle around the plant, starting about 6 inches from the stems to preserve as many roots as possible. Slide the spade underneath at a 45-degree angle to lift the entire root ball intact.
Gently brush off excess soil to inspect the roots. If any are damaged, trim them cleanly with sterilized pruners. Keep the root ball moist by wrapping it in damp burlap or a towel if you’re not planting immediately. Never let the roots dry out—bleeding hearts are particularly sensitive to dehydration during transplant.
Place the root ball in the prepared hole so the crown (where stems meet roots) sits 1 inch above soil level. This prevents rot while allowing for natural settling. Backfill with your soil-compost mix, gently firming it around the roots to eliminate air pockets. Don’t tamp it down too hard—you want the soil to cradle the roots, not suffocate them.
Water immediately with 1-2 gallons of water, letting it soak in slowly. The goal is to saturate the entire root zone without creating puddles. I like to create a small soil berm around the edge of the planting hole to act as a water basin, ensuring moisture goes directly to the roots where it’s needed most.
Apply 2-3 inches of organic mulch (shredded bark or leaf mold) around the base, keeping it 3 inches away from the stems to prevent rot. This conserves moisture and regulates soil temperature. Water every 2-3 days for the first two weeks, then taper off to weekly deep watering unless rain provides an inch or more.
Watch for wilting in the first week—this is normal as the plant adjusts. If leaves remain wilted after 24 hours, the plant needs more water. Avoid fertilizing for 4-6 weeks; you want roots to establish before encouraging new top growth. By the third week, you should see perky new leaves—a sure sign your bleeding heart has successfully settled into its new home.
Transplanting bleeding hearts successfully comes down to timing and technique—here’s what I’ve learned from years of moving these delicate plants.
Timing is Everything: The 1-2 days of pre-transplant watering in Step 2 makes all the difference. I’ve found that watering exactly 48 hours before moving gives the roots optimal hydration without making the soil too heavy. This timing allows the plant to absorb moisture deeply while still keeping the root ball cohesive enough to lift cleanly. Never skip this step—it’s your best insurance against transplant shock.
Root Ball Protection: When digging that 6-inch radius around the stems in Step 2, go slowly and use a sharp spade. I learned the hard way that rushing this step can sever crucial feeder roots. If you encounter resistance, work your way around the plant in sections rather than forcing the spade through. For very large plants, you might need to make this radius even wider—up to 8 inches—to preserve the extensive root system.
Watering Technique: The 1-2 gallons of water mentioned in Step 3 isn’t arbitrary—this volume ensures moisture reaches the deepest roots. I use a slow trickle from a watering can rather than a hose to prevent soil erosion around the newly planted roots. Create that soil berm as described; it’s amazing how much this simple step improves water retention during those critical first few days.
Aftercare Vigilance: During the first week when you’re watering every 2-3 days, check soil moisture by inserting your finger 2 inches deep near the plant (but not touching the stem). The surface can look dry while deeper soil remains moist. This is particularly important if you’ve used mulch, which can make the surface appear drier than it actually is. Remember that “2-3 days” is a guideline—hotter weather may require daily watering, while cool spring days might allow for 3-day intervals.
The ideal time is early spring (just as new growth appears) or early fall (4-6 weeks before frost). Avoid transplanting during summer heat or while flowering—this reduces stress and helps roots establish before extreme temps.
It’s not recommended. Transplanting during bloom can shock the plant, causing wilted flowers or stunted growth. Wait until after flowering (late spring) or opt for fall transplanting instead. Prune back foliage if needed to reduce stress.
Set the crown (where roots meet stems) 1–2 inches below soil level. Too deep risks rot; too shallow exposes roots. Gently fan out roots in the hole and backfill with native soil—no fertilizer at planting! Dig a hole twice as wide as the root ball.
Wilting is normal for 1–2 weeks post-transplant (transplant shock). Keep soil consistently moist (not soggy) and provide afternoon shade. Trim damaged foliage to redirect energy to roots. If wilting persists beyond 3 weeks, check for over/under-watering or root damage.
For mature plants, try root division instead of full transplanting:
