
Beautiful Plants For Your Interior
Beautiful Plants For Your Interior
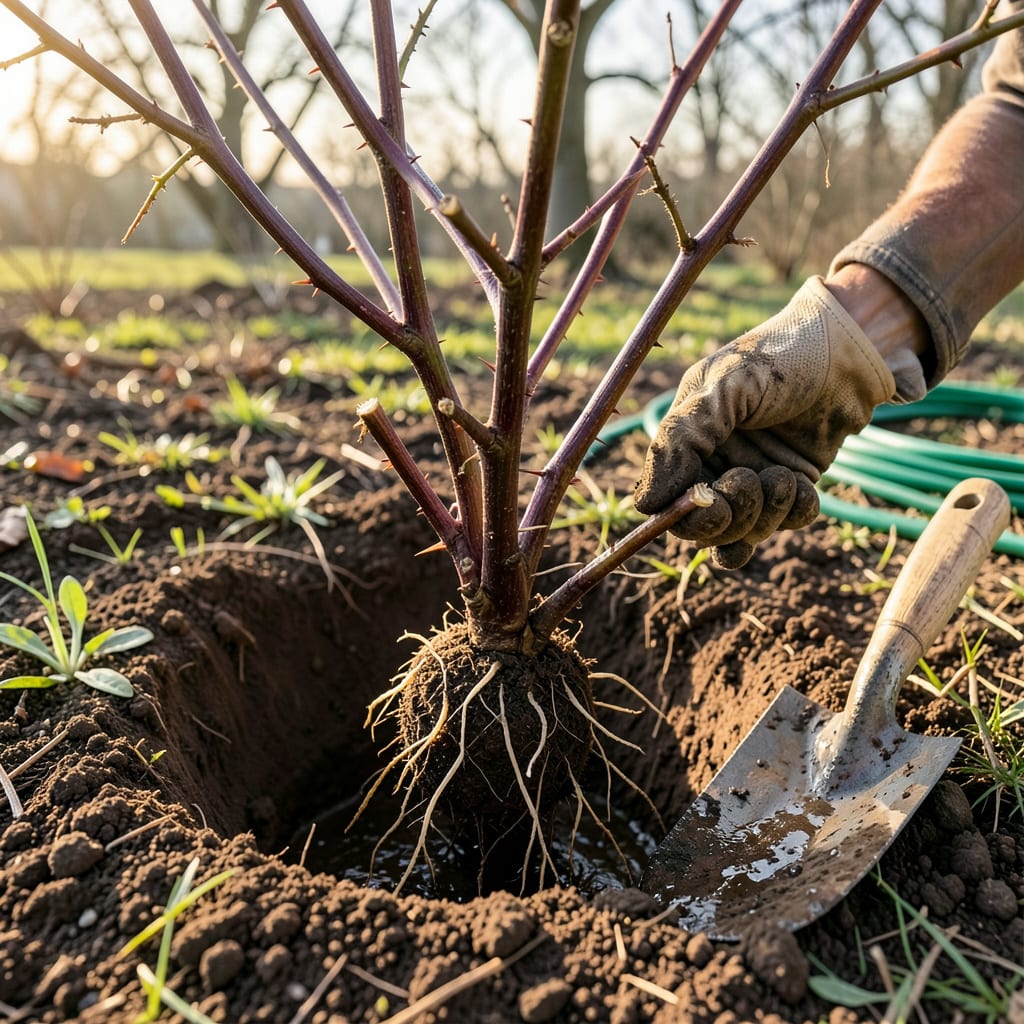
Moving blackberry bushes feels risky—like uprooting a sleeping giant. I’ve relocated dozens over the years, and the difference between a bush that sulks for months and one that explodes with new canes comes down to timing and technique. Transplant in early spring or late fall when the plant is dormant, and you’ll avoid the shock that stunts growth or kills the bush outright.
The real secret? Root preparation. A well-pruned root ball and a pre-dug, amended hole mean your blackberries won’t just survive—they’ll thrive. I’ve seen transplanted bushes outperform their original location within a single season when done right. No green thumb required, just smart timing and a little muscle.
📚 In This Guide
Moving established blackberry bushes takes careful timing and technique—but this method ensures minimal shock and vigorous regrowth.
Transplant during late winter dormancy (January-February) or early spring before buds swell. This timing capitalizes on the plant’s natural rest period when energy demands are lowest. Avoid fall transplanting—new roots won’t establish before winter stress hits.
Check soil conditions: it should be workable but not waterlogged. The “squeeze test” works well—grab a handful of soil and squeeze. If it crumbles when you open your hand but holds shape briefly, conditions are perfect. Soggy soil compacts around roots; dry soil won’t adhere to new root hairs.
Dig a hole twice as wide as the root ball and just as deep—blackberries resent being planted too deep. I mix one-third compost into the removed native soil to create a nutrient-rich backfill. This blend provides immediate nutrients while maintaining the soil structure the plant expects.
Test drainage by filling the hole with water. If it drains completely within 30 minutes, you’re set. Standing water after an hour means you’ll need to amend with sand or choose a raised location. Blackberry roots drown quickly in poorly drained sites, often showing yellow leaves within days.
Use a sharp spade to cut a 12-18 inch diameter root ball around the bush. Start digging 8-10 inches out from the main canes to preserve feeder roots. I always wear thick gloves—even thornless varieties have prickly stems when handling the base.
Lift the plant by the root ball, not the canes. Place it in the new hole at the same depth it grew previously—the soil line on the stem should remain visible. Backfill with your soil-compost mix, firming gently to eliminate air pockets. Water immediately with 2-3 gallons to settle soil around roots.
After transplanting, cut back all canes to 12-18 inches tall. This drastic pruning reduces water loss through leaves and redirects energy to root establishment. Use clean, sharp bypass pruners to make angled cuts just above outward-facing buds.
Apply 3-4 inches of organic mulch (wood chips or straw) around the base, keeping it 2 inches away from the stem. Mulch maintains even soil moisture and temperature—critical for the first 6-8 weeks as new roots form. You’ll see fresh cane growth by mid-spring if the transplant succeeded.
Water deeply twice weekly unless rain provides 1 inch of moisture. The goal is consistently moist (not soggy) soil to a 6-inch depth. Stick your finger in the ground—if the top 2 inches feel dry, it’s time to water.
Watch for stress signs: wilting in afternoon heat suggests under-watering, while yellowing lower leaves often indicates over-watering. Withhold fertilizer the first year—new transplants need to establish roots before pushing top growth. By next season, you’ll have a fully productive bush with stronger canes than before.
These key insights will help you avoid common pitfalls and ensure your blackberry bushes thrive after transplanting.
Timing Precision: The late winter dormancy window (January-February) mentioned in Step 1 isn’t just a suggestion—it’s critical. I’ve found that transplanting even two weeks before buds begin to swell gives roots the maximum time to establish before the plant’s energy shifts to top growth. If you miss this window, wait until early spring rather than risking fall transplanting, which almost always results in winter dieback from insufficient root development.
Root Ball Technique: When excavating in Step 3, that 12-18 inch diameter root ball isn’t arbitrary. I use a sharp spade to make clean vertical cuts around the perimeter before working my way under the root mass. The 8-10 inch buffer from the main canes preserves the fine feeder roots that are most vulnerable to damage. Here’s what nobody tells you—these feeder roots are what actually absorb water and nutrients during those critical first 6-8 weeks after transplanting.
Watering Strategy: The immediate 2-3 gallons of water in Step 3 serves two purposes: it eliminates air pockets in the backfilled soil and initiates the root-soil contact needed for nutrient uptake. During the first week, I check moisture daily by digging down 2 inches near (but not touching) the root ball. The goal is damp soil that doesn’t stick to your fingers—this is more reliable than visual surface checks, which can be misleading after mulching.
Pruning Discipline: Cutting canes back to 12-18 inches in Step 4 feels drastic, but I’ve learned this reduces transpiration stress by about 60%. Make your cuts at a 45-degree angle just above outward-facing buds—this directs new growth away from the center of the bush, improving air circulation. The angled cut also prevents water from pooling on the cut surface, which can invite fungal issues during the vulnerable establishment period.
The ideal time is late fall (after leaf drop) or early spring (before new growth). Avoid extreme heat or frost—aim for mild weather when plants are dormant. This reduces stress and boosts survival rates!
It’s risky! Summer heat stresses plants, but if necessary, choose a cool, overcast day, water deeply beforehand, and prune canes to reduce moisture loss. Expect slower recovery.
Dig a hole twice as wide as the root ball and just as deep. Plant at the same depth as before—burying stems too deep can cause rot. Loosen roots gently to encourage outward growth.
Check for overwatering (soggy soil), underwatering (dry roots), or poor sunlight (needs 6+ hours daily). Trim dead canes and fertilize lightly with compost. Patience—it may take weeks to bounce back!
Yes! Take 6-inch hardwood cuttings in winter, dip in rooting hormone, and plant in moist soil. It’s cheaper but slower (1–2 years to fruit). Transplanting mature bushes gives faster harvests.
