
Beautiful Plants For Your Interior
Beautiful Plants For Your Interior
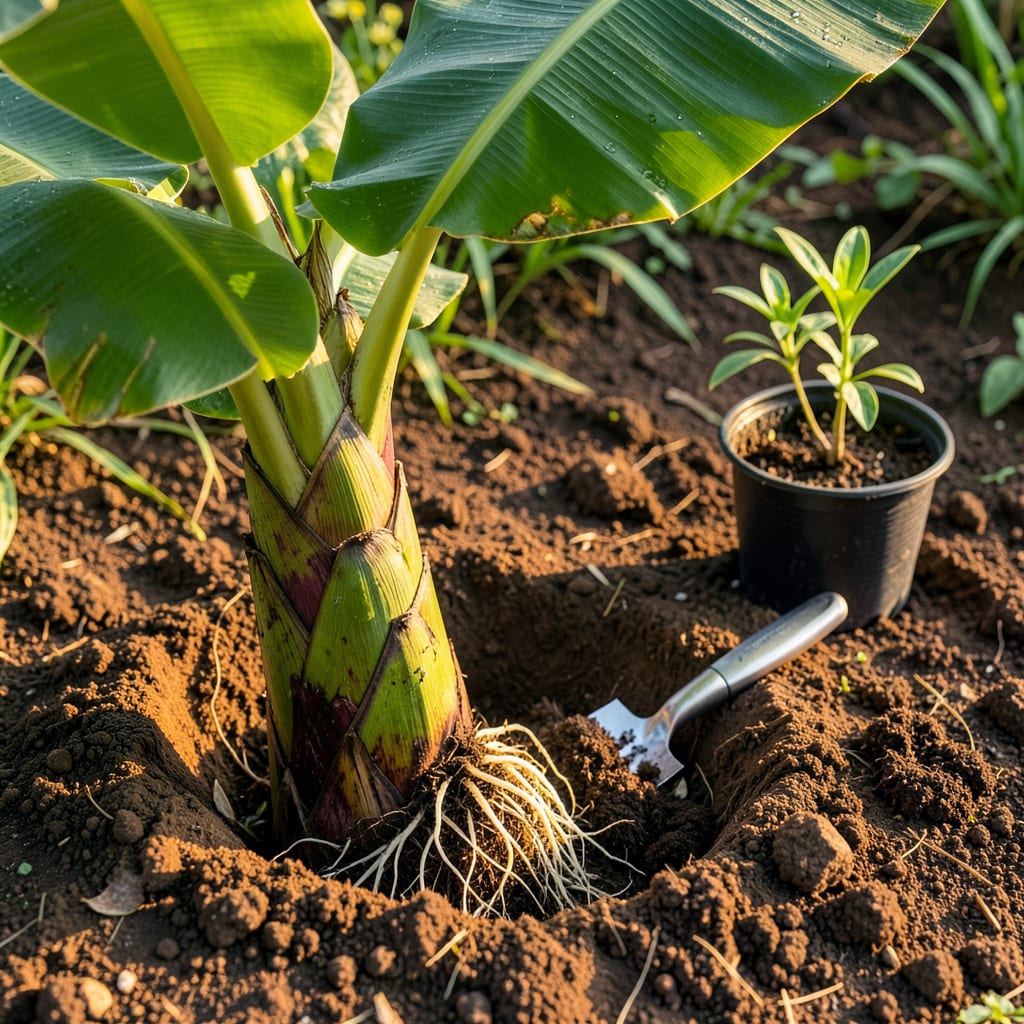
Moving a banana plant feels like performing surgery on a tropical giant—but I’ve done it enough times to know it’s simpler than it looks. The key is timing: late spring or early summer, when the soil is warm and your plant has at least 3-5 mature leaves. Do it right, and your banana will reward you with faster growth and heavier bunches next season.
What most people don’t realize? The roots are surprisingly fragile. I ruined my first transplant by tugging too hard—now I know to dig wide, keep the root ball intact, and water deeply before and after. You’ll see new leaves pushing up within 2-3 weeks if you nail the aftercare. No green thumb required, just a little patience and the right steps.
📚 In This Guide
Moving these tropical giants takes care, but this method ensures your plants thrive in their new location.
Transplant in spring or early summer when temperatures stay above 60°F at night. Banana plants shock easily in cold weather, so timing matters more than you might think. I always check the 10-day forecast first—no surprises.
Dig the new hole twice as wide and just as deep as the root ball. Mix the removed soil with compost (about 1 part compost to 3 parts soil) to give roots a nutrient boost. Water the hole thoroughly and let it drain—you want damp, not muddy, conditions when planting.
Use a sharp spade to cut a circle 12-18 inches from the trunk, going deep enough to preserve the entire root system. Banana roots are surprisingly shallow but spread wide. I slide the spade under at a 45-degree angle to lift without tearing.
Once free, carry the plant by the root ball—not the trunk—to avoid stem damage. If you’re moving a large clump, divide it now by cutting between pseudostems with a clean knife. Each division needs at least 3-5 healthy shoots to recover well.
Place the plant in the new hole at the same depth it grew before. The base of the trunk should sit 1-2 inches above soil level to prevent rot. Backfill with your amended soil, pressing gently to eliminate air pockets but not compacting.
Water immediately with 2-3 gallons per plant until the soil is saturated. The roots need moisture to establish contact with the new soil. I create a small berm around the edge to hold water like a basin, ensuring it soaks in rather than running off.
Bananas suffer transplant shock if exposed to full sun immediately. Use shade cloth or a temporary screen to filter 50% of sunlight for the first 7-10 days. You’ll see new leaf growth when the plant has adjusted.
Check soil moisture daily—keep it consistently damp but not soggy. Wilting leaves are normal at first, but if they stay crispy after a week, the roots aren’t establishing. That’s your signal to water more frequently until you see recovery.
After the first week, remove shade protection for 2-3 hours daily, increasing exposure gradually over 5-7 days. This hardening-off period prevents leaf scorch while the roots strengthen.
Wait 2-3 weeks before fertilizing—new roots are tender and burn easily. When you do feed, use a balanced 8-10-8 fertilizer at half strength. You’ll notice darker green leaves and new shoots within a month, which means your transplant succeeded.
After years of moving these tropical beauties around my garden, I’ve learned what truly makes the difference between a struggling plant and one that thrives in its new home.
Timing is Everything: The spring or early summer window when nighttime temperatures stay above 60°F isn’t just a suggestion—it’s critical. I once lost a mature plant by transplanting during a late cold snap. Check your 10-day forecast religiously, and if there’s even a hint of cooler nights, wait. The stress of cold combined with transplant shock is often fatal for bananas.
Root Ball Technique: When digging that 12-18 inch circle around the trunk in Step 2, resist the urge to rush. I’ve found that using a clean, sharp spade and making vertical cuts first (before angling underneath) preserves more feeder roots. These delicate roots are what help the plant establish quickly in its new location. If you’re dividing a clump, ensure each section has those 3-5 healthy shoots—any fewer and the division may not recover.
Watering Wisdom: The 2-3 gallons per plant immediately after transplanting isn’t excessive—it’s exactly what those traumatized roots need. Here’s what changed my success rate: after that initial deep watering, I return with another gallon the next morning. This second drink helps settle any air pockets that formed overnight. Create that berm mentioned in Step 3—it’s not just for water retention, but also prevents soil erosion around the tender new roots.
Shade Transition Strategy: Those first 7-10 days of 50% shade protection are when you’ll see the most dramatic difference in recovery. I use old bedsheets stretched over PVC pipes for temporary shade—they filter light perfectly while allowing airflow. When you start removing shade for those 2-3 hours daily in Step 5, do it during morning hours first. Afternoon sun is far more intense and likely to scorch stressed leaves.
Early spring or late summer is ideal—when temperatures stay above 60°F (15°C) and frost risk is low. Avoid transplanting during winter or extreme heat. Young suckers (pups) transplant best when they’re 3–4 feet tall with their own roots.
Yes! For mature plants, carefully separate a healthy sucker (pup) from the parent using a sharp spade. Ensure it has some roots attached—this reduces shock. Leave the main plant intact to keep producing fruit.
Water the plant 24 hours before transplanting and keep roots moist. Trim damaged leaves, use root stimulator, and provide shade for 3–5 days post-transplant. Avoid fertilizing immediately—wait 2–3 weeks for recovery.
Mix compost or aged manure into the new hole before planting. Mulch heavily (3–4 inches) with straw or wood chips to retain moisture. Water daily for the first week, then taper to deep watering 2–3 times weekly.
Choose a dwarf variety (like ‘Dwarf Cavendish’) and a 15–20 gallon pot with drainage. Use well-draining soil, fertilize monthly, and move indoors if temps drop below 50°F (10°C). Repot every 2–3 years.
