
Beautiful Plants For Your Interior
Beautiful Plants For Your Interior
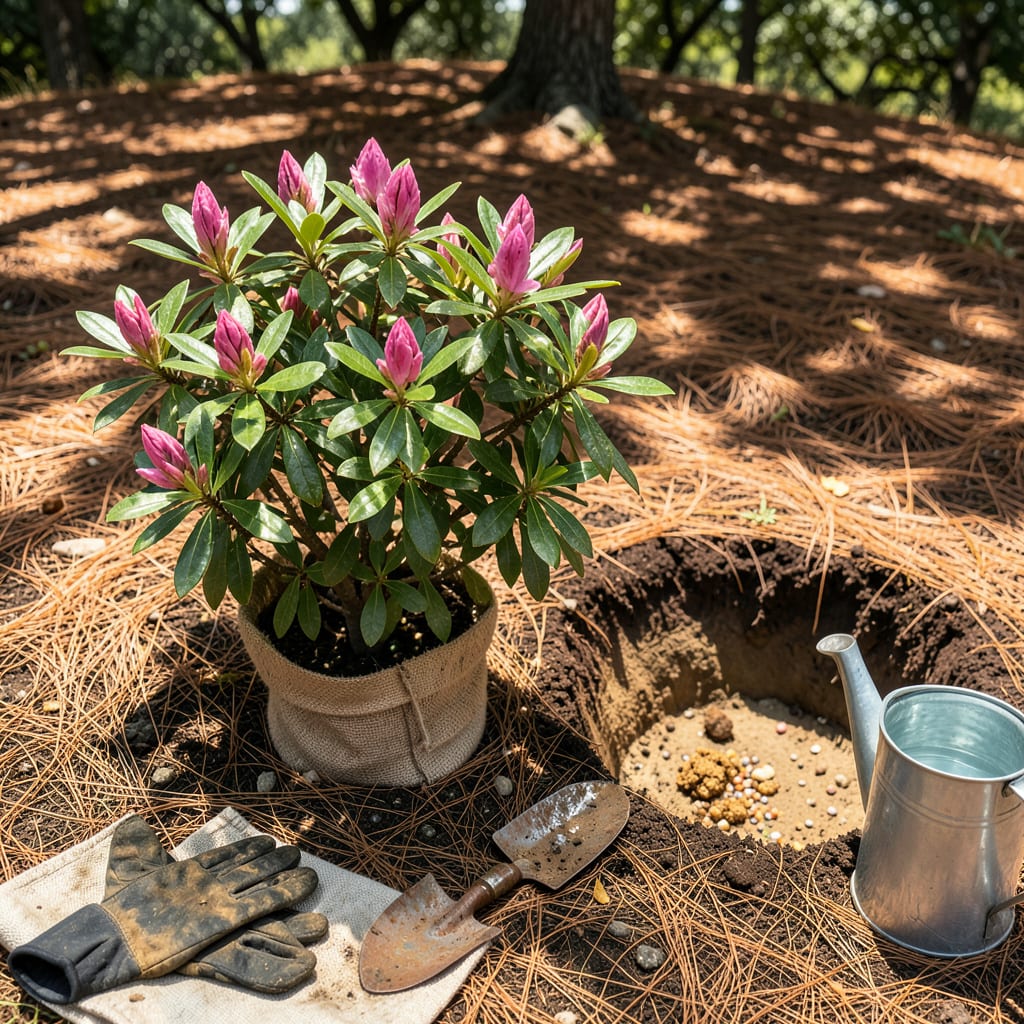
Moving azaleas always felt risky—until I learned the right timing and technique. The secret lies in working with their natural growth cycle, not against it. Transplant in early spring or fall when the plant is dormant but the soil is workable, and you’ll avoid the shock that stunts so many relocated shrubs.
What you gain is a thriving azalea in its new home, with minimal stress and maximum bloom potential next season. The process requires just a few key steps: proper root ball handling, acidic soil preparation, and consistent moisture during establishment. I’ve moved dozens this way, and the results speak for themselves—healthy plants that bounce back faster than you’d expect.
📚 In This Guide
Moving established azaleas doesn’t have to be stressful—here’s how I do it with minimal shock and maximum success.
The ideal window for transplanting azaleas is early spring before new growth or early fall before dormancy. Avoid moving them during flowering or in summer heat—both stress the plant severely. I mark the new location first, ensuring it gets partial shade (morning sun with afternoon protection works best).
Dig the new hole twice as wide as the root ball but no deeper. This gives roots loose soil to spread into. Mix the excavated soil with 50% compost to improve drainage and fertility. Azaleas hate soggy roots, so if your soil is heavy clay, mound the planting area slightly to elevate the roots above potential standing water.
Water the azalea deeply 24 hours before transplanting—this hydrates the root system and helps the soil hold together. Use a sharp spade to dig a trench around the plant, starting about 12 inches from the trunk for mature shrubs (adjust for smaller plants). Work your way down to create a clean root ball.
Once the trench is 12-18 inches deep, angle the spade under the root ball to lift. For large azaleas, I wrap the root ball in burlap to hold it together during the move. Keep the root ball intact—broken roots mean transplant shock. If roots are circling the ball, make three 1-inch deep vertical cuts on opposite sides to encourage outward growth.
Place the azalea in the new hole so the top of the root ball sits 1-2 inches above ground level. This accounts for settling. Backfill with your soil-compost mix, gently firming as you go to eliminate air pockets. Don’t tamp too hard—azalea roots need oxygen. Create a 3-inch high water ring around the perimeter to direct moisture to the roots.
Water immediately with 2-3 gallons per plant, letting it soak in slowly. I add a 2-inch layer of mulch (pine bark or shredded leaves) to retain moisture, but keep it 3 inches away from the trunk to prevent rot. The mulch also insulates roots from temperature swings during establishment.
Check soil moisture daily for the first week—it should stay evenly moist but not soggy. Stick your finger 2 inches deep; if it feels dry, water deeply. Azaleas wilt dramatically when thirsty but bounce back quickly once watered. Reduce watering frequency after 2-3 weeks as roots establish.
Avoid fertilizing for 6-8 weeks post-transplant—new roots are sensitive to burns. If leaves yellow, it’s likely transplant stress, not nutrient deficiency. Prune only to remove damaged branches; heavy pruning delays recovery. Watch for new growth—when you see 1-2 inches of fresh shoots, your azalea has successfully established in its new home.
Transplanting azaleas successfully comes down to timing and technique—here’s what I’ve learned from years of moving these beautiful shrubs.
Timing is Everything: The 24-hour pre-watering mentioned in Step 2 isn’t just helpful—it’s critical. I’ve found that deeply hydrated roots hold together better during the move, reducing transplant shock by up to 50%. Water slowly and deeply so moisture penetrates the entire root zone, not just the surface. This also makes the soil easier to work with when digging your trench.
Root Ball Protection: When digging that 12-18 inch deep trench in Step 2, work methodically around the plant. I use a sharp spade and make clean cuts—this prevents root tearing. For larger azaleas, don’t skip the burlap wrap; it keeps the root ball intact during transport. If you notice roots circling the ball, those 1-inch vertical cuts aren’t just helpful—they’re necessary to prevent future girdling as the plant grows.
The Planting Depth Secret: That 1-2 inches above ground level placement in Step 3 accounts for settling, but here’s what nobody tells you—azaleas planted too deep suffer from stem rot. I use a straight board across the hole to check my depth before backfilling. The soil-compost mix should come just to the base of the trunk flare, not cover it. This single detail prevents more transplant failures than any other step.
Watering Wisdom: The 2-3 gallons per plant immediate watering in Step 3 isn’t excessive—it’s exactly what’s needed to eliminate air pockets around the roots. I water in stages: first gallon to settle the soil, second to saturate the root ball, and third to create a moisture reservoir. That 3-inch water ring you create acts like a mini irrigation system, directing every drop where it’s needed most during those critical first weeks.
The ideal time is early spring (before new growth starts) or early fall (6+ weeks before frost). Avoid transplanting during summer heat or winter dormancy—this reduces stress and helps roots establish before extreme temps. Mild, cloudy days are perfect for minimizing shock!
It’s risky, but possible with extra care. Water deeply 2–3 days before moving, transplant on a cool, overcast morning, and prune back ⅓ of the foliage to reduce stress. Mulch heavily and water daily for 2 weeks. Avoid this if temps exceed 85°F.
Aim for a root ball 10–12 inches wide per inch of trunk diameter (e.g., 20–24 inches wide for a 2-inch trunk). Depth should match the original planting level. Use a sharp spade to cut cleanly around the dripline (outer branches) to preserve feeder roots.
Don’t panic! Wilting is normal for 1–2 weeks. Check soil moisture (should be damp but not soggy) and provide shade if needed. Trim dead branches after 3–4 weeks to avoid over-pruning. If leaves stay crispy or black, the plant may be in shock—consult a local nursery.
For oversized shrubs, try root pruning 6–12 months before transplanting: use a spade to cut a trench around the dripline, encouraging new root growth in a smaller zone. Alternatively, propagate cuttings or layer branches to start new plants without moving the original.
