
Beautiful Plants For Your Interior
Beautiful Plants For Your Interior
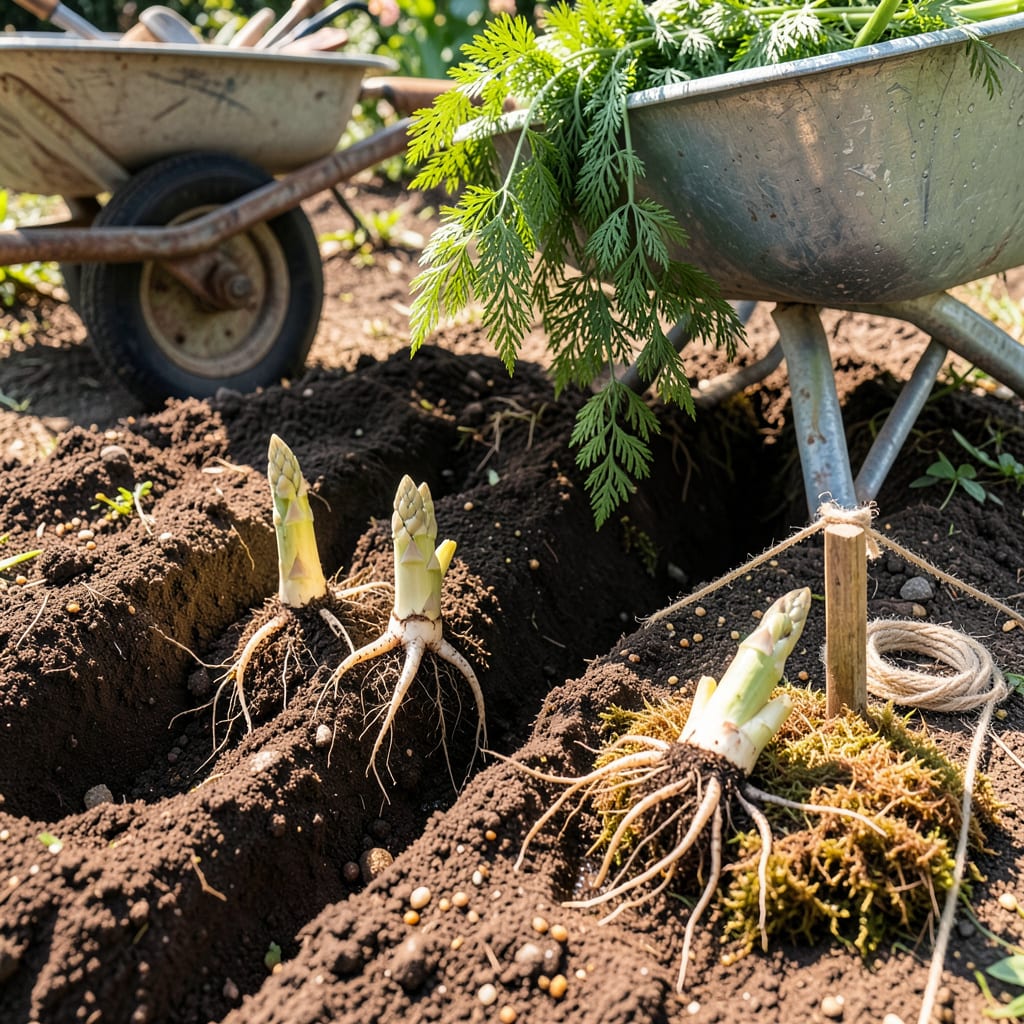
Thicker asparagus spears start with one bold move: transplanting your crowns the right way. I’ve ruined my fair share by rushing the process—digging too shallow, moving them at the wrong time, or skipping the root soak. But after nailing the timing (early spring or fall dormancy) and depth (6–8 inches), my patch now produces spears twice as thick as before.
This isn’t about luck—it’s about giving those crowns a stress-free transition. You’ll need well-draining soil, full sun, and patience to skip harvesting for a year while roots establish. The payoff? A productive bed that outlasts store-bought plants by decades. Let’s get those crowns settled properly.
📚 In This Guide
Moving asparagus crowns is simpler than you think—follow this method for minimal shock and maximum spear production next spring.
Transplant asparagus in early spring before new growth emerges or in fall after foliage yellows—this is when the plant is dormant and least stressed. I prefer fall transplanting because the roots establish before winter and explode with growth in spring. Choose a location with full sun (minimum 8 hours daily) and well-draining soil.
Dig the new trench 12 inches deep and 18 inches wide—asparagus roots spread horizontally. Amend the soil with 2-3 inches of compost worked into the bottom of the trench. Test drainage by filling the hole with water; if it doesn’t drain within 2 hours, improve with perlite or sand.
Use a garden fork to gently lift the entire asparagus clump, starting 8-10 inches from the center to avoid slicing roots. Shake off excess soil to expose the crown (the woody base where spears emerge). Notice the fleshy roots radiating outward—these are critical for water uptake.
Divide the clump into sections with at least 3-5 healthy buds per crown. I use a sharp knife sterilized with rubbing alcohol to make clean cuts. Discard any sections with mushy or discolored roots—these won’t recover. Keep the roots moist by misting with water while you work.
Place each crown in the trench with the buds pointing upward and the roots spread naturally. The top of the crown should sit 4-6 inches below soil level—this depth prevents frost damage and allows for proper mulching. Space crowns 12-18 inches apart in rows that are 3 feet apart for adequate airflow.
Backfill with the amended soil, gently firming as you go to eliminate air pockets. Water thoroughly with 1-2 gallons per plant until the soil is saturated to the depth of the roots. You’ll see the soil settle—add more mix if needed to maintain the proper depth.
Apply 2-3 inches of organic mulch (straw or shredded leaves) over the planting area. This conserves moisture, suppresses weeds, and insulates roots. Keep mulch 1 inch away from the crown to prevent rot. Asparagus needs consistent moisture—1 inch of water weekly—but never soggy soil.
Monitor the first few weeks for signs of transplant shock: yellowing fronds or wilting. If this occurs, provide temporary shade with burlap and increase water slightly. New growth should appear within 3-4 weeks in spring transplants or by mid-spring for fall moves.
Resist harvesting spears the first year after transplanting—this allows the plant to rebuild its root system. In the second year, you may take a light harvest (a few spears per plant). By the third year, you can harvest normally for 6-8 weeks each spring.
Mark your calendar to fertilize in early spring with a balanced 10-10-10 fertilizer and again after the final harvest. The reward for this patience? Thicker, more abundant spears that will produce for 15-20 years from a single transplanting.
These practical insights will help you avoid common pitfalls and ensure your transplanted asparagus thrives for years to come.
Timing Strategy: The dormancy periods mentioned in Step 1—early spring before growth or fall after yellowing—are critical because asparagus roots are most vulnerable during active growth. I learned this the hard way after losing several crowns to spring transplanting when tiny spears had already begun emerging. Fall transplanting gives roots a full winter to establish before the growing season, which consistently yields stronger plants the following year.
Depth Precision: When planting crowns 4-6 inches below soil level as specified in Step 3, use a ruler to verify depth before backfilling. I’ve found that planting too shallow (less than 4 inches) exposes crowns to frost damage, while planting deeper than 6 inches can delay spear emergence. The 4-6 inch range creates the perfect balance of protection and accessibility for new growth.
Water Management: The 1-2 gallons per plant mentioned in Step 3 isn’t arbitrary—it ensures moisture reaches the entire root system in that 12-inch deep trench. Here’s what nobody tells you: after watering, wait 10 minutes and check the trench bottom. If it’s not moist, water again. This deep saturation prevents the shallow rooting that leads to weak spears. During the first week, I check moisture daily by inserting my finger 3 inches into the soil near (but not touching) the crown.
Transplant Shock Prevention: The 3-4 week timeline for new growth in Step 4 assumes ideal conditions. In my experience, you can reduce transplant shock by 50% with two simple additions: mix 1 tablespoon of mycorrhizal fungi (available at garden centers) into the planting hole, and use lukewarm water (about 70°F) for that initial 1-2 gallon soak. The fungi help roots establish faster, and warm water reduces temperature shock to the system.
Early spring (just before growth starts) or early fall (4-6 weeks before frost) are ideal. Avoid summer—heat stresses plants—and winter, when dormant roots can’t establish. If you must move plants in summer, water deeply for weeks beforehand and shade them post-transplant.
Dig trenches 6–8 inches deep and space crowns 12–18 inches apart. Place crowns on small mounds within the trench, spreading roots outward. Cover with 2 inches of soil initially, then fill in as spears grow. Too shallow? Spears thin out. Too deep? Slow emergence.
Soak crowns in compost tea for 20 minutes pre-planting, then mix aged manure into the trench. Water daily for the first 2 weeks (unless rain does the job). Mulch with straw to retain moisture. Skip harvesting the first year—let ferns grow to fuel root development.
Common culprits: overharvesting too soon, poor soil nutrients, or shallow planting. Test soil pH (aim for 6.5–7.5) and amend with phosphorus/potassium. If spears stay thin, hold off harvesting next year and top-dress with compost. Crowded plants also compete—thin to 12–18 inches apart.
Yes, but it takes patience! Seed-grown plants need 3–4 years to mature vs. 1–2 for crowns. Start seeds indoors 12 weeks before last frost, then transplant seedlings (not crowns) to the garden. Varieties like ‘Mary Washington’ or ‘Purple Passion’ do well from seed. Pro tip: Label males (better yield) and cull females to save energy.
