
Beautiful Plants For Your Interior
Beautiful Plants For Your Interior
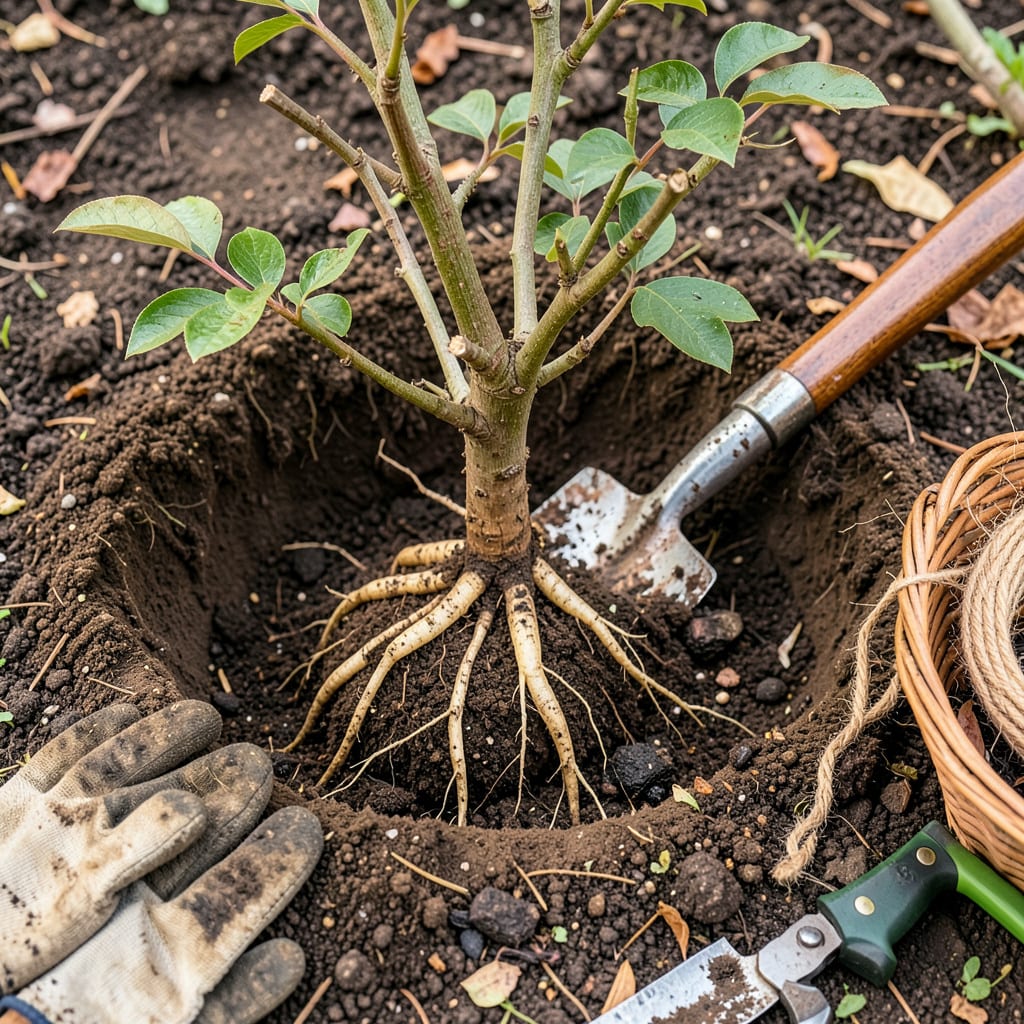
Moving an established peony feels intimidating—these plants can thrive for decades in one spot. But after successfully relocating several mature specimens, I’ve learned the right technique ensures they not only survive but flourish. The key lies in timing and root care, not brute force.
Transplant in early fall, giving roots 6-8 weeks to establish before winter. Older peonies handle the move surprisingly well if you preserve the root structure and replant at the exact same depth. You’ll see new growth emerge next spring, with full blooms returning by the second season.
📚 In This Guide
This method ensures your mature peonies thrive in their new location with minimal transplant shock.
Early fall (about 6-8 weeks before your first frost) is ideal for transplanting peonies. The soil is still warm enough to encourage root growth, but the plant isn’t actively blooming. I’ve found this timing gives roots time to establish before winter dormancy.
Select a location with full sun (at least 6-8 hours daily) and well-draining soil. Dig a hole 18-24 inches wide and 12 inches deep—peony roots spread horizontally, so width matters more than depth. Mix the excavated soil with compost to improve fertility and drainage.
Using a sharp spade, cut a circle around the peony’s drip line (about 12-18 inches from the stem). Work the spade underneath the root ball at a 45-degree angle to lift the entire plant. Older peonies develop deep, woody roots, so expect resistance.
Once loosened, gently lift the plant from the ground. Shake off excess soil to expose the root system, but don’t wash the roots—this removes beneficial microbes. You’ll see thick, fleshy roots and smaller feeder roots. Handle the plant by the root ball, not the stems, to avoid damage.
If your peony is overcrowded (common with older plants), divide the root clump into sections. Each division should have 3-5 healthy eyes (the pinkish buds where next year’s stems will grow). Use a clean knife to separate the sections, cutting through the crown between eyes.
Place each division in its new hole so the eyes sit 1-2 inches below the soil surface—planting too deep prevents blooming. Backfill with your amended soil, gently firming it around the roots to eliminate air pockets. Water thoroughly to settle the soil, using 1-2 gallons per plant.
Apply a 2-3 inch layer of organic mulch (shredded bark or straw) around the plant, keeping it 3 inches away from the stem to prevent rot. This protects roots from temperature fluctuations and conserves moisture during establishment.
Cut back the stems to 3-4 inches above ground level after the first frost. This removes potential disease sites and directs energy to root development. In spring, you’ll see new red shoots emerging—this confirms successful transplantation.
Water deeply once weekly during the first growing season unless you receive 1 inch of rain. Peonies dislike soggy soil, so let the top 2 inches dry between waterings. You may notice fewer blooms the first year—this is normal as the plant focuses on root establishment.
Apply a balanced, low-nitrogen fertilizer (5-10-10) in early spring as new growth appears. Avoid high-nitrogen products, which promote leafy growth at the expense of flowers. By the second year, your transplanted peony should resume its full blooming potential.
After years of transplanting peonies, I’ve learned these key insights that make all the difference between a struggling plant and one that thrives.
Timing Precision: The 6-8 weeks before first frost window mentioned in Step 1 isn’t arbitrary—it’s when soil temperatures are ideal for root regeneration. I use a soil thermometer to confirm we’re in the 50-60°F range at 6-inch depth. This ensures roots grow actively without top growth competing for energy.
Root Handling Technique: When excavating in Step 2, I’ve found that using a horizontally sharpened spade (rather than a standard shovel) makes cleaner cuts through the woody roots. Work methodically around the 12-18 inch drip line—rushing here risks severing critical feeder roots that absorb moisture.
Division Strategy: For Step 3, here’s what nobody tells you—those 3-5 eyes per division aren’t just for growth; they determine bloom quality. Divisions with fewer than 3 eyes may take 2-3 years to flower properly. I use rubbing alcohol to sterilize my knife between cuts to prevent disease transmission.
Establishment Care: The 1-2 gallons of water in Step 3 isn’t just for hydration—it’s critical for eliminating air pockets around roots. I water in stages: half immediately after planting, then the remainder after soil settles. This mimics natural rainfall patterns and encourages roots to spread horizontally.
Fall (late September to early October) is ideal because roots establish before winter. Spring transplanting risks shock and skipped blooms, while summer’s heat stresses plants. If unavoidable, move peonies in early spring (before buds swell) and keep soil moist. Expect fewer flowers the first year!
Aim for a 12–18-inch diameter root ball to preserve feeder roots. Use a sharp spade to cut cleanly around the plant, then gently lift from below. For divided clumps, ensure each section has 3–5 healthy eyes (buds). Pro tip: Soak roots in water for 1 hour pre-transplant to reduce shock!
Common culprits: Planted too deep (eyes should be 1–2 inches below soil), Too much shade, or Stress from transplanting. Older peonies may take 1–2 years to rebound. Fertilize lightly with bone meal in fall, and avoid high-nitrogen foods. Patience pays off!
Yes! Trim stems to 3–4 inches above the soil to reduce water loss and redirect energy to roots. Remove any diseased or weak growth. If transplanting in fall, wait until after the first frost for natural dieback—then prune. Never cut healthy foliage mid-growing season!
Divide it! Use a clean knife to split the root clump into 3–4 sections, each with eyes and roots. Replant divisions immediately (or store in damp peat moss for up to 2 weeks). Smaller sections establish faster than one massive clump. Bonus: Share extras with gardening friends!
