
Beautiful Plants For Your Interior
Beautiful Plants For Your Interior
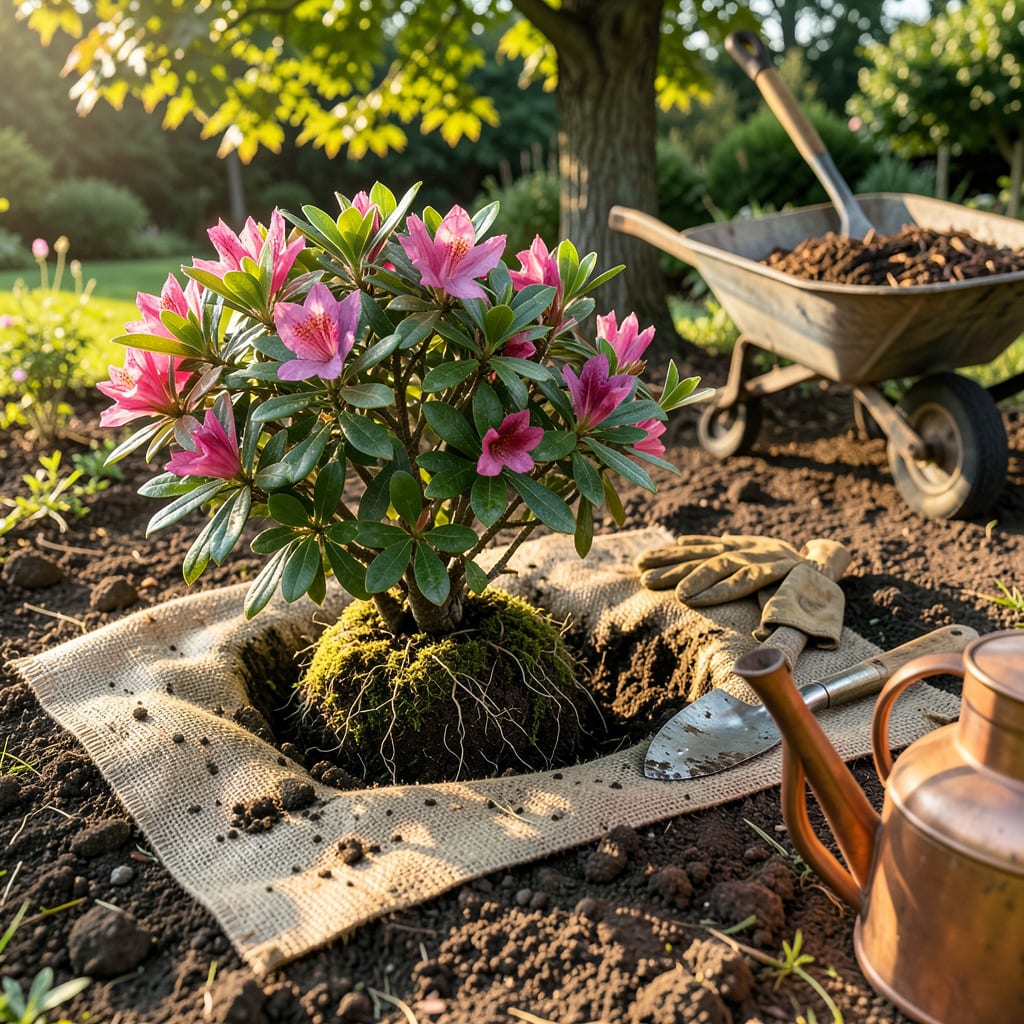
Moving an azalea bush feels like performing surgery on your garden—except the patient can’t tell you where it hurts. I’ve relocated dozens over the years, and the difference between a thriving transplant and a sad stick in the ground comes down to three things: timing, technique, and tenderness with those roots.
The sweet spot is early fall or late winter, when the plant is dormant but the soil is still workable. You’ll want a cloudy day, a sharp spade, and more patience than you think you need. Do this right, and your azalea will reward you with bigger blooms next season than it ever produced in its old spot. The secret? Keeping that root ball intact like it’s made of fine china.
📚 In This Guide
Moving an azalea doesn’t have to be stressful—follow this method and your bush will reward you with vibrant blooms next season.
Transplant azaleas in early spring before new growth starts or in early fall at least six weeks before the first frost. This timing gives roots a chance to establish without the stress of summer heat or winter cold. I always check the weather forecast to avoid transplanting right before heavy rain or extreme temperatures.
Prepare the new location first by digging a hole twice as wide as the root ball but only as deep as the root ball itself. Azaleas thrive in partial shade with well-draining, acidic soil (pH 4.5-6.0). Mix in some compost or pine bark fines to improve soil structure if needed. Water the new hole thoroughly and let it drain before moving the plant.
Water the azalea deeply 24 hours before transplanting to help the root ball hold together. Use a sharp spade to dig a trench around the plant, starting about 12 inches out from the main stem for mature bushes. Work your way around the plant, angling the spade inward to create a clean root ball.
Once you’ve circled the plant, slide the spade underneath to lift the entire root ball. For large azaleas, you may need help—lift from the base of the stem, not the branches. Wrap the root ball in burlap or place it on a tarp to keep it intact during the move. If any roots are damaged, trim them cleanly with pruners to prevent rot.
Place the azalea in the new hole so the top of the root ball sits 1-2 inches above the surrounding soil level. Azaleas planted too deep suffer from root suffocation. Backfill with the amended soil, gently firming it around the root ball to eliminate air pockets. Create a 3-inch-high water ring around the outer edge of the hole to help direct water to the roots.
Water immediately after planting until the soil is thoroughly moist but not soggy. The soil should settle slightly, bringing the plant to the perfect height. If the azalea sinks too low, gently lift it and add more soil beneath the root ball. Mulch with 2-3 inches of pine bark or straw, keeping it 2 inches away from the stem to prevent rot.
Water the transplanted azalea deeply 2-3 times per week for the first month, then taper to once weekly unless rainfall is insufficient. The soil should stay evenly moist but never waterlogged—check by feeling 1-2 inches deep. Morning watering allows foliage to dry before evening, reducing disease risk.
Avoid fertilizing for 6-8 weeks after transplanting to prevent burning new roots. Watch for signs of stress like wilting or yellowing leaves, which usually indicate either too much or too little water. If you notice leaf drop, don’t panic—this is normal transplant shock. The azalea should produce new growth within 4-6 weeks if properly cared for.
Transplanting azaleas successfully comes down to timing, technique, and aftercare—here’s what I’ve learned from years of trial and error.
Timing is Everything: The instructions emphasize transplanting in early spring or early fall, and this is crucial. I’ve found that mid-September works particularly well in most climates, giving roots exactly six weeks to establish before frost. Avoid late fall transplanting—roots need that full window to settle in. If you must transplant in summer, choose a cloudy week and provide temporary shade for the first two weeks.
Root Ball Protection: When digging up your azalea in Step 2, don’t underestimate the importance of that 24-hour pre-watering. I use a soaker hose to deeply saturate the root zone—this makes the soil cohesive enough to hold the root ball together. For very large azaleas, I’ve had success using a sharp knife to score the root ball’s perimeter before digging, which encourages new root growth after transplanting.
Planting Depth Precision: Step 3’s instruction to plant with the root ball 1-2 inches above soil level isn’t just suggestion—it’s critical. I use a straight board laid across the hole to check this measurement from multiple angles. Azaleas planted at ground level often develop stem rot. If your plant sinks after watering (which often happens), gently lift it and add more soil beneath—don’t just add soil on top.
Watering Wisdom: The 2-3 times weekly watering schedule in Step 4 works perfectly, but here’s what most people miss: azaleas need consistent moisture at root level, not surface wetting. I create my water ring slightly wider than specified—about 4 inches high and extending 6 inches beyond the root ball—to ensure water penetrates deeply. Use your finger to check moisture at that 1-2 inch depth; if the top inch is dry but it’s moist below, you’re doing it right.
The ideal time is early spring (before new growth starts) or early fall (6+ weeks before frost). Avoid transplanting in summer heat or winter dormancy—cool, mild weather reduces stress and helps roots establish faster.
Aim for a root ball 10–12 inches wide per inch of trunk diameter (e.g., 20–24 inches for a 2-inch trunk). Use a sharp spade to cut cleanly around the drip line (outer branches) to preserve feeder roots.
Wilting is normal for 1–2 weeks! Water deeply (1–2 inches) every 2–3 days (not daily) and mulch 2–3 inches to retain moisture. Avoid fertilizer until new growth appears. If leaves crisp, check for root damage or overwatering.
Only as a last resort! If you must, prune ⅓ of the foliage to reduce stress, transplant on a cloudy day, and water daily for 2 weeks. Use shade cloth for 1–2 weeks post-move to prevent scorching.
Try root pruning 6–12 months before transplanting: slice a trench around the drip line to encourage compact root growth. For mature bushes, consider propagating cuttings instead—dip in rooting hormone and pot in sandy soil.
