
Beautiful Plants For Your Interior
Beautiful Plants For Your Interior
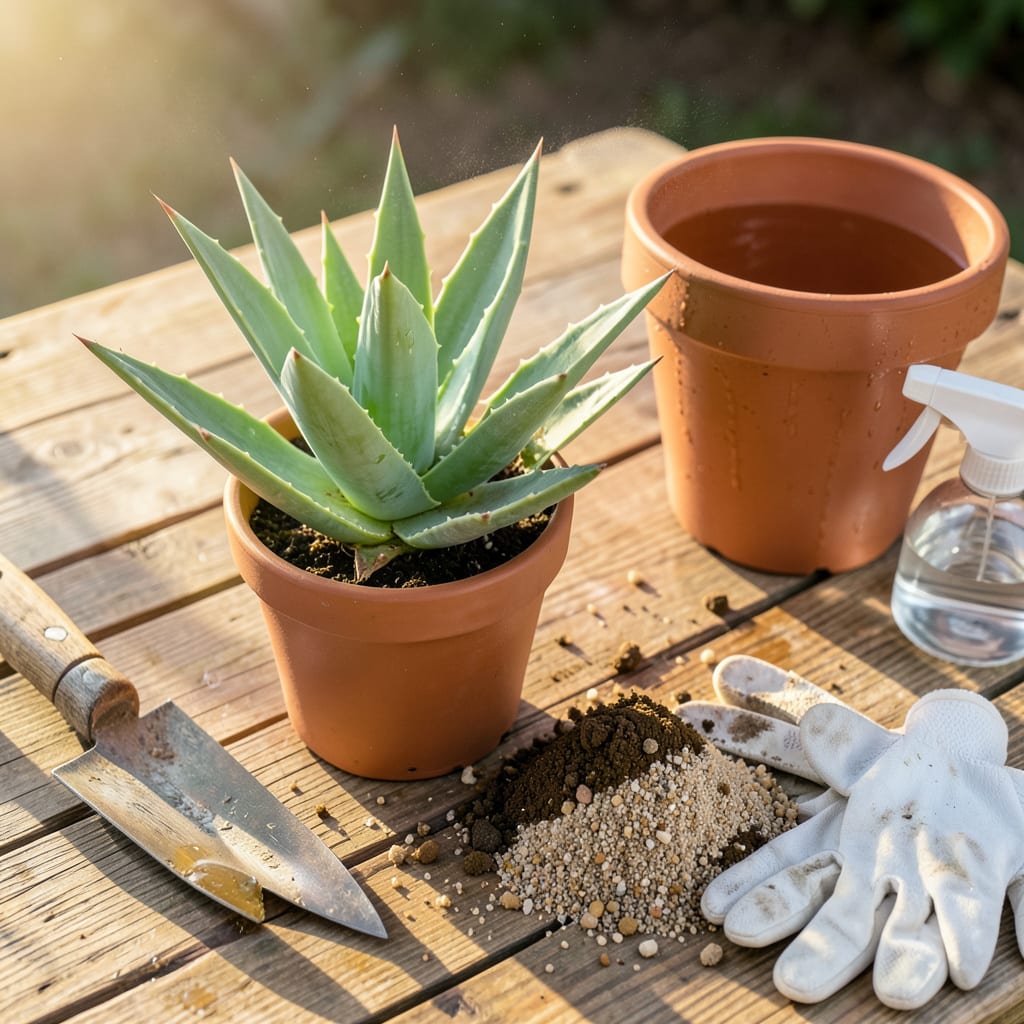
That moment when your aloe plant outgrows its pot is actually good news—it means you’ve kept it alive long enough to thrive. I’ve transplanted dozens of aloes over the years, and the process is simpler than you’d think. No green thumb required, just a little prep and the right timing.
The key is treating those thick roots with care and giving it room to stretch. Within 2-3 weeks, you’ll see new growth pushing up, proof your plant’s happier in its upgraded home. We’ll cover exactly when to move it, what soil works best, and how to avoid the one mistake that stresses aloes the most.
📚 In This Guide
Transplanting aloe doesn’t have to be intimidating—here’s how I do it without stressing the plant or myself.
Choose a pot that’s 1-2 inches wider than the current one, with drainage holes at the bottom. I always use unglazed terra cotta for aloe because it allows excess moisture to evaporate through the walls, preventing root rot. Wash the pot with warm, soapy water and rinse thoroughly to remove any residue that might harbor bacteria.
Fill the bottom 1/3 of the pot with fresh cactus/succulent mix. Don’t use regular potting soil—it holds too much moisture. I like to create a slight mound in the center where the aloe will sit. This helps position the plant at the right height and encourages water to drain away from the stem.
Water your aloe lightly 2-3 days before transplanting. This makes the roots more pliable and reduces shock. When ready, turn the pot sideways and gently squeeze the sides while supporting the base of the plant. If it resists, run a butter knife around the inner edge to loosen the root ball.
Once removed, inspect the roots. Healthy aloe roots are firm and white. If you see any dark, mushy roots, trim them away with clean scissors. Brush off the old soil gently—don’t wash the roots, as excess moisture can lead to rot during this vulnerable transition period.
Place the aloe in the new pot so it sits at the same depth as before. The base of the plant should rest just above the soil line—burying the stem causes rot. Hold the plant upright while adding more soil around the sides, pressing lightly to eliminate air pockets. Leave about 1 inch of space between the soil surface and the pot rim for watering.
Don’t water immediately. Wait 5-7 days before the first watering—this gives any damaged roots time to heal and prevents rot. I place newly transplanted aloe in bright, indirect light for a week before moving it to full sun, which reduces stress during recovery.
After the initial waiting period, water deeply until it runs out the drainage holes, then empty the saucer completely. Going forward, water only when the soil is completely dry—stick your finger 2 inches deep to check. Aloe stores water in its leaves, so it’s better to underwater than overwater.
Wait 4-6 weeks before fertilizing to avoid burning new roots. When you do fertilize, use a balanced, diluted succulent fertilizer (half-strength) during the growing season. Rotate the pot occasionally so all sides receive equal light, which keeps the plant growing straight instead of leaning toward the light source.
Transplanting aloe is simpler than you think—here are the key things I’ve learned to ensure your plant thrives.
Root Health Check: When you remove your aloe in Step 2, take your time inspecting the roots. Dark, mushy roots mean rot has started, and you should trim them away immediately with clean scissors. Healthy roots are firm and white. I always brush off the old soil gently rather than washing the roots—excess moisture at this stage can lead to problems during recovery.
Pot Selection Matters: In Step 1, choosing the right pot makes all the difference. I always opt for unglazed terra cotta because it allows excess moisture to evaporate through the walls, which prevents root rot. Make sure your new pot is only 1-2 inches wider than the current one—too much extra space can hold excess moisture around the roots, which aloe plants hate.
Watering Discipline: The hardest part for most people is waiting to water after transplanting. In Step 3, I emphasize waiting 5-7 days before the first watering. This gives any damaged roots time to heal and prevents rot. When you do water, make sure it runs out the drainage holes completely, then empty the saucer—aloe roots should never sit in standing water.
Light Transition: After transplanting, I place my aloe in bright, indirect light for a week before moving it to full sun. This gradual transition reduces stress on the plant during recovery. If you notice the leaves looking pale or soft, that’s a sign it’s getting too much direct sun too soon—move it back to indirect light for a few more days.
Transplant your aloe every 2–3 years or when roots crowd the pot (visible through drainage holes). Young plants may need repotting yearly, while mature aloes grow slower. Spring or early summer is ideal—avoid winter dormancy. Overcrowded roots stunt growth, so check annually!
Can I transplant aloe without roots? Is it possible to propagate instead?
Yes! If your aloe has no roots, you can propagate healthy offsets (pups) or leaf cuttings. Let cut ends callus for 1–2 days, then plant in sandy soil. Pups (baby plants) root faster than leaves. Skip watering for a week to prevent rot. Leaves may fail—pups are more reliable! Wilting post-transplant usually means shock or overwatering. Keep soil lightly moist (not soggy) and place the plant in bright, indirect light for 1–2 weeks. Avoid direct sun immediately. If leaves turn mushy, trim rotten parts and repot in fresh, dry soil. Aloe thrives in well-draining, gritty mix. Combine 60% cactus/succulent soil + 40% perlite/pumice for airflow. Avoid dense garden soil—it retains too much moisture, causing root rot. Add coarse sand if your mix feels too compact. It’s risky! Aloe enters dormancy in winter, making recovery slower. If urgent (e.g., root rot), do it indoors with grow lights and minimal water. Otherwise, wait for spring when active growth resumes for best results.
2
Why is my aloe plant wilting after transplanting?
3
What’s the best soil mix for transplanting aloe?
4
Can I transplant aloe in winter?
