
Beautiful Plants For Your Interior
Beautiful Plants For Your Interior
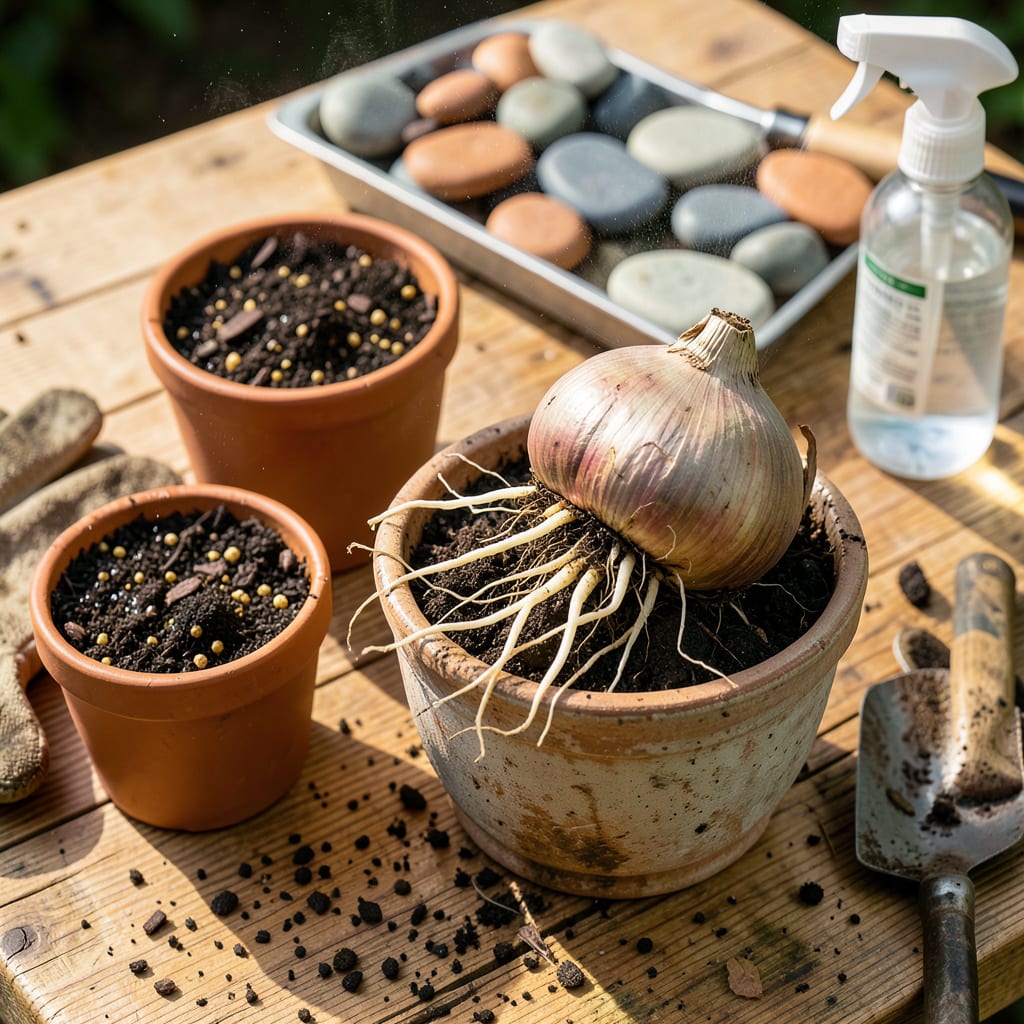
There’s something deeply satisfying about giving an amaryllis bulb a fresh start. I’ve moved dozens over the years, and the right transplant turns a struggling plant into a showstopper that blooms bigger each season. Timing matters most—do this when the bulb’s dormant, typically late summer or early fall, and you’ll avoid the stress that comes with active growth periods.
What surprises most people is how simple the process really is. A well-draining pot just 1-2 inches wider than the bulb, fresh potting mix, and proper depth (shoulders above soil) are all it takes. The real magic happens in the aftercare: bright indirect light, sparse watering at first, and patience. Your reward? Stronger stems and more dramatic blooms next season than you’ve ever seen.
📚 In This Guide
Here’s the method I rely on to ensure your amaryllis thrives after transplanting—with minimal stress and maximum blooms.
Transplant amaryllis bulbs in late winter or early spring, just as they emerge from dormancy. This timing allows roots to establish before the growing season. Gently remove the bulb from its current container, taking care not to damage the fleshy roots. Shake off excess soil to expose the root system.
Inspect the bulb for any soft spots or signs of rot—healthy bulbs feel firm and show no discoloration. Trim away any dead or damaged roots with clean pruners, leaving only plump, white roots. This step prevents disease and encourages vigorous new growth.
Choose a pot only 1-2 inches wider than the bulb’s diameter—too much space delays blooming. Ensure it has drainage holes; amaryllis bulbs rot quickly in soggy soil. I prefer heavy ceramic pots to prevent toppling, as mature plants grow tall and top-heavy.
Fill the container with a well-draining mix of 50% potting soil and 50% perlite or coarse sand. This blend mimics their native conditions and prevents waterlogging. Moisten the mix lightly before planting—it should feel like a wrung-out sponge, not dripping wet.
Place the bulb in the center of the pot with the top third exposed above the soil line. Burying it too deeply suffocates the growth point. Firm the soil gently around the roots, eliminating air pockets but avoiding compaction. Leave a 1-inch gap between the soil surface and pot rim for watering.
After planting, water thoroughly until moisture drains from the bottom. Don’t water again until the top inch of soil feels dry—overwatering at this stage is the fastest way to lose your bulb. Position the pot in bright, indirect light until new growth appears.
Once you see 3-4 inches of new leaf growth, move the plant to a location with 6-8 hours of direct sunlight daily. Rotate the pot weekly to prevent leaning. Begin a balanced liquid fertilizer regimen at half strength, applying every 2-3 weeks during the growing season.
Watch for flower stalks emerging from the bulb—this indicates successful transplanting. Stake tall varieties immediately to support the heavy blooms. Reduce watering slightly once flowering begins, but never let the soil dry out completely.
These insights will help you avoid the most common pitfalls and ensure your amaryllis thrives after transplanting.
Timing is Everything: The recommendation to transplant in late winter or early spring (Step 1) isn’t arbitrary—this timing aligns with the bulb’s natural growth cycle. Transplanting during dormancy gives roots time to establish before the plant puts energy into foliage and flowers. If you miss this window, you can still transplant in early summer, but you may sacrifice blooms that season.
Container Selection Wisdom: The 1-2 inch wider pot rule in Step 2 exists for a reason. Too much space encourages root growth at the expense of flowering, while too little restricts development. I’ve found that ceramic pots with weight provide stability for top-heavy amaryllis plants, preventing the frustrating toppling that often occurs with plastic containers.
Soil Mix Precision: The 50/50 blend of potting soil and perlite or coarse sand mentioned in Step 2 perfectly balances moisture retention and drainage. I’ve experimented with various ratios, and this combination consistently prevents the root rot that plagues amaryllis in standard potting mixes. The “wrung-out sponge” moisture level is ideal—any wetter and you risk suffocating the roots.
Light Transition Strategy: Moving from bright, indirect light to 6-8 hours of direct sunlight (Step 4) should happen gradually over 3-4 days. Sudden exposure to intense sunlight can scorch leaves that have developed in lower light conditions. I recommend starting with morning sun and gradually increasing exposure to avoid stressing the plant during this critical transition period.
The ideal time is late winter or early spring (after flowering but before new growth starts). In warmer climates (Zones 9-11), you can transplant in fall before dormancy. Avoid transplanting during active blooming—wait until flowers fade and foliage yellows naturally.
No—transplanting during blooming shocks the bulb and may cause flower drop or stunted growth. Wait until all flowers wither and the stalk turns brown. If urgent (e.g., root rot), trim flowers/stems first to reduce stress, then repot carefully.
What’s the difference between repotting and transplanting outdoors? ↔
Repotting = moving the bulb to a larger container (do every 2-3 years). Outdoor transplanting = planting in garden soil (only in frost-free zones or as a summer seasonal). Outdoors, ensure well-draining soil and partial shade to prevent bulb scorching.
Common causes:
Can I divide amaryllis bulbs when transplanting?
Yes! Mature bulbs (3+ years old) can produce offsets (small bulbs). Gently separate them during transplant, ensuring each has roots. Plant offsets in small pots (3-4″ diameter)—they may take 2-3 years to bloom but will grow true to the parent plant.
