
Beautiful Plants For Your Interior
Beautiful Plants For Your Interior
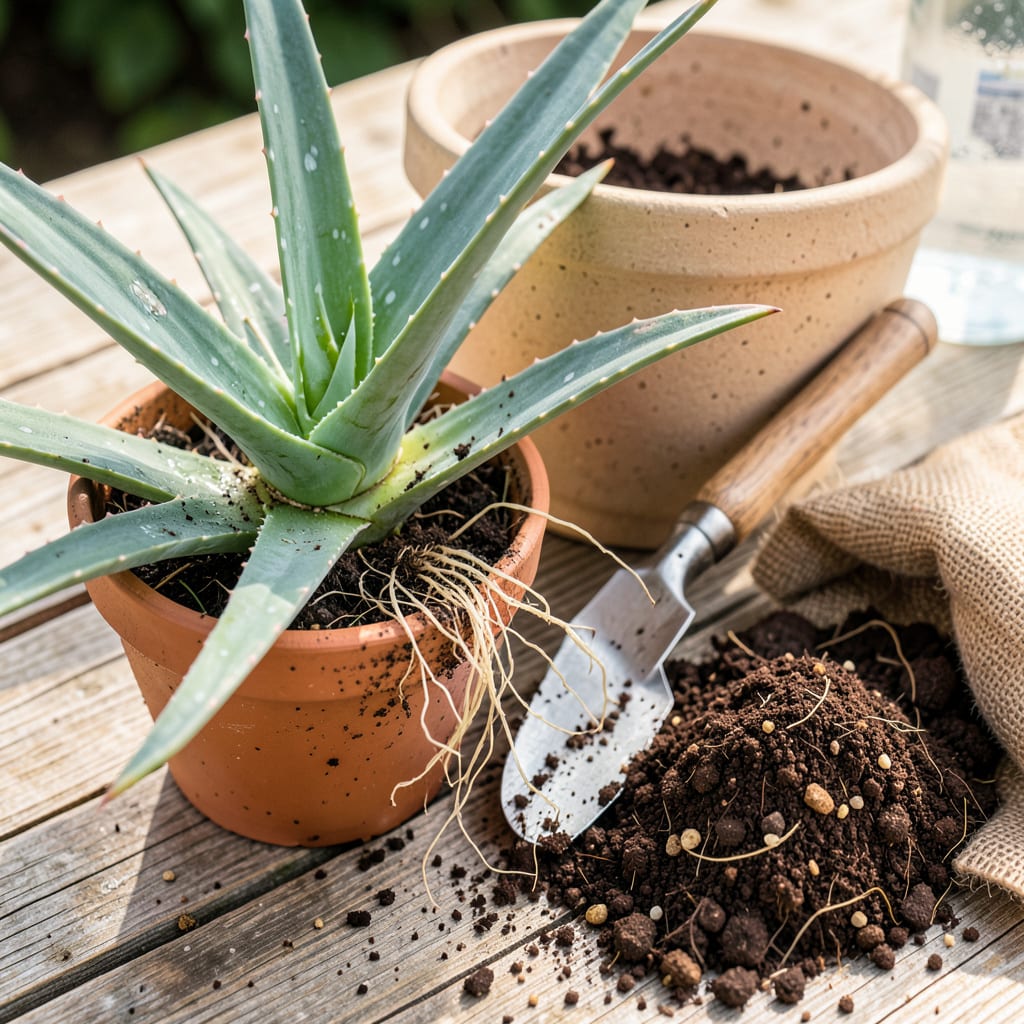
That moment when your aloe vera pup outgrows its pot is exciting—until you realize moving it wrong can set growth back for months. I’ve transplanted dozens of aloes, and the difference between a thriving plant and a stressed one comes down to timing and technique. Root-bound pups with circling roots or top-heavy plants leaning sideways are begging for more space, but rush the process, and you’ll trade one problem for another.
Here’s the good news: aloes are forgiving if you follow three key rules—right soil mix, proper pot size, and a 48-hour drying period before watering. Skip the generic cactus soil and use a gritty blend (I swear by 60% perlite/pumice), and you’ll see new growth within 2-3 weeks. No guesswork, no wilting, just a plant that looks like it’s always lived in its new home.
📚 In This Guide
Here’s the method I’ve used for years to move aloe plants without stress or shock.
Transplant your aloe vera when it’s actively growing in spring or early summer. The warmer temperatures help the plant recover faster. I always water my aloe thoroughly 2-3 days before transplanting—this makes the roots more pliable and reduces stress.
Look for these signs that your aloe needs repotting: roots circling the bottom of the container, pups (baby plants) crowding the main plant, or soil drying out too quickly. Gently squeeze the sides of the pot to loosen the root ball before attempting to remove the plant.
Turn the pot sideways and tap the bottom while supporting the plant’s base. If it resists, run a clean knife around the inner edge of the pot to break the suction. Once free, place the plant on a clean surface and examine the roots.
Healthy aloe roots are firm and white. If you see dark, mushy roots, trim them with clean scissors—they’re rotting. I dust the cut areas with cinnamon (a natural antifungal) before repotting. This is also the time to separate any pups if you want to propagate new plants.
Choose a pot that’s 1-2 inches wider than the current one, with drainage holes. Aloe vera hates sitting in water, so I always use unglazed terracotta pots—they wick away excess moisture. Fill the new container one-third full with a well-draining cactus/succulent mix.
Create a small mound in the center of the new pot where the plant will sit. This elevation helps prevent the crown (where leaves meet roots) from sitting too deep, which can cause rot. The base of the aloe should sit at the same soil level as it did in its previous container.
Place the aloe in its new home, spreading the roots gently over the mound. Add soil around the sides, pressing lightly to eliminate air pockets. Leave about 1 inch of space between the soil surface and the pot rim—this prevents water from spilling over and rotting the stem.
Don’t water immediately after repotting. I wait 5-7 days before watering to allow any damaged roots to callous over. Keep the plant in bright, indirect light during this recovery period—direct sun can stress a freshly transplanted aloe.
After the initial waiting period, water deeply until it runs out the drainage holes, then let the soil dry completely before watering again. Aloe vera thrives on neglect—I water mine only when the leaves start to look slightly wrinkled, about every 2-3 weeks.
Wait 4-6 weeks before fertilizing to avoid burning new roots. When you do fertilize, use a diluted succulent fertilizer at half strength. You’ll know your aloe has recovered when you see new growth at the center of the plant.
After years of repotting aloe plants, I’ve learned these key lessons that make all the difference between a thriving plant and one that struggles.
Timing is Everything: The advice in Step 1 about transplanting in spring or early summer isn’t just a suggestion—it’s critical. I once tried repotting in winter and my aloe sulked for months. The warmer temperatures during growing season help the plant recover faster and establish new roots more efficiently. If you must transplant outside this window, keep the plant in brighter light and be extra gentle with watering.
Root Care Secret: When examining roots in Step 2, don’t just look for rot—check for root bound conditions too. If roots are circling tightly, gently tease them apart before repotting. This encourages outward growth in the new container. I use my fingers to carefully separate roots that have grown into a dense mat at the bottom of the pot.
Pot Selection Matters: The recommendation in Step 3 for a pot 1-2 inches wider is perfect—too big and the soil stays wet too long, too small and you’ll be repotting again soon. I’ve found that unglazed terracotta pots work best because they breathe, allowing excess moisture to evaporate through the pot walls. This mimics the dry conditions aloe loves in its natural habitat.
Recovery Period Insight: The 5-7 day waiting period before watering in Step 4 might seem extreme, but it’s crucial. Any damaged roots need time to heal, and watering too soon invites rot. I place my newly repotted aloe in bright, indirect light during this time—east-facing windows are ideal. You’ll notice the leaves perk up as the roots establish themselves in their new home.
Transplant your aloe vera every 2–3 years or when it outgrows its pot (roots circling the bottom or pups crowding the container). Younger plants may need repotting yearly for optimal growth. Spring or early summer is the best time—avoid winter when growth slows.
It’s not ideal. Aloe vera enters dormancy in cold months, making recovery slower. If urgent (e.g., root rot), move it indoors to a warm spot and reduce watering post-transplant. Aim for spring/early summer for stress-free results.
Use a terracotta or ceramic pot with drainage holes to prevent soggy soil. Aloe thrives in shallow, wide containers (roots spread horizontally). Avoid plastic if overwatering is a habit—terracotta wicks away excess moisture.
Drooping is normal for 1–2 weeks as roots adjust. Check for:
Yes, but only in warm climates (USDA zones 9–11). Acclimate pups indoors first if temperatures drop below 50°F (10°C). For ground planting, ensure well-draining soil (mix sand/perlite) and partial shade initially.
