
Beautiful Plants For Your Interior
Beautiful Plants For Your Interior
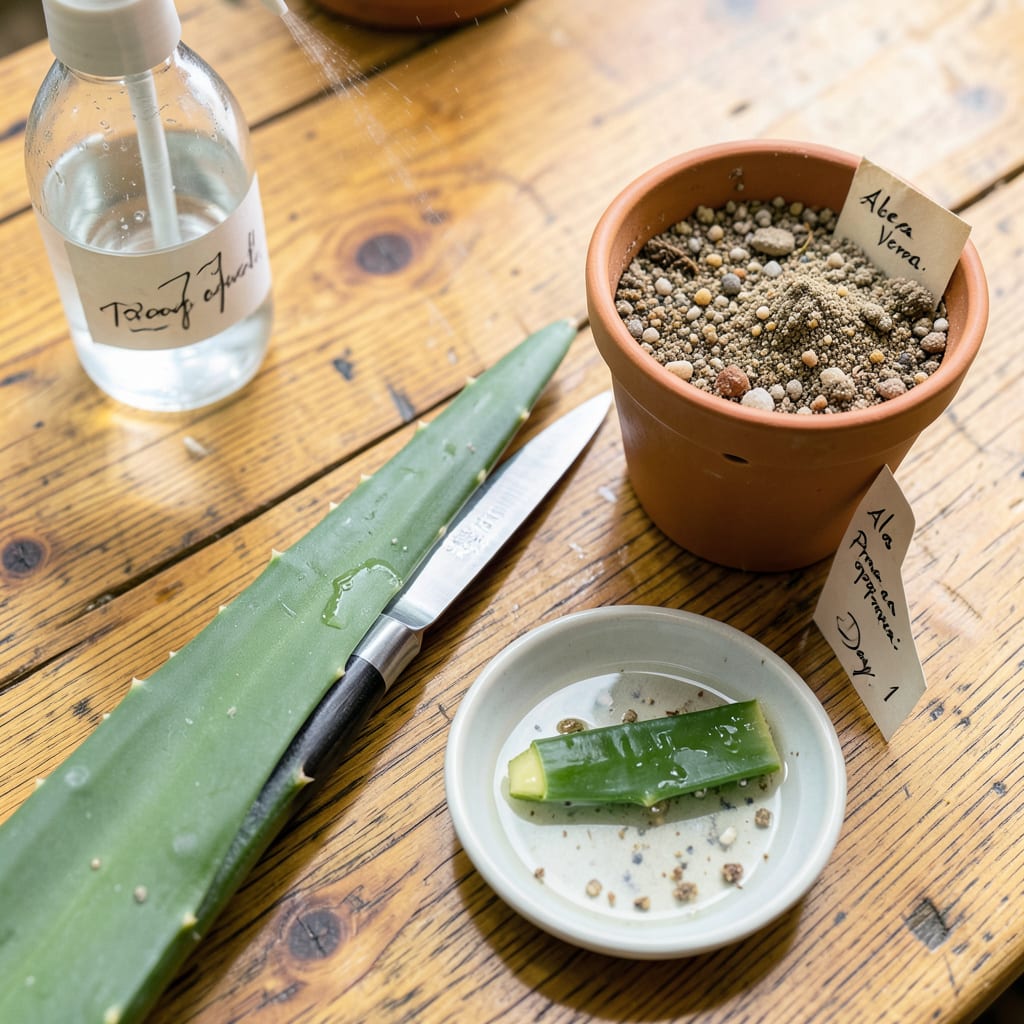
I’ll be real with you: transplanting aloe vera without roots feels like defying nature at first. But after saving dozens of pups that broke off too early, I’ve learned it’s not just possible—it’s surprisingly reliable. The secret lies in patience and letting the plant do what it’s built for: survive.
You’ll need just a few things: a healthy offset (even if it snapped off clean), well-draining soil, and a pot with holes. No roots? No problem. The pup will grow them—if you resist the urge to overwater and give it bright, indirect light. Within weeks, you’ll see new growth proving those roots are forming underground.
📚 In This Guide
This simple method lets you propagate healthy aloe plants from cuttings—no roots required. Here’s how to do it right.
Choose a mature aloe leaf that’s at least 4-6 inches long from the outer part of the plant. You’ll want one that’s thick, firm, and free from brown spots or damage. The best cuttings come from the lower leaves—they contain more stored energy for new growth.
Use a clean, sharp knife to cut the leaf at a slight angle where it meets the main stem. Let the cutting sit in a warm, dry place for 3-5 days until the cut end forms a thick callus. This protective layer prevents rot when you plant it.
Fill a small pot with a well-draining cactus or succulent mix. I like to blend regular potting soil with 50% perlite or coarse sand to ensure proper drainage. Moisten the mix lightly—it should feel barely damp to the touch, not wet.
Create a small hole about 1 inch deep in the soil. If the leaf wants to tip over, you can support it with a few small pebbles around the base. The callused end should point downward, with at least one-third of the leaf buried in the soil.
Place the pot in bright, indirect light—an east-facing windowsill works perfectly. Avoid direct sun at this stage, as it can stress the cutting before roots develop. Keep the soil lightly moist for the first 2-3 weeks, misting only when the top inch feels dry.
You’ll know roots are forming when the leaf remains upright without support. After about 4-6 weeks, give the leaf a very gentle tug. If you feel resistance, roots have established and you can treat it like a mature aloe plant.
Once roots develop, move your new aloe plant to a location with 6-8 hours of bright light daily. Water deeply but infrequently—only when the soil is completely dry down to 2 inches deep. Aloe stores water in its leaves, so overwatering is the fastest way to kill it.
After 2-3 months, you’ll see new growth emerging from the base. This means your propagation was successful! At this point, you can fertilize lightly with a diluted succulent fertilizer if desired, but aloe thrives perfectly well without it.
These practical insights will help you avoid common pitfalls and achieve the best results when propagating aloe without roots.
Callusing is Critical: The 3-5 day waiting period in Step 1 isn’t just a suggestion—it’s essential for preventing rot. I learned this the hard way after losing several cuttings to premature planting. The callus forms a protective barrier that keeps moisture from entering the cut end too quickly. Place your cutting in a warm, dry spot with good airflow to speed up this process.
Soil Moisture Balance: During those first 2-3 weeks mentioned in Step 3, it’s better to underwater than overwater. Aloe cuttings need just enough moisture to encourage root growth without causing rot. I check the soil by inserting my finger—if the top inch feels completely dry, I mist lightly with a spray bottle rather than pouring water directly onto the cutting.
Light Exposure Timing: The transition from indirect to direct light in Step 4 is crucial. Too much sun too soon can scorch your developing plant, while too little light will weaken it. I’ve found that gradually increasing light exposure over a week helps the plant adjust. Start with morning sun only, then slowly introduce more intense afternoon light as the plant establishes roots.
Patience Pays Off: Those 4-6 weeks of waiting for roots to form can feel like forever, but resist the urge to tug at your cutting daily. I mark my calendar and only check for root development after the full 4 weeks have passed. The gentle tug test described in Step 3 should reveal slight resistance—this is your sign that roots have formed and it’s safe to begin normal care.
Spring or early summer is ideal , when the plant is actively growing. Avoid winter—cold stress slows root development. If you must transplant off-season, keep the pup in bright, warm light (70–80°F) and mist lightly to encourage rooting.
Typically 2–4 weeks, but patience is key! Keep the soil lightly moist (not soggy) and provide indirect sunlight. Faster rooting happens in warm, humid conditions—try covering with a plastic bag for a greenhouse effect (remove daily to prevent mold).
This signals overwatering or rot. Stop watering immediately, remove the pup, and let it dry for 1–2 days in a shaded spot. Trim any black/mushy parts with a sterile knife, then replant in fresh, gritty soil. Reduce water until roots establish.
Unfortunately, no—aloe leaves rarely root. Pups (offsets) are your best bet because they already have meristem tissue (growth cells). A leaf may sprout roots but won’t grow into a full plant. Stick to healthy pups at least 3–4 inches tall.
Not required, but it can speed up rooting! Dip the pup’s base in powdered rooting hormone before planting if you’re in a humid climate or struggling with slow growth. Skip it for simpler setups—aloe’s natural resilience usually does the trick.
