
Beautiful Plants For Your Interior
Beautiful Plants For Your Interior
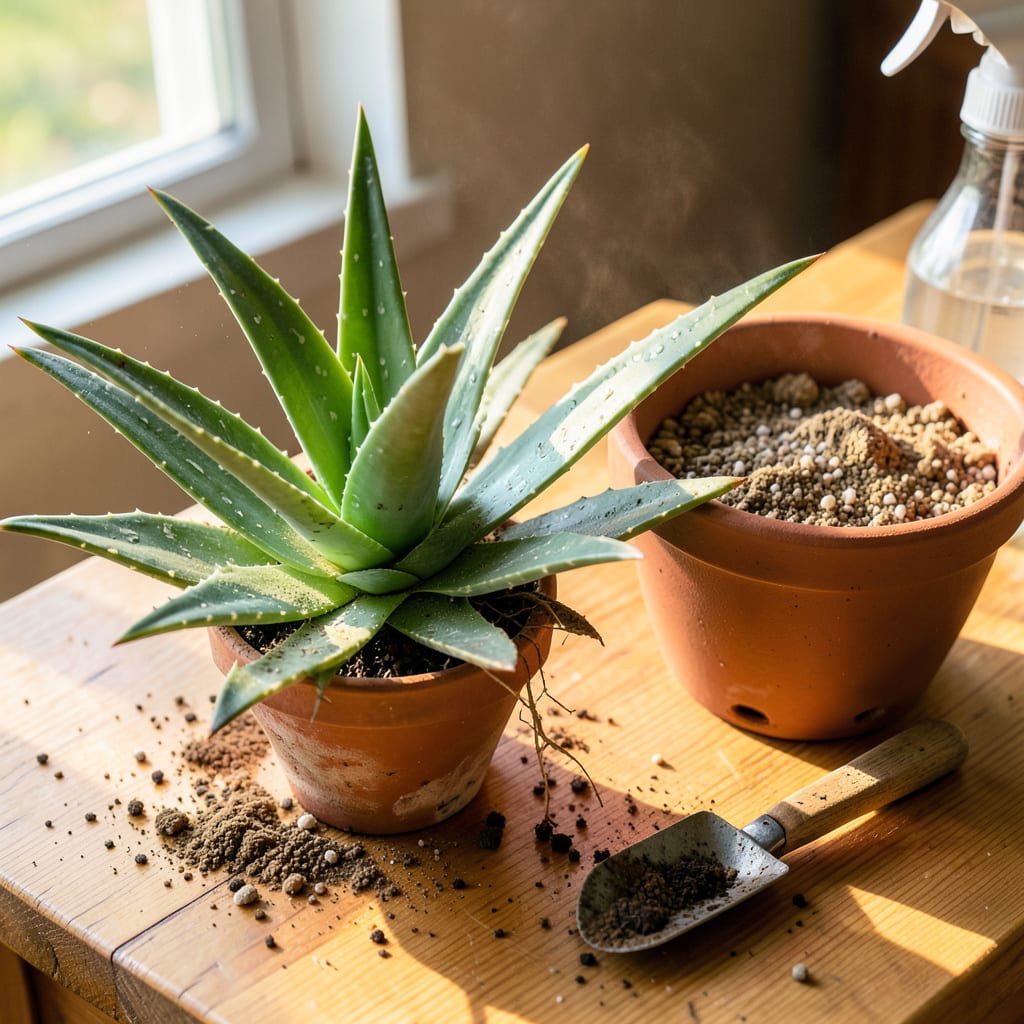
That first time I tried transplanting aloe vera, I ended up with a wobbly plant and soil everywhere. Turns out, these tough-looking succulents need gentle handling and the right timing—spring or early summer works best when they’re actively growing. The process is simpler than you’d think once you know the tricks.
You’ll need just a few things: a slightly larger pot with drainage holes, well-draining soil mix (cactus/succulent blend works perfectly), and a dull knife or trowel. The real secret? Letting the roots dry out slightly before repotting prevents rot. Within 2-3 weeks, your aloe will settle in and start pushing out new growth—no more sad, drooping leaves.
📚 In This Guide
Here’s the method I’ve used for years to move aloe plants without stress or shock.
Choose a pot that’s 2-3 inches wider than your current one, with drainage holes at the bottom. Aloe roots rot quickly in standing water, so drainage isn’t optional. I like unglazed terra cotta because it wicks away excess moisture through the walls.
Fill the new container about one-third full with a well-draining cactus/succulent mix. Don’t use regular potting soil—it holds too much moisture. You can make your own mix by combining 2 parts potting soil with 1 part perlite or coarse sand.
Water the plant 2-3 days before transplanting—this makes the roots more pliable and less likely to break. When ready, gently squeeze the sides of the plastic pot to loosen the root ball, or run a butter knife around the edge of clay pots.
Turn the pot sideways and tap the bottom while supporting the plant. The aloe should slide out easily. If it’s stuck, don’t pull on the leaves—they break easily. Instead, keep tapping and squeezing the pot until the root ball releases.
Once removed, examine the root system. Healthy aloe roots are firm and white. If you see any dark, mushy roots, trim them away with clean scissors. This prevents rot from spreading to the new container.
Place the plant in the new pot at the same depth it was growing before—the base of the leaves should sit just above the soil line. Add more mix around the sides, pressing lightly to secure the plant. Don’t pack too tightly; aloe roots need room to breathe.
After transplanting, don’t water immediately. Wait 5-7 days before giving it a thorough drink. This gives any damaged roots time to callous over, preventing rot. The leaves will store enough moisture to keep the plant happy during this adjustment period.
Place your aloe in bright, indirect light for the first week—no direct sun. You’ll know it’s adjusting well when new growth appears at the center. After that, you can resume normal care and move it back to its usual sunny spot.
Watch for yellowing leaves or soft spots in the first 2-3 weeks—these signal overwatering or transplant shock. If you notice issues, hold off on watering and keep the plant in filtered light until it recovers.
It’s normal for the lowest leaves to dry up after transplanting—the plant is redirecting energy to root establishment. Only remove these leaves once they’re completely brown and crispy. Your aloe should show new growth within 4-6 weeks, confirming successful transplanting.
After years of transplanting aloe plants, I’ve learned these simple tricks make all the difference between a thriving plant and one that struggles to recover.
Root Handling: When removing your aloe in Step 2, work slowly and methodically. I’ve found that rushing this process often leads to broken roots or damaged leaves. The 2-3 days of pre-watering mentioned in the instructions is absolutely crucial—it makes the root ball hold together better while still allowing you to gently tease apart any circling roots before placing it in the new container.
Soil Mix Secret: For the soil mixture in Step 1, I always sift my components together before adding them to the pot. This prevents pockets of pure perlite or sand that could create uneven drainage. The 2:1 ratio of potting soil to perlite is perfect, but if you’re using coarse sand instead, make sure it’s horticultural sand—not beach sand or playground sand, which can compact and harm your plant.
Post-Transplant Care: The 5-7 day waiting period before watering in Step 4 might seem counterintuitive, but it’s the most important part of the process. During this time, I check my aloe daily by gently pressing on the soil—it should feel completely dry about an inch down before that first watering. This patience prevents root rot and gives your plant the best chance to establish itself in its new home.
Light Transition: That first week of bright, indirect light mentioned in Step 4 is when I see most people make mistakes. Direct sunlight too soon can scorch leaves that are already stressed from transplanting. I use a sheer curtain to filter sunlight if my usual spot gets intense afternoon sun. The gradual reintroduction to full sun after that first week makes a noticeable difference in how quickly the plant recovers.
Avoid winter transplanting—aloe vera thrives in warm conditions (60–80°F). Cold stress can shock the plant, slowing recovery. If absolutely necessary, move it indoors near a sunny window and keep soil dry to prevent rot. Spring or early summer is ideal for repotting.
Look for these signs: roots circling the pot’s bottom, slow growth, or soil drying out too quickly. If the plant is top-heavy or pups (baby aloes) crowd the container, it’s time! A healthy aloe typically needs repotting every 2–3 years.
Use a well-draining mix: combine 60% cactus/succulent soil with 40% perlite or coarse sand. Avoid dense, moisture-retentive soils—they cause root rot. For extra drainage, add a layer of gravel at the pot’s bottom. Pre-moisten the mix lightly before transplanting.
Wilting often means overwatering or root damage. Hold off on watering for 5–7 days post-transplant, and ensure the pot has drainage holes. If leaves turn yellow/mushy, trim rotten roots and repot in fresh, dry soil. Keep it in bright, indirect light during recovery.
Gently twist or cut pups (3+ inches tall) from the mother plant, let their cuts callus for 1–2 days, then pot them in succulent soil. Water sparingly until roots establish (2–3 weeks). This reduces stress on the main plant and gives you free aloe babies!
