
Beautiful Plants For Your Interior
Beautiful Plants For Your Interior
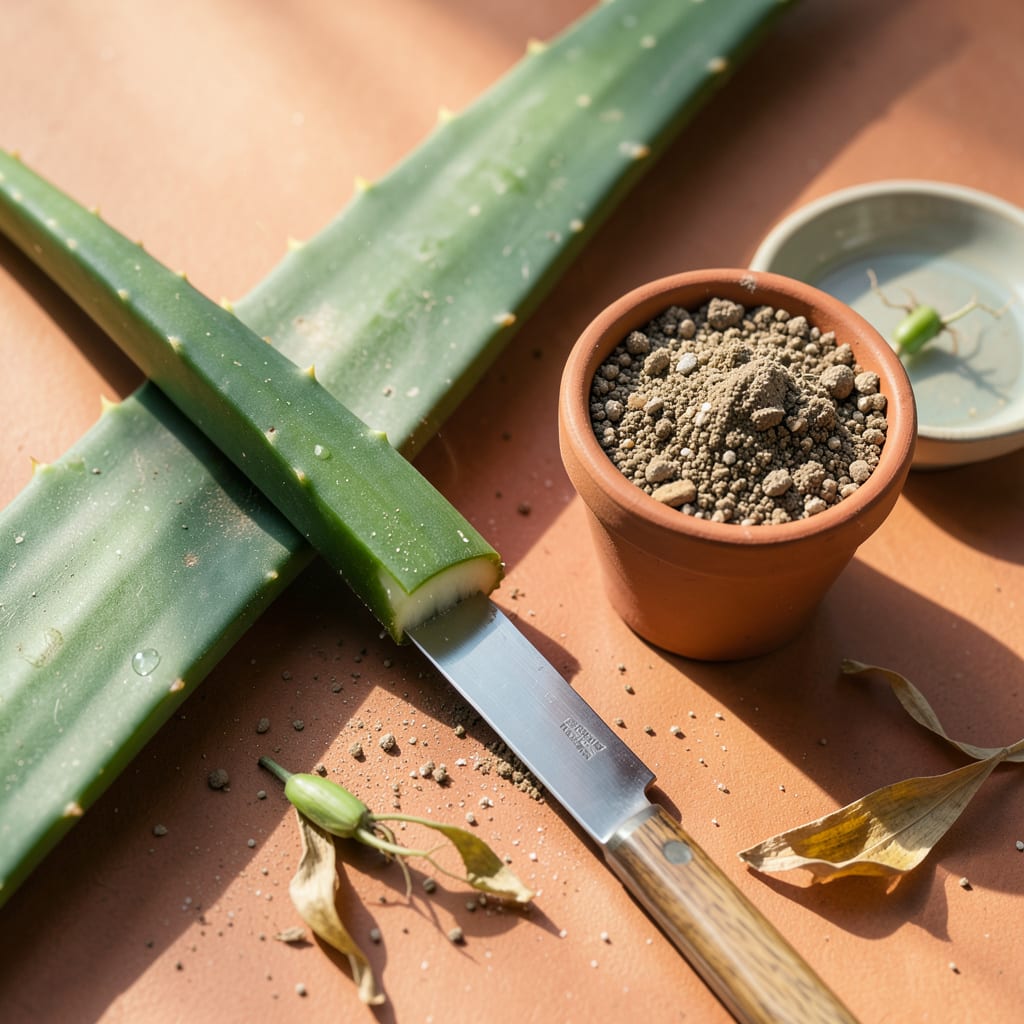
That first successful aloe transplant changed everything for me. What started as a wobbly little pup—just a few inches tall with stubborn roots—became the healthiest plant on my windowsill within months. The secret isn’t green thumbs or fancy tools; it’s timing, clean cuts, and knowing when to leave the soil alone.
You’ll need three things: a sharp knife (dull blades crush stems), fast-draining mix (regular potting soil is a death sentence), and patience during the callusing stage. Skip the watering urge right after planting—that’s how rot starts. Within 4-6 weeks, you’ll see new growth proving those roots have taken hold.
📚 In This Guide
This method guarantees healthy roots and vigorous growth—no guesswork, just results.
Choose a mature aloe leaf that’s at least 6-8 inches long from an established plant. I always pick the thickest, healthiest outer leaves because they contain the most stored moisture and energy. Use a clean, sharp knife to cut at the base where it meets the main plant—never tear or break the leaf.
Let the cutting sit in a warm, dry place for 2-3 days until the cut end forms a thick callus. You’ll know it’s ready when the raw edge turns from white to a light tan color and feels dry to the touch. This crucial step prevents rot when you plant it.
Fill a 4-6 inch pot with a well-draining cactus or succulent mix. I avoid regular potting soil because it holds too much moisture. The container must have drainage holes—aloe roots will suffocate in standing water. Leave about 1 inch of space below the rim for watering.
Moisten the soil lightly until it’s just barely damp. You want it to hold together when squeezed but crumble easily. Overly wet soil at this stage creates perfect conditions for fungal issues. I test by pressing my finger into the mix—it should feel cool but never soggy.
Dip the callused end in rooting hormone (optional but helpful) and insert it 1-2 inches deep into the soil. The cutting should stand upright on its own—if it flops, you’ve planted too shallow. Gently firm the soil around the base to stabilize it without compacting too tightly.
Don’t water immediately after planting. Wait 5-7 days before giving it a light drink. This gives the cutting time to develop initial roots without the risk of rot. You’ll see the first signs of success when the leaf remains firm and upright after a week.
Place the pot in bright, indirect light at temperatures between 65-80°F. A south-facing window with sheer curtains works perfectly. Direct sun at this stage can scorch the developing roots. I rotate the pot weekly so the cutting grows straight instead of leaning toward the light.
Water only when the top 2 inches of soil feel completely dry. When you do water, soak thoroughly until it runs from the drainage holes, then empty the saucer immediately. Proper watering is the difference between a thriving plant and a rotting cutting.
After 4-6 weeks, gently tug the cutting—resistance means roots have formed. You’ll also notice new growth at the base or tiny white roots emerging from the drainage holes. At this point, you can treat it like a mature aloe plant.
Gradually introduce more sunlight over 7-10 days to acclimate the new plant. I start with morning sun only, then slowly increase exposure. Your aloe will be ready for its permanent home when you see 1-2 inches of new growth from the base.
These practical insights will help you avoid common pitfalls and ensure your aloe vera cuttings thrive from day one.
Callusing Secret: The 2-3 day waiting period in Step 1 is absolutely critical—don’t rush it. I’ve found that cuttings with pale yellow calluses (rather than just light tan) root most successfully. Place them in a warm spot with good airflow, like on top of your refrigerator, to speed up the process without compromising quality. A properly callused end should feel slightly leathery to the touch.
Soil Preparation Tip: When moistening your cactus mix in Step 2, here’s what nobody tells you—it should feel like a wrung-out sponge. I use this test: squeeze a handful, and if more than 2-3 drops of water come out, it’s too wet. Remember, aloe roots need oxygen as much as they need moisture, so err on the drier side when preparing your 4-6 inch pot.
Planting Depth Matters: In Step 3, planting your cutting exactly 1-2 inches deep makes all the difference. I use the width of my index finger as a guide—bury it up to your first knuckle. If planted too shallow, the cutting won’t anchor properly; too deep, and it may rot before roots can form. The cutting should stand confidently on its own without support.
Environmental Control: Maintaining that 65-80°F range mentioned in Step 4 is easier than you think. I’ve had great success placing pots on a tray with pebbles and a little water underneath—this creates a microclimate with just the right humidity. Avoid placing near drafty windows or heating vents, as temperature fluctuations can stress your developing cutting.
Most aloe vera cuttings develop roots within 2–4 weeks if kept in well-draining soil and warm conditions (70–80°F). Avoid overwatering—mist lightly every 3–5 days until roots establish. Patience is key; slower growth in cooler climates is normal!
Skip the water! Aloe vera cuttings rot easily in water. Instead, plant them directly in dry, sandy cactus mix and wait 3–7 days before watering. This mimics their natural arid habitat and prevents fungal issues.
Spring or early summer ( growing season) is ideal—warmer temps speed up rooting. Avoid winter; cold stress slows growth. If transplanting indoors year-round, maintain consistent warmth and bright, indirect light.
Brown tips = overwatering or poor drainage; yellowing = too much sun or shock. Fix it: Let soil dry completely between waterings, move to bright indirect light, and trim damaged leaves with a clean knife.
Rooting hormone (powder/gel) can help but isn’t required—aloe roots easily on its own! Avoid honey; it attracts bacteria. For a natural boost, dip the cut end in cinnamon powder (antifungal) before planting.
