
Beautiful Plants For Your Interior
Beautiful Plants For Your Interior
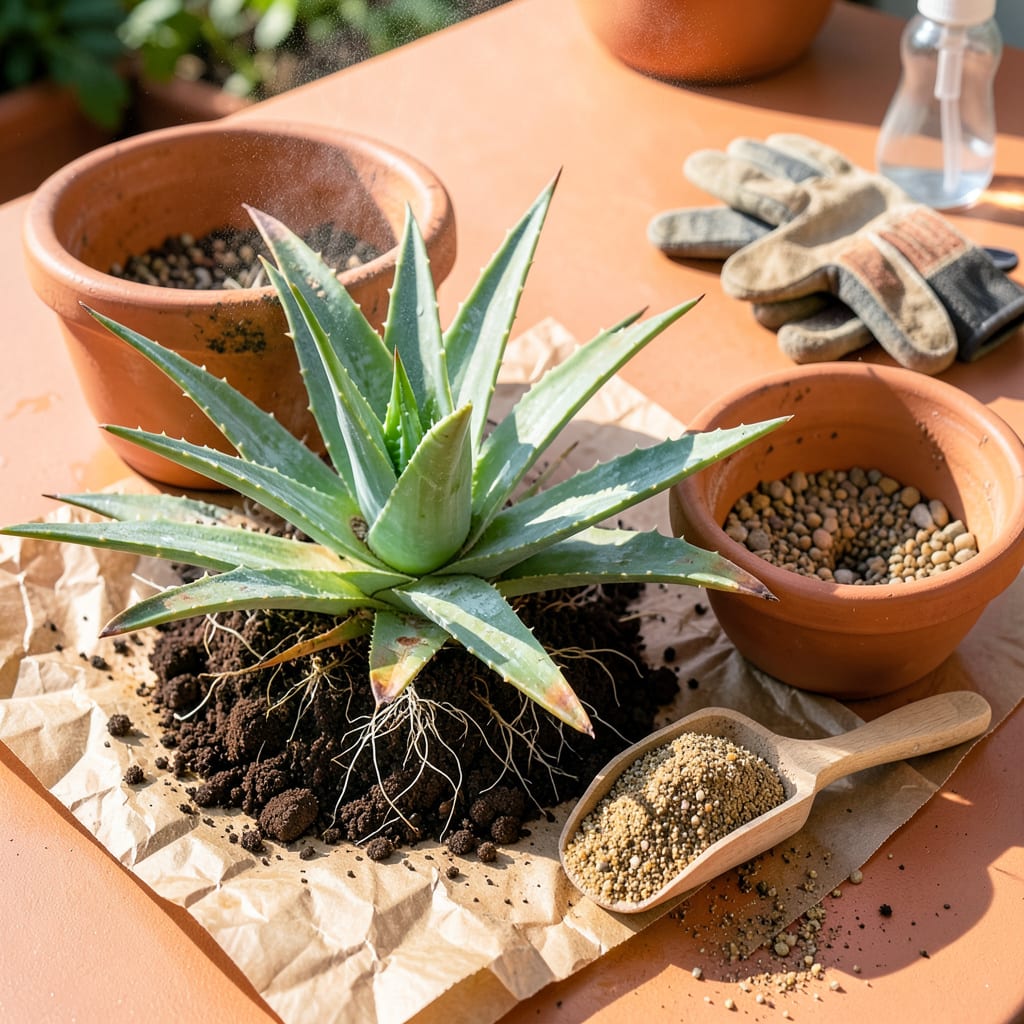
That aloe plant crammed into its tiny pot? It’s begging for more room. I’ve rescued dozens of root-bound aloes over the years, and the difference after transplanting is shocking—faster growth, plumper leaves, and plants that actually thrive instead of just surviving.
Timing matters: late spring or early summer gives your aloe the best chance to recover quickly. You’ll need just three things—a slightly larger pot with drainage, cactus/succulent mix, and 10 minutes of your time. The trick is handling those thick roots gently and giving it the right conditions to bounce back stress-free.
📚 In This Guide
This method keeps your aloe happy and thriving—no transplant shock, just healthy growth.
Choose a pot that’s 2-3 inches wider than the current one, with drainage holes. I always use unglazed terra cotta because it wicks away excess moisture—aloe roots rot quickly in soggy soil. Scrub the new pot with warm, soapy water if it’s been used before to prevent any lingering pathogens.
Gather your supplies: fresh cactus/succulent mix, a trowel, and clean scissors or pruners. I like to have a spray bottle with water nearby too. Set everything up in your workspace before handling the plant—aloe doesn’t like being out of its pot longer than necessary.
Water the plant lightly 2-3 days before transplanting—this helps the roots hold together. Turn the pot sideways, then tap the rim against a table edge while supporting the base of the plant. If it resists, run a knife around the inner edge to loosen the root ball.
Once free, examine the roots. Healthy ones are firm and white. If you see dark, mushy sections, trim them away with clean scissors. Don’t worry about removing some soil—aloe recovers quickly, and this is your chance to check for hidden problems.
Fill the new pot one-third full with fresh cactus mix. Center the aloe so its base sits 1 inch below the rim—this prevents water from pooling around the stem. Add more soil around the sides, pressing lightly to secure the plant, but don’t compact it.
Leave the top ½ inch of the root ball exposed above the soil line. Burying the stem invites rot. I rotate the pot a quarter turn while filling to ensure even soil distribution—this prevents air pockets that could dry out roots later.
Don’t water immediately. Wait 5-7 days before giving it a thorough drink—this lets any damaged roots callous over. Place the plant in bright, indirect light for a week before returning it to full sun. You’ll notice the leaves perk up within 2-3 days if the transplant went well.
Hold off on fertilizing for 4-6 weeks. The fresh soil has enough nutrients, and feeding too soon can burn recovering roots. Watch for yellowing leaves—they’re normal after transplanting but should stop appearing after 10-14 days.
Transplanting aloe doesn’t have to be stressful—these practical insights will help your plant thrive through the process and beyond.
Pot Selection Matters: In Step 1, choosing a pot that’s exactly 2-3 inches wider than the current one prevents overpotting, which can lead to soggy soil. Terra cotta is ideal because it breathes, but if you prefer plastic, make sure it has multiple drainage holes. I’ve found that aloe plants in properly sized pots establish roots faster and show new growth within weeks.
Root Health Check: When examining roots in Step 2, don’t just look for dark spots—healthy roots should also feel firm when gently squeezed. If they’re slimy or fall apart, trim more aggressively than you think you need to. I use rubbing alcohol to sterilize my scissors between cuts, which prevents spreading any potential rot to healthy tissue.
Soil Placement Technique: The instruction in Step 3 about leaving ½ inch of the root ball exposed is crucial. I’ve seen many people bury their aloe too deep, thinking it will be more stable. Instead, this creates a moisture trap at the stem base. After positioning, gently wiggle the plant to settle it—if it feels loose, add more soil around the edges rather than pressing down hard.
The Waiting Game: Those 5-7 days without watering in Step 4 might feel like torture, but resist the urge to check on your plant constantly. I place a sticky note on my calendar as a reminder. The leaves might look slightly droopy at first—this is normal as the plant adjusts. What you’re actually seeing is the aloe redirecting energy to root establishment rather than leaf turgor.
Transplant your aloe every 2–3 years or when it outgrows its pot (roots circling the bottom or popping out of drainage holes). Younger plants may need repotting yearly if growing quickly. Spring or early summer is ideal—avoid winter when growth slows.
Yes! If your aloe has no roots, you can propagate it using offsets (pups) or leaf cuttings. Let cuttings dry for 1–2 days to form a callus, then plant in well-draining soil. Pups (baby plants) can be potted directly.
Wilting or browning often signals transplant shock (too much water, sun, or root damage). Keep soil lightly moist (not soggy), provide bright but indirect light for 1–2 weeks, and avoid fertilizing until recovery. Yellow leaves? Overwatering is likely.
Aloe thrives in fast-draining, gritty soil. Mix 2 parts cactus/succulent soil with 1 part perlite or coarse sand. Avoid dense potting mixes—they retain too much moisture, causing root rot. DIY option? Combine potting soil, perlite, and lava rocks.
It’s risky! Aloe enters dormancy in winter, so transplanting can stress it. If absolutely necessary, keep the plant in a warm spot (65–75°F), water sparingly, and avoid fertilizing until spring. Wait for active growth season if possible.
