
Beautiful Plants For Your Interior
Beautiful Plants For Your Interior
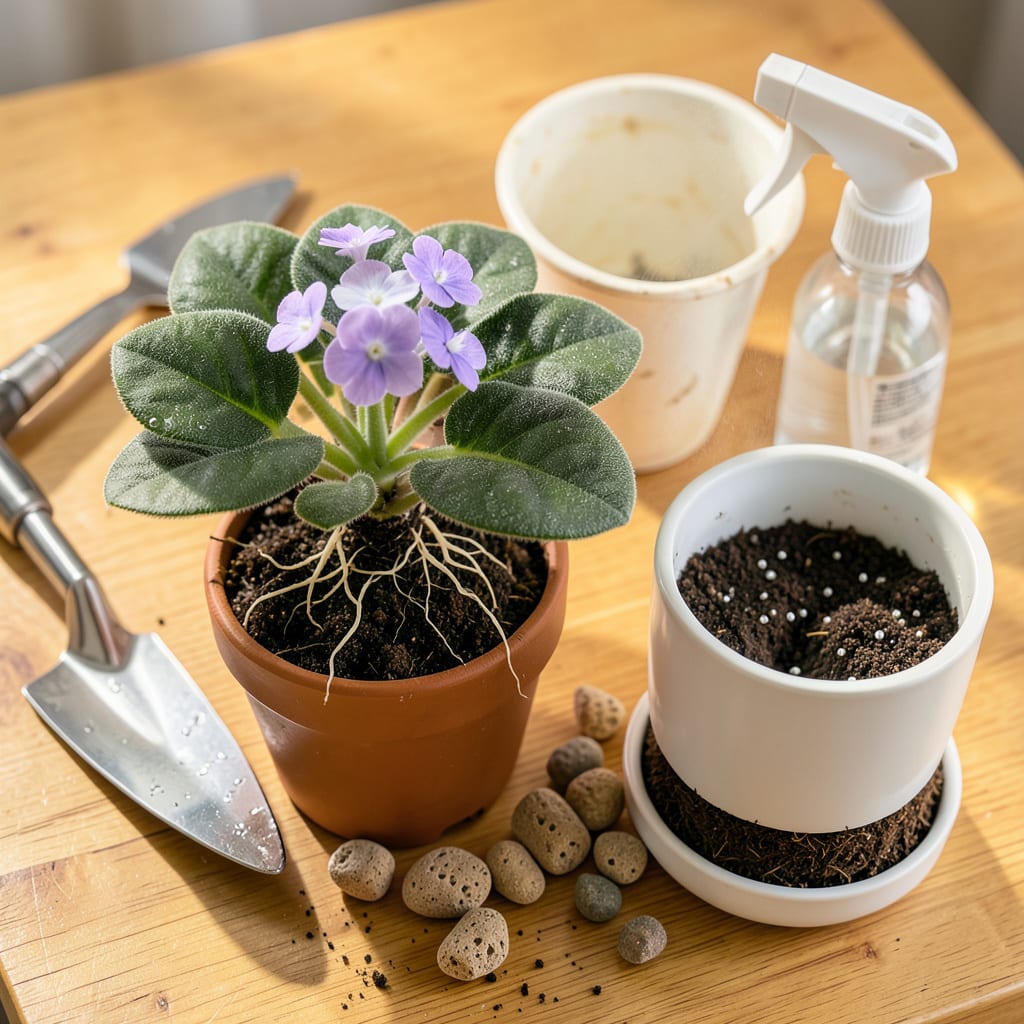
African violets reward careful transplanting with months of vibrant blooms—but timing and technique make all the difference. I’ve repotted dozens over the years, and the plants that thrive always follow one rule: disturb the roots as little as possible while giving them fresh, airy soil. The right moment arrives when roots circle the pot’s edges or the soil stays soggy too long after watering.
This isn’t about guesswork. With a 4-inch pot, the proper soil mix (think light and slightly acidic), and 10 minutes of focused attention, your violets will bounce back faster than you expect. Post-transplant, they’ll need bright, indirect light and a pause on fertilizer—just until you see those first confident new leaves. No more wilted disappointments.
📚 In This Guide
Here’s the gentle, proven method I use to move these delicate plants without a single wilted leaf.
Choose a container that’s only 1-2 inches larger in diameter than the current pot. African violets bloom best when slightly root-bound, so oversized pots lead to all leaves and no flowers. I always select containers with drainage holes—soggy roots are the quickest way to lose these plants.
Fill the new pot one-third full with fresh African violet potting mix (regular potting soil compacts too much). Moisten the mix lightly with room-temperature water until it feels like a damp sponge—crumbly but holds shape when squeezed. The moisture helps roots make immediate contact with new soil.
Water the violet 24 hours before transplanting so the root ball holds together. Turn the pot sideways and gently squeeze the sides while supporting the plant’s base between your fingers. If it resists, run a butter knife around the inner edge to loosen it.
Once free, cradle the plant by its leaves—not the stem, which can snap easily. Inspect the roots: healthy ones appear white with some visible soil. Dark, mushy roots mean rot, and you’ll need to trim those away with clean scissors before proceeding.
Place the violet in the new pot so the top of the root ball sits ½ inch below the rim. This prevents water from pooling around the stem. The plant’s lower leaves should rest just above the soil line—burying the stem causes crown rot, while planting too high dries out roots.
Fill around the root ball with fresh mix, tapping the pot gently to settle soil. Don’t press down—you want air pockets for root growth. The final soil level should match where it was in the old pot. I use a chopstick to nestle soil into gaps without compacting.
Water immediately after transplanting using bottom-watering: place the pot in a saucer with 1 inch of water for 20 minutes. This encourages roots to grow downward seeking moisture. Remove any excess water after absorption—never let the pot sit in standing water.
Move the plant to bright, indirect light (an east window is ideal) and maintain 65-75°F temperatures. Avoid fertilizing for 4-6 weeks—fresh soil has enough nutrients, and fertilizer can burn recovering roots. You’ll see new growth in about 2 weeks, which signals successful transplanting.
Check the plant daily for the first week. Wilting leaves indicate either underwatering or overwatering—stick your finger 1 inch into the soil to check. If dry, bottom-water again; if damp, wait another day. Yellowing lower leaves are normal as the plant redirects energy to new roots.
After 3-4 weeks, you can resume normal care. Rotate the pot quarter-turn weekly for even growth, and begin fertilizing at half-strength. The real test comes when you see new flower buds forming at the center—proof your violet has happily settled into its new home.
These practical insights will help you avoid the most common pitfalls when moving your violets to new homes.
Pot Selection Secret: In Step 1, choosing a container that’s only 1-2 inches larger than the current pot isn’t just about size—it’s about bloom production. I learned this the hard way after using oversized pots that gave me lush leaves but zero flowers. The slight root confinement actually triggers more blooming, so resist the urge to give your violet “room to grow.”
Watering Wisdom: That 24-hour pre-transplant watering in Step 2 makes all the difference. Here’s what nobody tells you—this isn’t just about keeping the plant hydrated. The moisture helps the root ball hold its shape when you remove it, preventing those frustrating moments where the soil crumbles away and you’re left holding a bare plant. I use lukewarm water for this step—cold water can shock the roots.
Depth Matters: When positioning your violet in Step 3, that ½ inch below the rim measurement is critical for preventing crown rot. I use a simple trick: place a ruler across the pot’s rim to measure exactly where the root ball should sit. This takes the guesswork out of getting the depth just right. Remember, it’s better to err slightly high than too deep—you can always add more soil mix around the base if needed.
Recovery Monitoring: During those first 3-4 weeks mentioned in Step 5, I’ve found that rotating the pot a quarter-turn every few days (not just weekly) helps the plant grow more evenly. The side facing the light source will naturally grow faster, so this extra rotation prevents lopsided growth. Just be gentle—no need to disturb the soil, just turn the pot itself.
African violets thrive when repotted every 6–12 months to refresh the soil and accommodate root growth. Look for signs like roots circling the pot or soil compacting. Miniature varieties may need less frequent transplanting (every 12–18 months). Avoid overpotting—choose a container just 1–2 inches larger in diameter.
It’s best to wait until flowering slows or stops—transplanting during active blooming can stress the plant and cause bud drop. If urgent (e.g., root rot), gently remove spent blooms first and trim leggy growth. Post-transplant, keep the plant in bright, indirect light to aid recovery.
Use a light, well-draining mix labeled for African violets or make your own: combine 50% peat moss/coco coir, 25% perlite/vermiculite, and 25% compost. Avoid garden soil—it compacts and suffocates roots. For extra airflow, add a sprinkle of orchid bark or charcoal.
Wilting is often due to transplant shock or overwatering. Check moisture levels—water only when the top inch of soil feels dry. Ensure the pot has drainage holes and avoid direct sunlight for 1–2 weeks. If leaves stay limp, trim damaged roots and repot in fresh, slightly damp soil.
Yes! Gently separate healthy offsets (baby plants) from the mother plant if they have 2–3 leaves and small roots. Use a sterilized knife for stubborn clumps. Pot divisions in 2-inch containers with the same soil mix, and keep humidity high (try a plastic bag tent) until new growth appears.
