
Beautiful Plants For Your Interior
Beautiful Plants For Your Interior
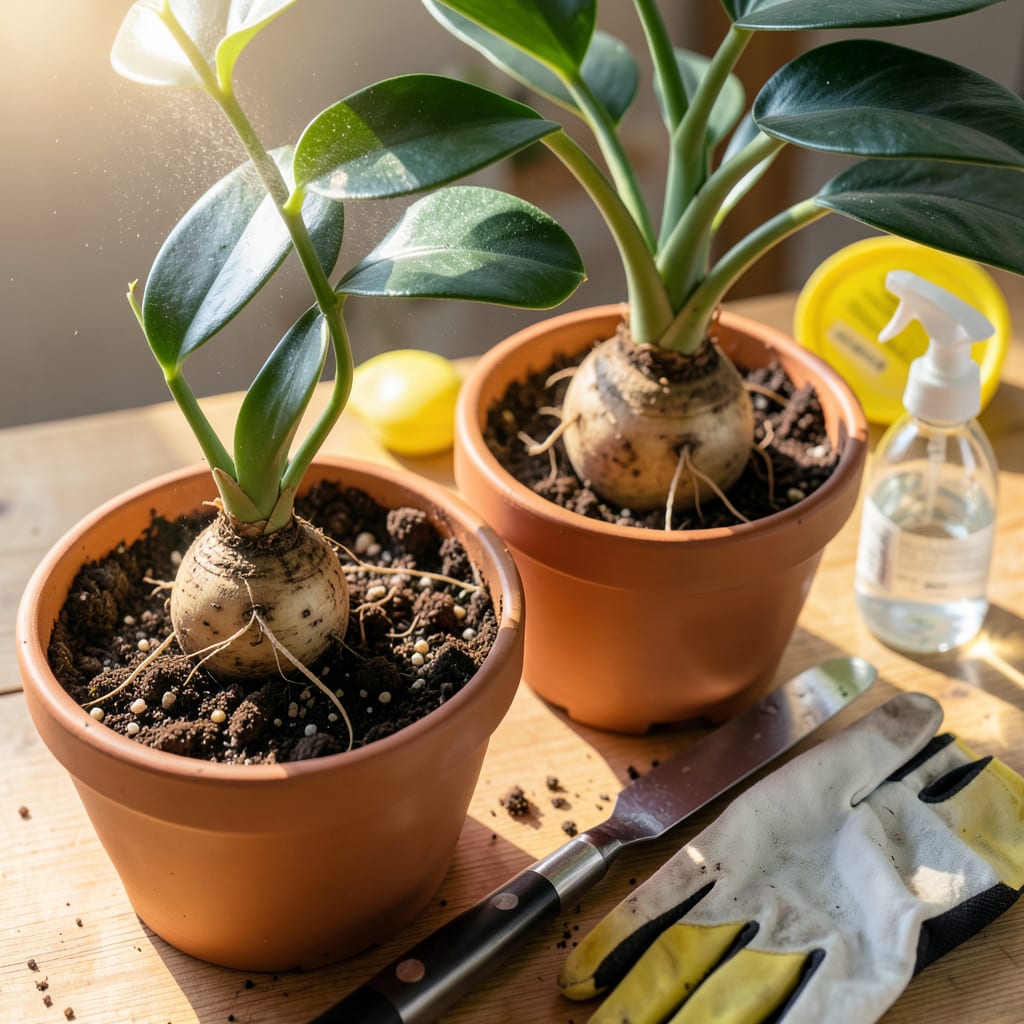
I’ve killed more ZZ plants by over-loving them than by neglect. Transplanting is where most people go wrong—either drowning the roots in a too-big pot or manhandling those thick rhizomes. The good news? This plant practically thrives on benign neglect if you get the basics right.
Do it in spring or early summer when the plant’s actively growing, choose a pot just 1-2 inches wider than the current one, and use a chunky, fast-draining mix. What you’ll end up with is a ZZ that grows faster, stands taller, and might actually need watering more than twice a year. The whole process takes 20 minutes—less time than it takes to kill one with kindness.
📚 In This Guide
This straightforward process ensures your plant thrives in its new home with minimal stress.
Transplant your ZZ plant in spring or early summer when it’s actively growing. This timing gives it the best chance to recover quickly. Select a container that’s 1-2 inches larger in diameter than the current pot—too much extra space leads to waterlogging and root rot.
I always check the roots first: if they’re circling the bottom or poking through drainage holes, it’s definitely time. Make sure your new pot has drainage holes—ZZ plants hate soggy soil more than most. A heavy ceramic pot helps prevent toppling as the plant grows taller.
Water your ZZ plant 2-3 days before transplanting—this makes the roots pliable and reduces shock. The soil should be moist but not soggy when you start. For the new container, use a well-draining potting mix designed for houseplants, or create your own by mixing regular potting soil with 30% perlite or coarse sand.
Gently squeeze the sides of the current pot to loosen the root ball. If it resists, run a butter knife around the inner edge. Here’s the thing—ZZ plants are tough, so don’t worry about being too delicate. The rhizomes (those potato-like structures) can handle some rough treatment during this process.
Place 1-2 inches of fresh soil in the bottom of the new pot. Position the plant so it sits at the same depth as before—burying the rhizomes too deep causes them to rot. Fill around the sides with your prepared soil mix, pressing lightly to eliminate air pockets but not compacting too firmly.
Don’t water immediately after transplanting. Wait 5-7 days before watering to let any disturbed roots heal. This prevents root rot in the vulnerable post-transplant period. Place the plant in bright, indirect light (no direct sun) for the first week as it adjusts to its new home.
After the initial waiting period, resume your normal watering schedule—only when the top 1-2 inches of soil feel dry. ZZ plants store water in their rhizomes, so they’d rather be too dry than too wet. You’ll notice new growth emerging within 4-6 weeks, which confirms your plant has successfully established in its new container.
Hold off on fertilizing for 2-3 months after transplanting. The fresh soil provides enough nutrients, and fertilizing too soon can burn recovering roots. If you see yellowing leaves, that’s normal—your plant is redirecting energy to root growth. Simply trim them off after they’ve completely yellowed.
Transplanting a ZZ plant doesn’t have to be stressful—these practical insights will help your plant transition smoothly.
Timing is Everything: The spring or early summer window mentioned in Step 1 isn’t just a suggestion—it’s when your ZZ plant is in its active growth phase and can recover fastest. I’ve transplanted in fall before, and while the plant survived, it took twice as long to show new growth. If you miss this window, you can still transplant, but expect a slower recovery period.
Root Inspection Secret: Before you even start the process, do what I call the “root check” from Step 1. Gently slide the plant out of its current pot and examine the roots. Healthy roots should be firm and white or light tan. If you see dark, mushy roots, trim those away with clean scissors before transplanting. This prevents potential rot from spreading in the new pot.
Soil Mix Matters: The 30% perlite or coarse sand recommendation in Step 2 isn’t optional—it’s critical for preventing root rot. I learned this the hard way after losing a ZZ plant to overly moist soil. If you can’t find perlite, pumice works well too. Whatever you use, test your mix by squeezing a handful—it should crumble easily when you release your grip, not stay in a ball.
Post-Transplant Patience: That 5-7 day waiting period before watering in Step 3 feels counterintuitive, but it’s one of the most important steps. The roots need this dry period to heal from any minor damage during transplanting. I set a phone reminder for day 5 to check soil moisture—if the top inch still feels dry, I wait another day or two. This simple patience has saved me from overwatering more times than I can count.
Spring or early summer is ideal—your ZZ plant’s active growth phase helps it recover faster. Avoid winter when growth slows. If urgent (like root rot), transplant anytime but expect slower adjustment. Keep temps above 60°F for best results.
How do I know if my ZZ plant needs transplanting?
Look for these signs: roots circling the pot’s bottom or poking through drainage holes, soil drying out too fast, or stunted growth. If the plant lifts easily from the pot (root-bound!), it’s time. Healthy ZZs can wait 2–3 years between repotting.
A well-draining mix is key! Combine 60% potting soil with 40% perlite/pumice or orchid bark. Avoid dense, moisture-retentive soils—they cause root rot. Pre-mixed “cactus/succulent soil” works too, but add extra perlite for airflow.
Probably just transplant shock! ZZs are tough but may wilt 1–2 weeks while adjusting. Keep it in bright, indirect light, water lightly (only when soil is dry), and avoid fertilizing. If stems stay mushy or yellow, check for overwatering or root damage.
If your plant is overgrown, split it during repotting. Gently separate rhizomes (thick underground stems) with clean shears, pot them individually, and treat like mature plants. Leaf cuttings work too—just let them callus overnight before planting in soil.
