
Beautiful Plants For Your Interior
Beautiful Plants For Your Interior
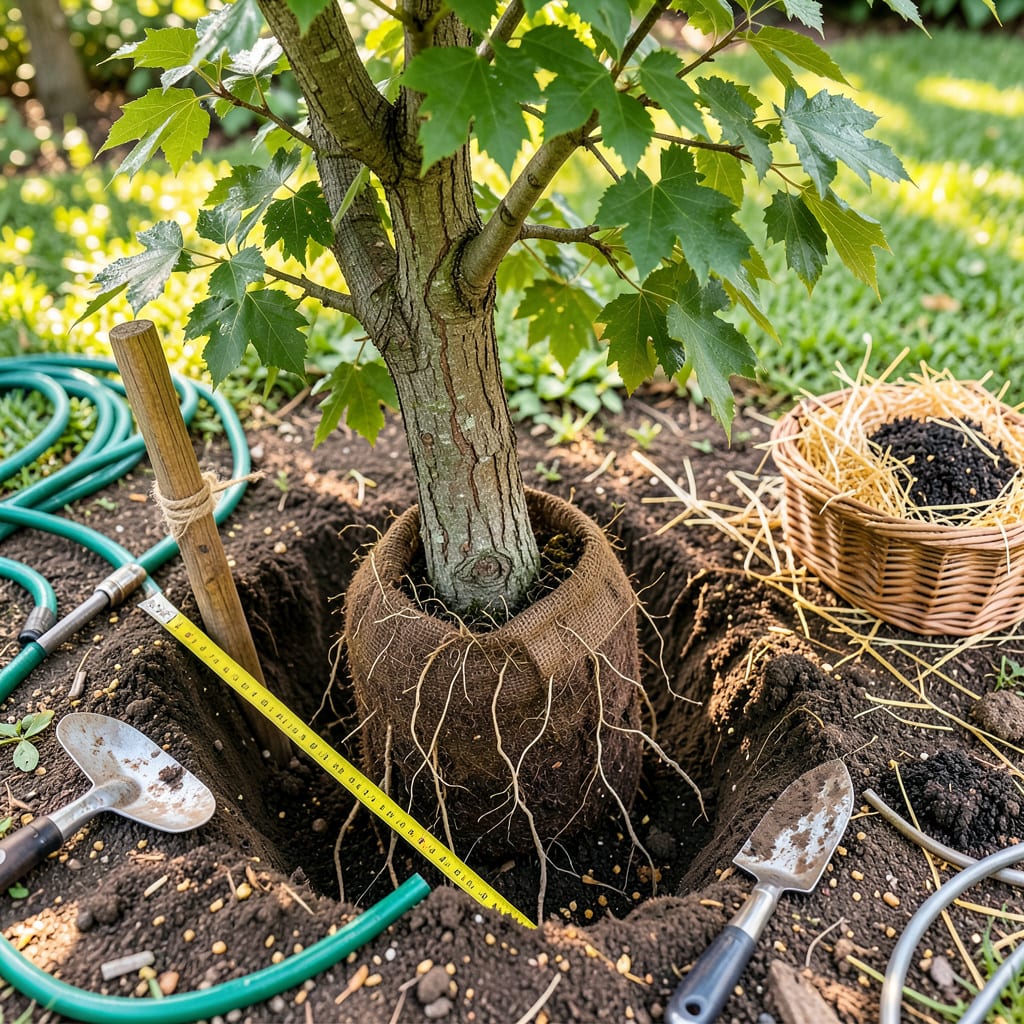
Moving a tree feels like performing surgery on your landscape—except the patient can’t tell you where it hurts. I’ve relocated everything from saplings to 20-foot maples, and the difference between success and failure often comes down to timing and technique. The right approach means your tree won’t just survive the move—it’ll thrive in its new spot.
Spring and fall are your golden windows, when roots grow actively but leaves aren’t demanding all the tree’s energy. You’ll need patience, the right tools, and a plan for keeping those roots happy through the transition. What most people miss? The preparation starts weeks before you ever lift a shovel. Here’s how to do it right.
📚 In This Guide
Moving an established tree is simpler than you think—follow this method for minimal shock and maximum success.
Dig a hole at least twice as wide as the tree’s root ball but no deeper than the original planting depth. The sides should slope gently to allow roots to spread outward. I use a tape measure to verify width—this prevents the common mistake of cramping roots in a hole that’s too narrow.
Loosen the soil at the bottom and sides of the hole with a garden fork. This encourages root penetration into the surrounding earth. Remove any rocks or debris that could obstruct growth. Test the depth by placing a board across the hole—your tree should sit 1-2 inches above ground level to account for settling.
Begin by watering the tree thoroughly 24-48 hours before moving it. This ensures the root ball stays intact during transplant. For trees under 2 inches in diameter, use a sharp spade to cut a clean circle around the drip line. Larger specimens require mechanical assistance.
Once the root ball is exposed, wrap it immediately in burlap to prevent soil loss. I always keep the root ball moist during transport—even 10 minutes of exposure can desiccate fine feeder roots. For bare-root trees, soak the roots in water for 3-6 hours before planting.
Lower the tree into the hole, ensuring it sits at the same depth as its original location. The root flare (where roots meet trunk) should be visible above soil level. Rotate the tree until its best side faces your preferred viewing angle—this is your only chance to orient it properly.
Backfill with native soil, tamping gently every 6 inches to eliminate air pockets. Create a 3-inch-high watering berm around the perimeter to direct moisture to the roots. Avoid amending the backfill soil—research shows this creates a “pot effect” that discourages root expansion beyond the planting hole.
Immediately after planting, water deeply until the soil is saturated to a depth of 12-18 inches. I use a slow drip method, allowing water to penetrate rather than run off. Apply 2-4 inches of organic mulch (wood chips or shredded bark) in a 3-foot diameter around the tree, keeping it 3 inches away from the trunk.
Monitor soil moisture weekly for the first 3-6 months. New transplants require 1-1.5 inches of water per week from rainfall or irrigation. Check by digging 6 inches deep—if the soil feels dry at this depth, it’s time to water again.
Remove any broken or damaged branches immediately after transplanting. For deciduous trees, I thin the canopy by 25-30% to reduce water loss. Evergreens typically don’t need pruning. Use clean, sharp tools to make smooth cuts just outside the branch collar.
Stake only if the tree cannot stand upright on its own. Use two stakes placed outside the root ball with soft tree ties. Remove stakes after one growing season—leaving them too long weakens trunk development. The tree should sway slightly in the wind to encourage strong root and trunk growth.
Transplanting trees requires attention to detail—here’s what I’ve learned from years of experience to ensure your tree thrives in its new location.
Root Ball Protection: During Step 2 when excavating, keep the root ball moist at all times. I learned the hard way that even those 10 minutes of exposure mentioned in the instructions can cause irreversible damage to fine feeder roots. Use damp burlap or a tarp to cover the root ball during transport, and mist it periodically if the move takes longer than expected. For bare-root trees, don’t rush the 3-6 hour soaking time—this rehydration period is critical for survival.
Hole Preparation Technique: In Step 1, when digging the hole twice as wide as the root ball, use this trick: place the root ball next to the hole periodically to check the width. Many gardeners underestimate the required size, which restricts root growth. The sloping sides mentioned in the instructions aren’t just for aesthetics—they create a gradual transition that encourages roots to spread outward rather than circling.
Watering Wisdom: The 12-18 inch saturation depth specified in Step 4 is non-negotiable for establishment. Here’s how to verify you’ve watered enough: insert a long screwdriver after watering—it should push easily into the soil to the full depth. During the first 3-6 months, I recommend using a moisture meter at that 6-inch depth mentioned in the instructions rather than relying on surface dryness, which can be misleading.
Staking Strategy: If you need to stake in Step 5, remember that two stakes provide better support than one by distributing stress. Use soft, wide ties that won’t cut into the bark, and position them about two-thirds up the trunk. The instruction to remove stakes after one growing season is crucial—leaving them longer creates a weak trunk that can’t support itself. I mark my calendar when I stake to ensure timely removal.
The ideal time is early spring (before buds break) or fall (after leaves drop), when the tree is dormant. Avoid extreme heat or freezing temps—this reduces stress and helps roots establish before active growth. For evergreens, aim for early spring or late summer.
Most trees need 1–3 years to fully establish roots, depending on size and species. Smaller trees (under 2″ trunk diameter) recover faster. Water deeply weekly for the first year, then taper off as the tree adjusts to its new home.
Trees over 3–4 inches in diameter often require professional equipment (like a tree spade) to avoid root damage. For DIY, stick to smaller trees or shrubs. If attempting a large tree, root-prune 6–12 months ahead to encourage compact root growth.
Common issues: underwatering (deep water 2–3x/week), overwatering (check soil drainage), or root damage during transplant. Trim dead branches, mulch 2–3 inches deep (keep mulch away from the trunk), and avoid fertilizing until the tree recovers.
