
Beautiful Plants For Your Interior
Beautiful Plants For Your Interior
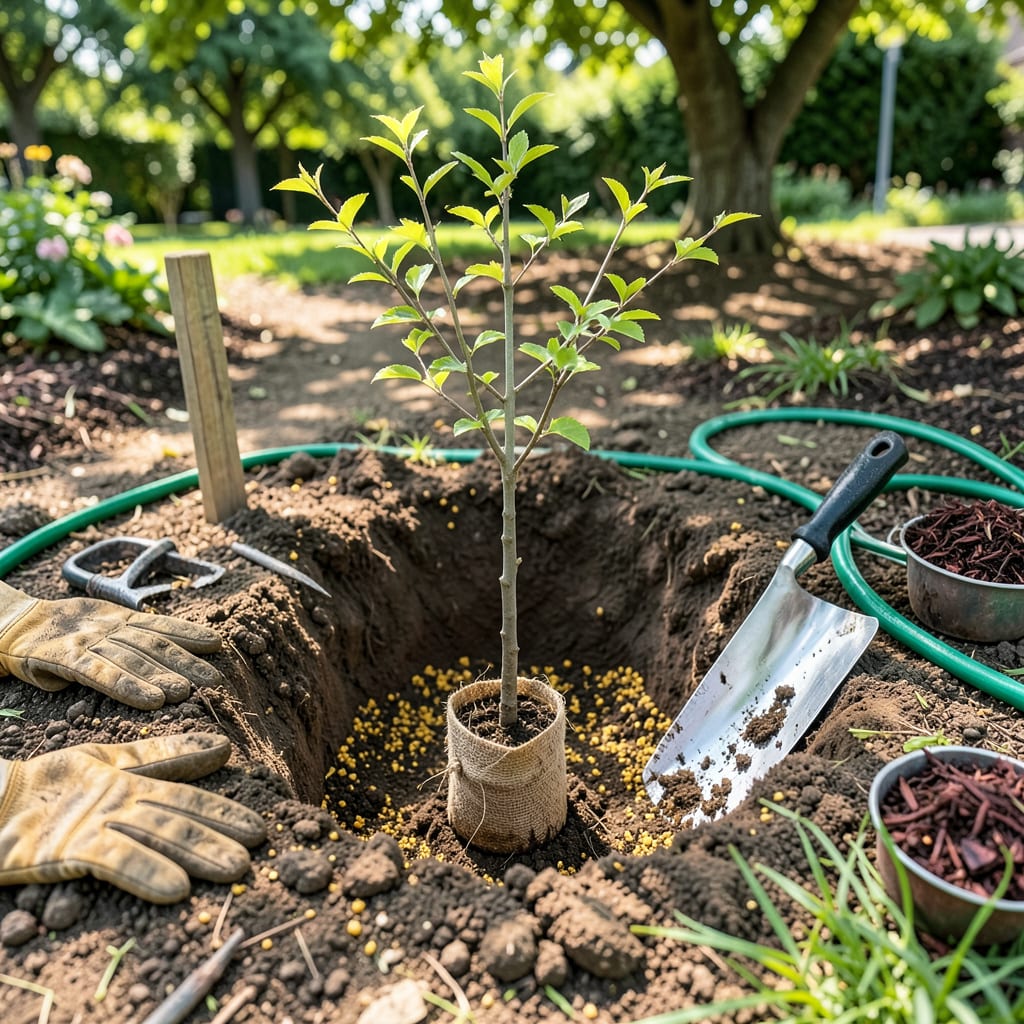
Moving a young tree feels intimidating—I remember my first attempt ended with a drooping sapling and a pile of doubts. But here’s the truth: with the right timing and technique, your tree won’t just survive, it’ll thrive in its new home. The key is working with the tree’s natural rhythms, not against them.
Spring or fall planting gives roots time to establish before extreme weather hits. You’ll need just a few tools (a sharp spade, some mulch, and patience) to set your sapling up for decades of growth. What starts as careful digging and gentle handling becomes the foundation for shade, fruit, or flowers you’ll enjoy for years. Let’s get that root ball settled properly.
📚 In This Guide
Moving a young tree takes patience, but this method ensures it thrives in its new home with minimal shock.
Dig the new hole twice as wide as the sapling’s root ball and just as deep. This gives roots loose soil to spread into immediately. I always rough up the sides of the hole with my shovel—slick, compacted walls from digging can actually deflect roots instead of welcoming them.
Check the hole’s depth by placing the root ball inside. The top of the root ball should sit 1-2 inches above the surrounding soil level. This accounts for settling after planting. If the hole’s too deep, add back some native soil and compact it lightly with your foot.
Water the sapling deeply 24 hours before transplanting to hydrate roots and help the soil hold together. When ready, use a sharp spade to cut a clean circle around the tree, starting about 12 inches out from the trunk for every inch of trunk diameter.
Slide the spade under the root ball at a 45-degree angle to sever any anchoring roots. Lift the sapling by the root ball—not the trunk—to avoid damaging the stem. For larger saplings, wrap the root ball in burlap to keep it intact during the move. Keep exposed roots covered with damp cloth if you can’t plant immediately.
Place the sapling in the center of the new hole, ensuring it stands straight. Rotate it so its best side faces the direction you’ll view it most. The trunk flare (where roots spread at the base) should be visible above soil—burying this causes long-term health issues.
Backfill with native soil, gently firming it around the roots to eliminate air pockets. Create a 3-inch-high water ring around the hole’s perimeter by mounding extra soil. This directs water to the roots during the critical first weeks. Water immediately with 5 gallons to settle the soil.
Water deeply every 2-3 days for the first month, then weekly for the first growing season. The soil should feel moist 6 inches down—use a trowel to check. Mulch with 2-3 inches of wood chips, keeping it 3 inches away from the trunk to prevent rot.
Stake only if necessary (for top-heavy saplings in windy areas). Use two stakes and soft tree ties, allowing slight movement so the trunk strengthens naturally. Remove stakes after one year to prevent girdling. Watch for wilting leaves—they’re your first sign the tree needs more water or shade during hot afternoons.
Transplanting success comes down to a few critical details that most guides overlook. Here’s what I’ve learned from years of moving trees.
Root Ball Protection: When removing the sapling in Step 2, keep the root ball intact at all costs. I wrap larger root balls in damp burlap during transport – this prevents roots from drying out and maintains soil structure. For smaller saplings, a wet towel works just as well. The 24-hour pre-watering mentioned in the instructions is non-negotiable; I’ve seen roots survive better when fully hydrated before the move.
Planting Depth Precision: That 1-2 inches above soil level in Step 1 isn’t just a suggestion – it’s critical. I use a straight board across the hole to check depth before planting. Too deep and the trunk can rot; too shallow and roots dry out. After planting, the soil will settle exactly to ground level, which is what you want for proper water drainage.
Water Ring Technique: The 3-inch water ring in Step 3 changed my transplant success rate dramatically. I make mine slightly wider than the hole diameter to catch all runoff. When you water those 5 gallons immediately after planting, this ring ensures every drop goes to the roots where it’s needed most during those critical first days.
Aftercare Vigilance: During that first month of every 2-3 day watering in Step 4, I check soil moisture at dawn. The 6-inch depth test is perfect – if it’s dry at that level, you’re not watering deeply enough. I’ve found that morning watering reduces evaporation loss, giving roots more time to absorb moisture before the heat of day.
Early spring (before buds open) or fall (after leaves drop) are ideal—when the sapling is dormant and weather is cool. Avoid extreme heat or freezing temps. For evergreens, early spring works best. Check local frost dates for precise timing!
Aim for a root ball 9–12 inches wide per inch of trunk diameter (e.g., 2-inch trunk = 18–24-inch width). Depth should match the root system (usually 12–18 inches). Keep as much soil intact as possible to reduce shock.
Can I transplant a sapling without digging it up? (Are there alternatives?)
If digging isn’t feasible, try root pruning 6–12 months before moving to encourage compact roots. For potted saplings, skip digging—just acclimate the plant to its new spot gradually. Bare-root transplants (mail-order trees) are another option but require extra care.
Water deeply 2–3 times per week for the first month (daily in hot/dry climates). Taper to weekly watering in months 2–3. Check soil moisture 2 inches deep—it should feel damp, not soggy. Mulch helps retain moisture!
Wilting is often transplant shock—normal for 1–2 weeks. Ensure proper watering (not too much/too little), shade from harsh sun, and avoid fertilizing immediately. If wilting persists beyond 3 weeks, check for root damage or disease.
