
Beautiful Plants For Your Interior
Beautiful Plants For Your Interior
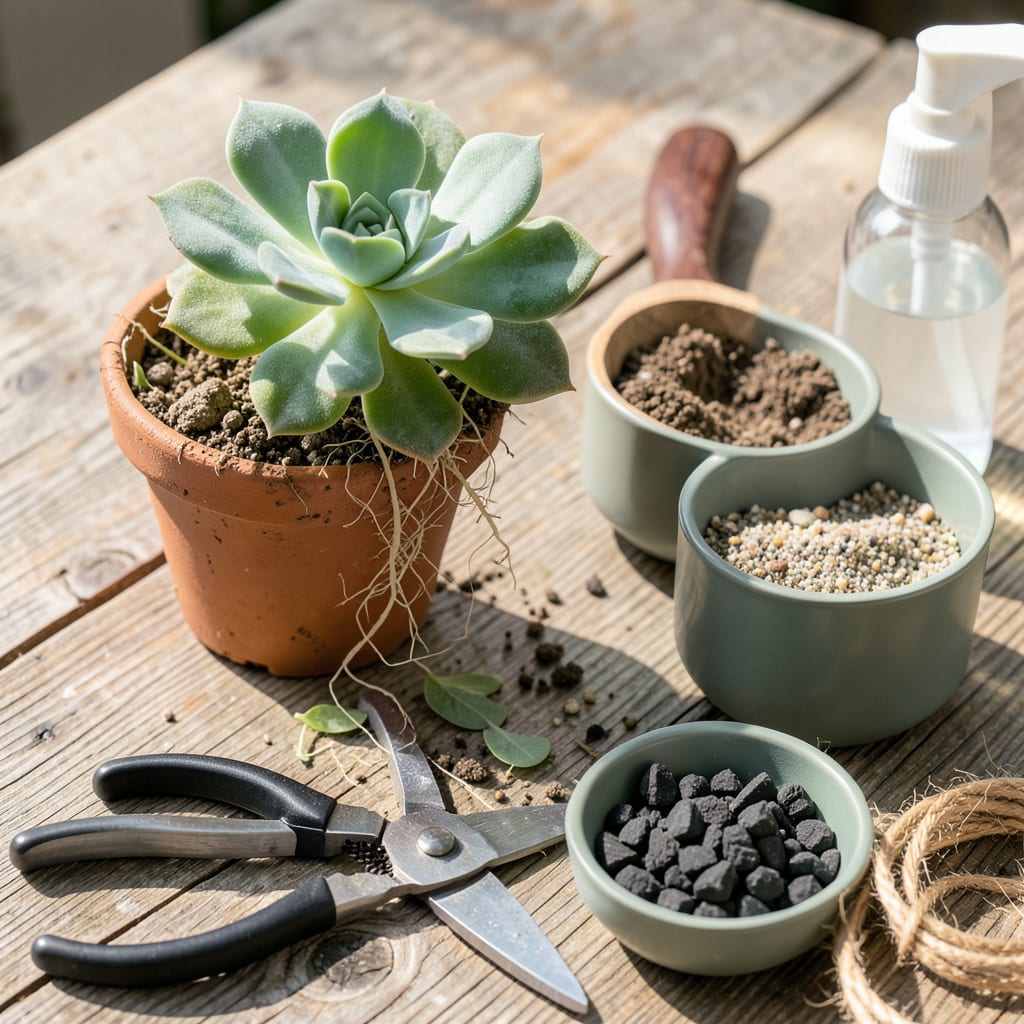
That moment when your succulent outgrows its pot is exciting—it means you’ve kept it alive long enough to thrive. I’ve transplanted dozens of succulents over the years, and the difference between a stressed plant and one that takes off immediately comes down to three things: timing, soil, and how you handle those roots.
You’ll know it’s time when roots circle the pot’s bottom or the plant looks top-heavy. Spring and early summer are ideal, but I’ve successfully moved succulents in winter with the right aftercare. The process takes 15 minutes and requires just a few supplies you probably already have. No green thumb required—just follow the steps, and you’ll have a happier, roomier plant in no time.
📚 In This Guide
Here’s my no-fail method for moving your succulents without stress—roots stay happy, plants keep thriving.
Start by watering your succulent 3-4 days before transplanting. This gives the plant time to absorb moisture while letting the soil dry slightly, which makes removal easier. A well-hydrated succulent handles the move better, but soggy soil clings to roots and causes damage.
Gently squeeze the sides of the current pot to loosen the root ball. If the plant resists, run a butter knife around the inner edge of the pot to separate the roots from the container. Tilt the pot sideways and tap the bottom—most succulents will slide out cleanly when ready.
Once removed, examine the roots carefully. Healthy roots appear firm and white or tan. If you see dark, mushy roots, trim them away with clean scissors. This prevents rot from spreading to the new pot. Don’t worry if you remove up to one-third of the root mass—succulents recover quickly.
Gently loosen the root ball with your fingers to encourage outward growth in the new container. If the roots circle the bottom tightly, make a few vertical cuts about 1 inch deep to stimulate new root development. This step prevents future root binding and promotes healthier growth.
Select a pot with drainage holes that’s 1-2 inches wider than the current one. Succulents prefer snug quarters, so avoid oversized containers that hold excess moisture. I prefer unglazed terra cotta because it wicks away moisture and prevents waterlogging.
Fill the bottom with 1-2 inches of fresh cactus/succulent mix. Don’t use regular potting soil—it retains too much water. Create a small mound in the center where the root ball will sit. This elevation helps position the plant at the correct height, with the base of the stem just above the soil line.
Place your succulent in the new pot, centering it over the soil mound. The base of the plant should sit just above the rim—this prevents water from pooling around the stem. Hold the plant steady while you fill around the roots with more succulent mix, tapping the pot gently to settle the soil.
Don’t water immediately after transplanting. Wait 5-7 days before the first watering to allow any damaged roots to callous over. This prevents rot and gives the plant time to adjust to its new home. You’ll notice the leaves feel slightly softer during this period—that’s normal.
Move your transplanted succulent to bright, indirect light for the first week. Even sun-loving varieties need this adjustment period. After 7-10 days, gradually reintroduce it to its normal light conditions to prevent sunburn on tender new roots.
Resist the urge to water until the soil is completely dry. When you do water, soak thoroughly until it runs from the drainage holes, then wait until the soil dries completely before watering again. You’ll see new growth within 2-3 weeks, which signals your succulent has successfully established in its new home.
After transplanting hundreds of succulents, I’ve learned these key details make all the difference between a thriving plant and one that struggles to recover.
Preparation Timing: That 3-4 day pre-transplant watering window in Step 1 is crucial. Water too soon and you’ll have soggy soil that clings to roots; wait too long and the plant becomes stressed. I’ve found that 3 days works best for most varieties, but if your succulent’s leaves feel particularly plump, 4 days ensures the perfect moisture balance without being waterlogged.
Root Pruning Technique: When trimming roots in Step 2, use sharp scissors and make clean cuts. Ragged edges invite infection. I always sterilize my tools with rubbing alcohol first—a step many skip that prevents introducing bacteria. Remember that removing up to one-third of the root mass feels drastic but actually stimulates healthier new growth, as long as you’re leaving firm, white roots intact.
Pot Selection Wisdom: The 1-2 inch size increase mentioned in Step 3 isn’t arbitrary. Too-large containers hold excess moisture that leads to root rot. I learned this the hard way after losing several plants to oversized “upgrade” pots. Terra cotta’s porosity is ideal, but if you prefer plastic, just be extra vigilant about drainage and watering frequency.
Aftercare Observation: During that 5-7 day no-water period in Step 4, watch your plant’s leaves rather than the calendar. They’ll feel slightly softer as the roots callous—this is normal. But if leaves start wrinkling excessively or feeling mushy, that’s your cue to check for root issues before the waiting period ends. The 7-10 day light adjustment in Step 5 is equally important; I’ve seen sunburned plants when people rush this transition.
Yes, but give it 3–7 days to acclimate to your home first! Store-bought succulents often sit in damp soil, so let the roots dry slightly before repotting. Skip watering for a week post-transplant to prevent rot. If the plant looks stressed (droopy or pale), wait longer.
Aim for early spring or fall—their active growing seasons! Avoid extreme heat (summer) or dormancy (winter), when roots recover slower. If you must transplant in summer, do it during cooler evenings and provide shade for a week.
Regular mix is a no-go—it holds too much moisture! Opt for a cactus/succulent blend (or DIY: 50% potting soil + 50% perlite/pumice). For humidity-prone areas, add extra grit (like coarse sand) to boost drainage and mimic desert conditions.
Overwatering or root shock are likely culprits. Stop watering immediately and check for mushy stems (rot) or dry, crispy roots (underwatering). If healthy, give it bright, indirect light and wait 1–2 weeks before watering. Lost leaves? They may regrow if the plant stabilizes!
Lay healthy leaves or stem cuttings on dry soil (don’t water yet!). Keep them in bright shade until roots sprout (2–4 weeks). Once rooted, mist lightly and treat like a new plant. Pro tip: Calloused ends root faster—let cuts dry 1–2 days first!
