
Beautiful Plants For Your Interior
Beautiful Plants For Your Interior
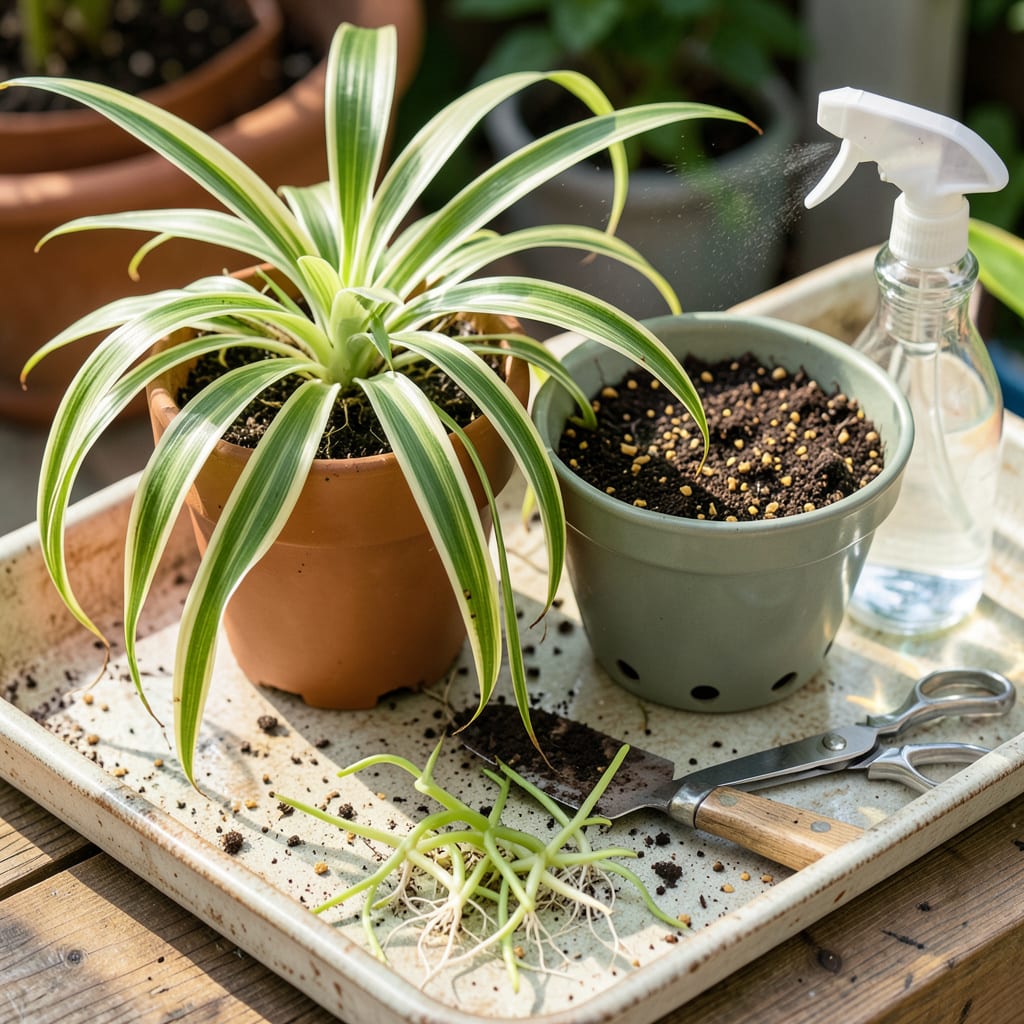
That spider plant hanging in your window? It’s probably begging for more room. I’ve learned the hard way that waiting too long to transplant means tangled roots and stunted growth—but do it right, and you’ll get a bushier, happier plant that pushes out spiderettes like crazy.
Timing matters: spring or early summer is ideal, but don’t stress if yours is root-bound now. The process takes 20 minutes with basic supplies, and I’ll walk you through every step—from loosening roots to picking the perfect pot size. No guesswork, just a thriving plant.
📚 In This Guide
Moving your spider plant to a new home is simpler than you think—just follow these proven steps for happy, thriving growth.
Spring or early summer is ideal for transplanting, when your spider plant is actively growing. Select a container that’s 1-2 inches larger in diameter than the current pot—too much extra space holds excess moisture that can rot roots. I always use containers with drainage holes to prevent waterlogging.
Clean the new pot with warm, soapy water and rinse thoroughly. This removes any lingering pathogens from previous plants. Fill the bottom 1-2 inches with fresh potting mix, creating a base for your plant to sit on. Use a well-draining mix designed for houseplants—regular garden soil is too dense for container growth.
Water your spider plant 24 hours before transplanting—this helps the roots hold together and reduces transplant shock. Turn the pot sideways, hold the plant gently at its base, and tap the pot’s rim against a table edge to loosen the root ball. If it resists, run a butter knife around the inside edge to free stubborn roots.
Once removed, examine the root system. Healthy roots should be white or light tan. If you see dark, mushy roots, trim them away with clean scissors. Gently tease apart any tightly bound roots at the bottom to encourage outward growth in the new container. Be patient—this step prevents future root circling that can strangle the plant.
Place the root ball in the center of the new pot, ensuring the top of the root ball sits 1 inch below the pot’s rim. This prevents water from spilling over when you water. Hold the plant upright while adding fresh potting mix around the sides, pressing lightly to eliminate air pockets. Don’t bury the stem deeper than it was in the original pot.
Fill to within ½ inch of the rim, leaving space for watering. I like to water immediately after transplanting to help the soil settle around the roots. Use room-temperature water and water until it drains from the bottom holes. This first watering is critical—it helps the plant establish in its new environment.
Place your newly transplanted spider plant in bright, indirect light for the first week—avoid direct sun that could stress it further. Maintain temperatures between 60-75°F and keep the plant away from drafts or heating vents. You’ll notice some leaf drooping initially—this is normal as the plant adjusts.
Wait 5-7 days before fertilizing to avoid burning tender new roots. When you do fertilize, use a balanced houseplant fertilizer diluted to half strength. Resume your normal care routine after two weeks, but watch for signs of stress like yellowing leaves or wilting. These usually indicate either overwatering or insufficient light during the recovery period.
Transplanting doesn’t have to be stressful—these insights will help your spider plant thrive in its new home.
Timing is Everything: The 24-hour pre-watering mentioned in Step 2 makes all the difference. I learned this the hard way after transplanting dry plants that went into shock. That extra day allows roots to absorb moisture and become more resilient during the move. Don’t rush this step—it’s your plant’s best defense against transplant stress.
Root Care Secret: When examining roots in Step 2, look beyond just color. Healthy roots should also feel firm, not slimy. I use clean scissors to make precise cuts when trimming damaged roots, and I always sterilize them with rubbing alcohol first. This prevents introducing bacteria to fresh cuts. The gentle teasing apart of bound roots encourages them to spread outward in the new pot.
Positioning Matters: That 1-inch space below the rim mentioned in Step 3 isn’t arbitrary. I’ve found this exact measurement prevents water from pooling around the stem while still giving roots room to grow. When adding soil, press gently but firmly enough to eliminate air pockets—I use my fingers to create even pressure around the root ball. This contact helps the plant establish faster in its new environment.
Transition Period Wisdom: The 60-75°F temperature range in Step 4 is crucial for recovery. I once placed a newly transplanted spider plant near an air vent, and the temperature fluctuations caused significant stress. During that first week, I check soil moisture daily—keeping it consistently moist (not soggy) helps the plant focus on root establishment rather than drought survival.
Spring or early summer is ideal! This is when spider plants enter their active growth phase, so they’ll recover faster. Avoid transplanting in winter when growth slows. If your plant is root-bound (roots circling the pot), though, don’t wait—transplant ASAP to prevent stress.
Yes! But first, let the spiderettes grow roots while still attached to the mother plant. Place them in water for 2–4 weeks until roots reach 1–2 inches long. Alternatively, pin them to soil in a small pot (keep the stem attached) until roots develop—then snip and transplant!
Choose a pot just 1–2 inches larger in diameter than the current one. Spider plants thrive when slightly root-bound, so oversized pots can lead to soggy soil and root rot. Ensure it has drainage holes—terracotta or plastic both work!
Don’t panic—this is normal! Transplant shock causes temporary wilting. Keep the soil moist (not soggy), place it in bright indirect light, and avoid fertilizing for 2–3 weeks. If leaves stay limp beyond a week, check for overwatering or poor drainage.
Only if it’s leggy or damaged! Trim brown tips or yellow leaves with clean scissors to redirect energy to new growth. Avoid heavy pruning right before transplanting—wait 1–2 weeks post-move to let the plant acclimate first.
