
Beautiful Plants For Your Interior
Beautiful Plants For Your Interior
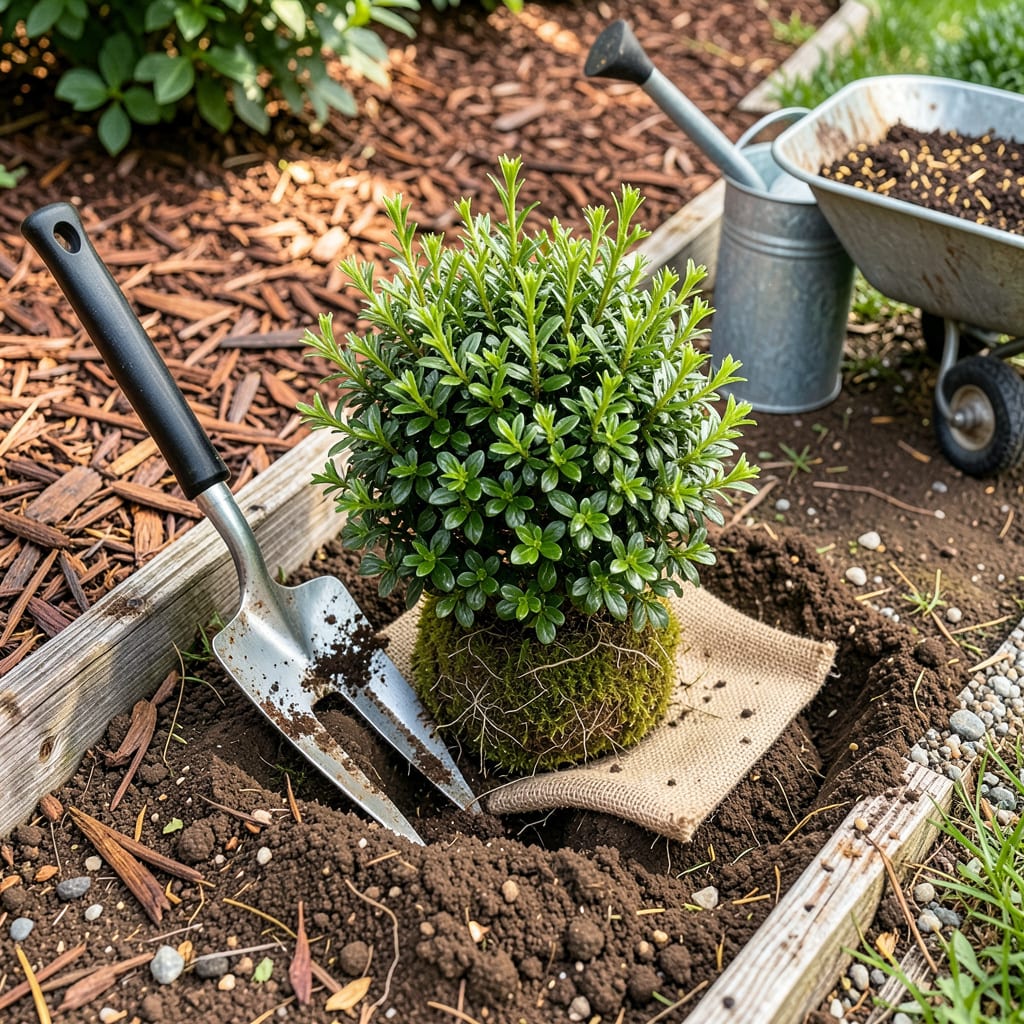
Moving a shrub feels like performing surgery on your landscape—except you’re the doctor, and the patient can’t tell you where it hurts. I’ve relocated everything from overgrown azaleas to stubborn boxwoods, and the difference between a thriving transplant and a slow decline comes down to three things: timing, technique, and aftercare. Do it right, and your shrub won’t just survive—it’ll take off like it’s been in that spot for years.
The sweet spot for transplanting hits when the shrub is dormant but the ground isn’t frozen—early spring or fall in most climates. You’ll need a sharp spade, some burlap to protect the roots, and about 90 minutes of focused work. What you’re really doing is convincing those roots to trust their new home, and that starts with how you dig, handle, and settle them in. Skip the guesswork; I’ll walk you through each step so your shrub doesn’t just live—it thrives.
📚 In This Guide
Moving an established shrub doesn’t have to be stressful—this method ensures strong roots and vigorous new growth.
Before disturbing the shrub, dig the new hole at least twice as wide as the root ball and just as deep. I make the sides sloped rather than straight to encourage outward root growth. Loosen the soil at the bottom with a garden fork so roots can penetrate easily.
Mix a shovelful of compost into the removed soil—this gives your shrub a nutrient boost as it establishes. Keep this amended soil nearby for backfilling. A bucket of water placed near the hole lets you water immediately after planting, which is critical for reducing transplant shock.
Start by watering the shrub thoroughly the day before transplanting—moist soil holds together better. Use a sharp spade to cut a circle around the shrub, starting about 12 inches out from the main stem for every inch of trunk diameter. For a 2-inch trunk, that’s a 24-inch diameter root ball.
Angle the spade inward as you dig to create a cone-shaped root ball. Once you’ve cut all around, slide the spade underneath to lift. If roots resist, cut them cleanly with pruners rather than tearing. Lift the shrub by the root ball, not the trunk, to avoid damaging the stem.
Place the shrub in the new hole at the same depth it grew before—look for the soil line on the trunk. The top of the root ball should sit 1-2 inches above the surrounding soil to allow for settling. Rotate the shrub until its best side faces the direction you want.
Backfill with your amended soil, gently firming it around the roots to eliminate air pockets. Create a 3-inch-high watering basin around the edge of the root ball by mounding soil in a circle. This directs water right where it’s needed most during the critical first weeks.
Water immediately after planting until the soil is thoroughly saturated and water pools in your basin. I use a slow trickle from the hose for 10-15 minutes to ensure deep penetration. The goal is to settle the soil around all roots and eliminate air gaps that could dry them out.
Apply 2-3 inches of organic mulch (wood chips or shredded bark) over the root zone, keeping it 2 inches away from the trunk to prevent rot. Mulch conserves moisture and insulates roots during temperature swings. Check the soil moisture daily for the first week—it should feel damp but not soggy 1 inch below the surface.
For the first 2-3 weeks, water every 2-3 days unless rain provides an inch of moisture. After that, gradually reduce frequency to encourage deep root growth. Watch for wilting leaves in late afternoon—this is normal initially, but if leaves remain wilted in morning, increase water.
Avoid fertilizing for 4-6 weeks after transplanting—new roots are sensitive to chemical burns. Instead, I spray foliage with compost tea weekly to provide gentle nutrition. You’ll know the shrub has established when you see new leaf growth and the plant no longer wilts between waterings.
Transplanting shrubs successfully comes down to timing, technique, and post-move care. Here’s what I’ve learned from years of moving plants with minimal stress.
Root Ball Protection: In Step 2, when cutting that 12-inch radius per inch of trunk diameter, don’t rush. I’ve found that making clean, deliberate cuts with a sharp spade prevents root tearing, which is the number one cause of transplant shock. If you encounter thick roots, cut them cleanly with pruners rather than yanking—this actually stimulates new root growth at the cut site.
Watering Wisdom: The 10-15 minute deep watering in Step 4 is non-negotiable, but here’s what nobody tells you: use lukewarm water, not cold. Cold water can shock stressed roots, while lukewarm water (about body temperature) encourages immediate absorption. I also add a capful of liquid seaweed to that first watering—it contains natural hormones that reduce transplant stress.
Depth Discipline: When positioning the shrub in Step 3, resist the urge to plant deeper “for stability.” That 1-2 inches above surrounding soil is critical—burying the root flare (where roots meet trunk) suffocates the plant. I use a straight board laid across the hole to check depth before backfilling. This simple trick prevents the most common transplanting mistake I see.
Mulch Mastery: The 2-3 inches of mulch in Step 4 should be coarse-textured (like wood chips) rather than fine (like shredded bark). Fine mulches can compact and smother roots, while coarse materials allow air circulation. Keep that 2-inch gap around the trunk religiously—mulch piled against bark creates perfect conditions for rot and rodent damage.
The ideal time is early spring (before buds break) or fall (4–6 weeks before frost). These seasons give roots time to establish without heat stress. Avoid transplanting in summer’s peak heat or winter’s freeze—unless it’s an evergreen in mild climates.
Aim for a root ball 10–12 inches wide per inch of trunk diameter (e.g., 30–36 inches for a 3-inch trunk). Depth should match the root spread—usually 12–18 inches. Smaller roots recover faster than severed large ones!
Can I transplant a shrub without digging it up? (Alternatives?)
If digging isn’t possible, try root pruning 6–12 months before moving to encourage compact roots. For large shrubs, consider containerizing (growing in a pot first) or hiring pros with a tree spade for minimal shock.
Water deeply 2–3 times per week for the first month (more in hot/dry climates). Check soil moisture 2 inches deep—it should feel like a damp sponge. Taper off to weekly watering once new growth appears (after ~6 weeks).
Don’t panic! Transplant shock is normal. Prune back ⅓ of the foliage to reduce stress, keep soil moist, and avoid fertilizer for 4–6 weeks. If leaves stay crispy or black after 3 weeks, check for root damage or over/under-watering.
