
Beautiful Plants For Your Interior
Beautiful Plants For Your Interior
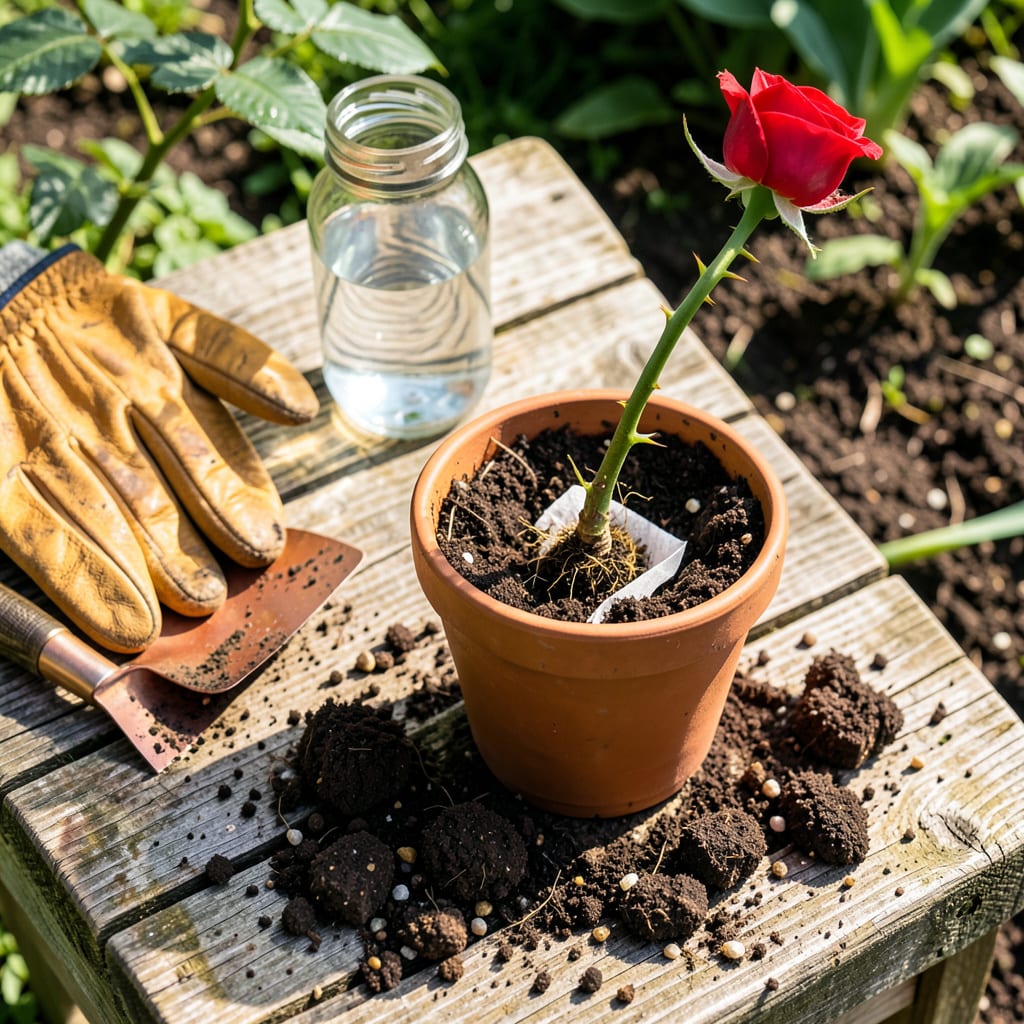
That moment when you snip a rose stem and watch it grow into a whole new plant? Pure gardening magic. I’ve turned dozens of cuttings into thriving bushes using a method so simple it feels like cheating. The key is timing—early summer when stems are semi-hardwood—and giving them the right start in well-draining soil.
You’ll see the first signs of success in 3-4 weeks when tiny roots emerge. By autumn, your cutting will be ready for its permanent home, already developing the sturdy canes that produce next year’s blooms. No fancy equipment needed—just sharp pruners, rooting hormone, and a little patience. This works for hybrid teas, climbers, even those stubborn old garden roses.
📚 In This Guide
Here’s my tried-and-true method for giving your rose cuttings the best start in their new home.
Choose a spot with full sun exposure (at least 6 hours daily) and well-draining soil. I like to dig the hole twice as wide as the root ball but only as deep as the container it’s coming from. This gives roots room to spread without sinking too deep.
Loosen the soil at the bottom of the hole with your fingers or a small trowel. This prevents the roots from hitting compacted earth and encourages downward growth. If your soil is heavy clay, mix in some compost to improve drainage—roses despise wet feet.
Gently squeeze the sides of the container and tap the bottom to loosen the root ball. Slide the plant out carefully, supporting the base of the stem. You’ll want to examine the roots—healthy ones appear white or light tan, while dark or mushy roots signal problems.
If the roots are circling the container, use your fingers to gently tease them apart. This might seem harsh, but it prevents girdling roots that could strangle the plant later. I always trim any broken or excessively long roots with clean pruners.
Place the rose in the hole so the bud union (that swollen bump where the stem meets the roots) sits 1-2 inches above the soil line in cold climates or at soil level in warmer zones. This protects against frost damage while allowing proper root development.
Backfill with native soil, firming gently as you go to eliminate air pockets. Water thoroughly with 1 gallon of water to settle the soil around the roots. You’ll see the soil level drop slightly—that’s normal. Add more soil if needed to maintain the proper planting depth.
Create a small soil berm around the plant to form a water basin. This directs moisture straight to the roots where it’s needed most. Water deeply again, ensuring the moisture penetrates 8-12 inches down—you can test this by pushing a wooden dowel into the soil after watering.
Apply 2-3 inches of organic mulch (shredded bark or compost) around the base, keeping it 3 inches away from the stem to prevent rot. Mulch conserves moisture and regulates soil temperature, which is crucial for those first few weeks as the rose establishes.
Check the soil moisture daily for the first week—it should feel moist but not soggy 1 inch below the surface. New transplants often need water every 2-3 days until established. You’ll know it’s working when you see new leaf growth in about 2-3 weeks.
Protect the transplant from strong winds or intense afternoon sun for the first 7-10 days if possible. I’ve found that a temporary shade cloth or windbreak makes a huge difference in survival rates. Remove any flowers that form during this establishment period to direct energy toward root growth instead.
After years of trial and error with rose transplants, I’ve learned these key details make all the difference in survival rates.
Sunlight Strategy: The 6 hours of daily full sun mentioned in Step 1 is non-negotiable for healthy blooms. I’ve found morning sun is gentler than harsh afternoon rays, especially during those first 7-10 days when the transplant is most vulnerable. If your only sunny spot gets intense midday heat, consider a temporary shade cloth for that critical establishment period.
Root Preparation Insight: When inspecting roots in Step 2, here’s what nobody tells you—healthy roots should snap when bent, not bend like rubber. If you encounter mushy roots, trim them back to healthy tissue immediately. I always soak the root ball in water for 10 minutes before planting if the soil feels dry, which helps prevent transplant shock.
Planting Depth Precision: That 1-2 inch planting depth in Step 3 is crucial for cold climates. I use a ruler to measure from the bud union to soil level—this prevents the common mistake of planting too deep. In warmer zones where you plant at soil level, create a slight mound to ensure water drains away from the stem. This small detail prevents stem rot that can kill young transplants.
Watering Technique: The 1 gallon of water in Step 3 should be applied slowly, over 5-10 minutes. I use a watering can with a rose attachment to prevent soil erosion around the new plant. After watering, gently press down on the soil with your hands—if water pools on the surface, you’ve added too much. The soil should feel like a wrung-out sponge 1 inch down, exactly as mentioned in Step 5.
The best time is early spring or fall when temperatures are mild (50–70°F). Avoid extreme heat or frost—stress weakens roots. Summer transplanting works only if you provide shade and extra water for 2–3 weeks. Winter is risky unless in a frost-free zone (USDA Zones 8+).
Expect 4–8 weeks for new root growth, but full establishment takes 6–12 months. Signs of success: new leaves or shoots. Speed it up by keeping soil moist (not soggy) and adding rooting hormone at planting. Patience is key—avoid fertilizing until you see active growth!
A stem (cutting) has no roots initially and needs high humidity (try a plastic bag tent) and consistent moisture. A mature bush has established roots but requires pruning post-transplant to reduce shock. Stems are cheaper but riskier; bushes offer instant impact but need more space.
Common causes:
Yes, but it’s less reliable for long-term success. Use filtered water in a clear jar, change it every 3–5 days, and place in bright, indirect light. Once roots reach 2–3 inches, transfer to soil—water-rooted stems often struggle to adapt to dirt, so harden them off gradually!
