
Beautiful Plants For Your Interior
Beautiful Plants For Your Interior
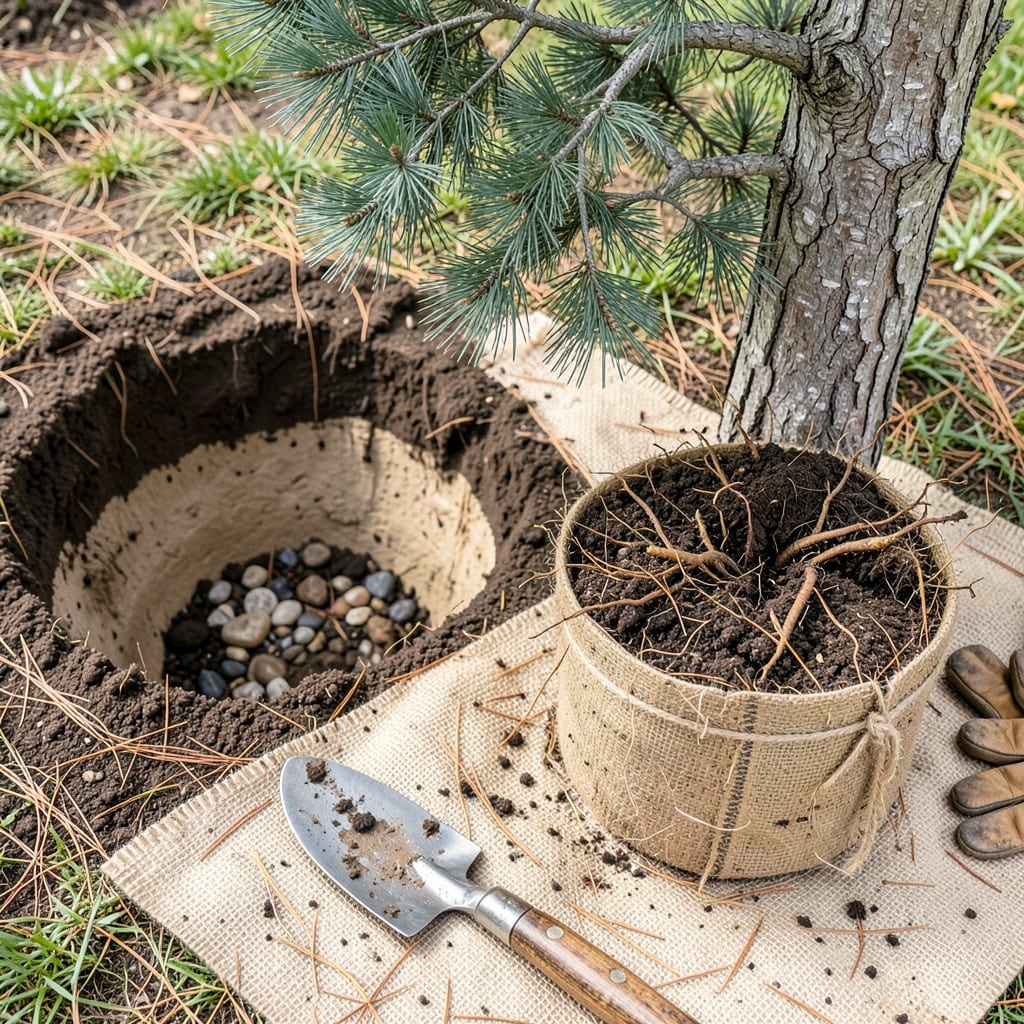
Moving a pine tree feels like performing surgery on nature—except you’re the one holding the scalpel. I’ve relocated everything from tiny seedlings to 10-foot pines, and the difference between success and a slow decline comes down to timing and technique. Do it right, and your tree won’t just survive—it’ll thrive with deeper roots and stronger growth the next season.
The secret isn’t brute strength; it’s preparation. Water the tree 24 hours before digging, keep the root ball intact, and choose a new spot with the same sunlight and soil conditions. Most people fail because they rush the process or underestimate how much root system needs to come along. We’ll walk through each step so your pine doesn’t just live—it establishes faster than you’d expect.
📚 In This Guide
Moving an established pine requires careful planning, but this method ensures your tree thrives in its new location.
Dig a hole at the new location that’s twice as wide as the root ball but no deeper than the tree’s current planting depth. I use a sharp spade to create clean edges, which helps prevent root circling later. The soil at the bottom should remain undisturbed to avoid settling that could bury the trunk.
Test the hole size by placing the root ball inside before lifting the tree. You want 2-3 inches of clearance on all sides for backfilling. Mix the excavated soil with 20% compost to improve drainage while maintaining the native soil structure that pine roots prefer.
Begin by watering the pine thoroughly 24-48 hours before moving to hydrate roots and reduce transplant shock. The root ball diameter should equal 10-12 inches per inch of trunk diameter (measure trunk at chest height). For a 2-inch trunk, that’s a 20-24 inch diameter root ball.
Use a sharp spade to cut cleanly around the root ball, then undercut at a 45° angle to sever taproots. Wrap the root ball in burlap immediately to prevent soil loss during transport. Real talk: this is the most critical moment—damaged roots here mean years of recovery time.
Place the tree in the hole so the root flare (where roots meet trunk) sits 1-2 inches above ground level. This prevents water pooling at the base. Have someone check from multiple angles—the tree should stand perfectly vertical, not leaning.
Backfill with your soil-compost mix in 3-inch layers, watering each layer thoroughly to eliminate air pockets. Don’t tamp the soil—pine roots need oxygen. Create a 3-inch high water ring around the perimeter to direct moisture to the roots during establishment.
Water immediately with 10 gallons per inch of trunk diameter, then apply 3-4 inches of mulch (wood chips or pine straw) in a 3-foot diameter circle. Keep mulch 2 inches away from the trunk to prevent rot. The mulch should extend beyond the root ball to encourage outward root growth.
Monitor soil moisture weekly for the first month—pines show stress through needle discoloration before wilting. You’ll know the tree is establishing when new candle growth appears in spring. This is when the real recovery begins, so maintain consistent moisture through the first growing season.
Transplanting success comes down to preparation and attention to detail—here’s what I’ve learned from years of moving pines.
Hydration Timing: The 24-48 hour pre-watering window in Step 2 isn’t just about moisture—it’s about root turgor pressure. I’ve found that watering exactly 48 hours before moving gives roots optimal hydration without making the soil too heavy to work with. This timing also allows excess water to drain, preventing a muddy root ball that could fall apart during transport.
Root Ball Precision: When calculating your root ball diameter (10-12 inches per inch of trunk), always round up. For that 2-inch trunk example, I’d recommend a full 24-inch diameter root ball. The extra inch or two preserves more feeder roots, which are critical for water uptake during the first month. Use a measuring tape to verify—eyeballing often leads to root balls that are 20-30% too small.
Backfilling Technique: The 3-inch layer approach in Step 3 isn’t arbitrary—it prevents soil compaction that can suffocate pine roots. I use a garden hose on the “shower” setting to water each layer, which gently settles the soil without creating air pockets. Avoid using your hands or tools to press down the soil; pine roots need that oxygen space to establish properly.
Post-Transplant Monitoring: That first month of weekly moisture checks is when most failures occur. I set calendar reminders for watering days and check soil moisture 2 inches below the mulch line—not just at the surface. Pine roots are surprisingly shallow, and surface dryness doesn’t always indicate what’s happening where the roots actually are. A moisture meter takes the guesswork out of this critical period.
Timing is key! Early spring (before buds swell) or fall (6+ weeks before frost) is ideal. Avoid summer heat or winter dormancy—roots need mild temps to establish. Evergreens like pines transplant best when soil is moist but not waterlogged.
Smaller is better! Trees under 6 feet tall (with a 2–3-inch trunk diameter) have the highest success rate. Larger pines (8+ feet) require professional equipment and expertise—roots are extensive, and shock risk skyrockets. For big moves, consult an arborist.
If moving isn’t feasible, consider root pruning a year in advance to encourage compact growth, or air-layering to propagate a new tree. For instant impact, plant a container-grown pine of the same species nearby and remove the old tree later.
Some browning is expected (transplant shock), but excessive needle drop signals stress. Check for underwatering (deep water weekly), root damage, or fungal issues (like pine wilt). Mulch 3–4 inches deep (keep away from the trunk!) to retain moisture.
Patience is key! Expect 1 year per inch of trunk diameter for full root recovery. For example, a 3-inch trunk needs ~3 years of consistent care (watering, mulching, and avoiding fertilizer the first year). Monitor growth—new candles (shoots) mean it’s thriving!
