
Beautiful Plants For Your Interior
Beautiful Plants For Your Interior
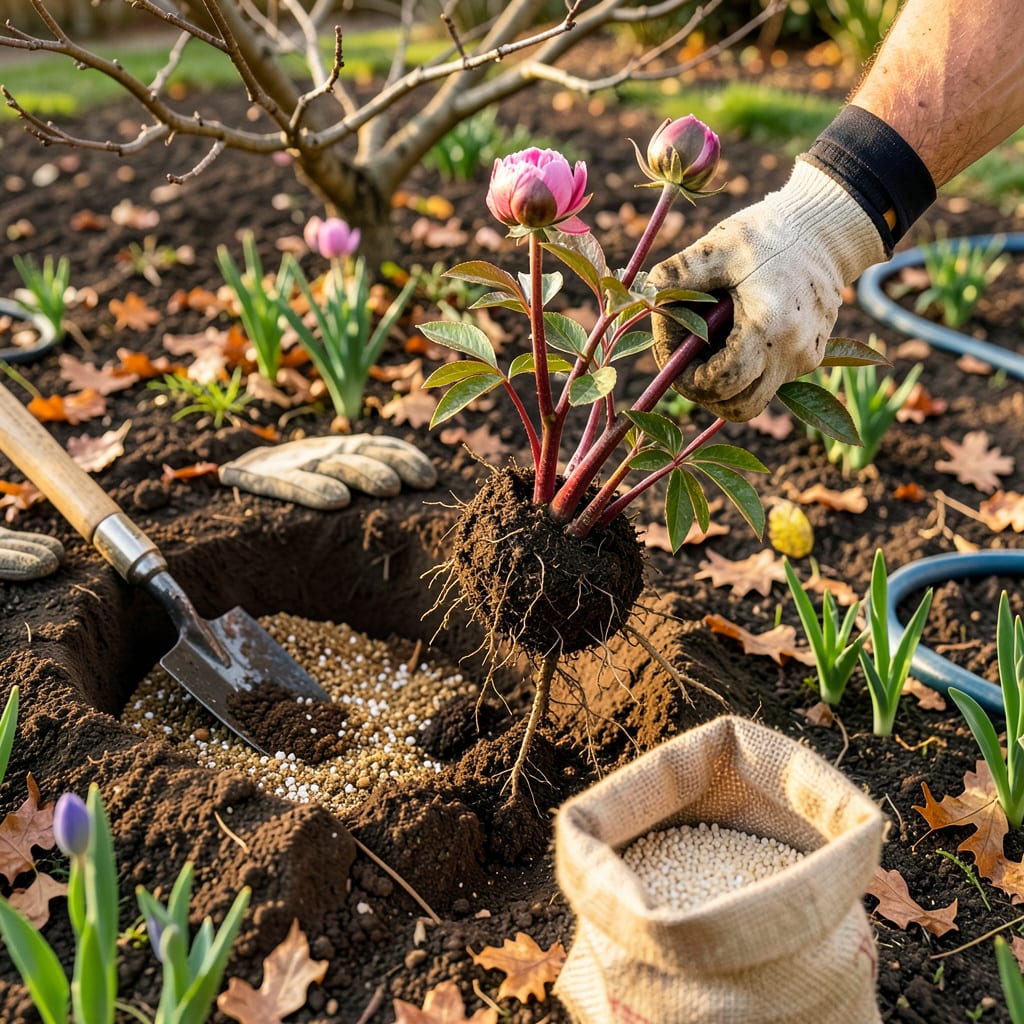
Fall is the secret window for moving peonies—miss it, and you’ll wait years for those lush blooms to return. I learned this the hard way after transplanting mine in spring and getting zero flowers the next season. The right timing means roots establish before winter, setting up explosive growth when warmth returns.
What surprises most gardeners is how forgiving peonies are if you handle their roots gently. You’ll need a sharp spade, some compost, and about 30 minutes of focused work. The payoff comes in late spring when those first heavy buds form—bigger and brighter than before the move. Here’s exactly how to do it without shocking the plants.
📚 In This Guide
Timing and technique make all the difference—follow these steps for thriving peonies with spectacular blooms next year.
Early fall is ideal, about 6-8 weeks before your first hard frost. This gives roots time to establish before winter dormancy. I aim for late September through early October in most climates. Avoid transplanting in spring—peonies resent disturbance during their growing season.
Select a sunny spot with 6+ hours of direct sunlight daily and well-draining soil. Dig a hole 18 inches wide and 12 inches deep—twice as wide as the root ball. Mix a shovelful of compost into the removed soil to enrich it. You’ll know the location is right when water drains within 10 minutes after testing with a hose.
Use a sharp spade to cut a 12-inch diameter circle around the plant’s base. Dig deep enough to get under the root mass—peony roots grow surprisingly long. Gently lift the entire clump from the ground. You’ll feel resistance from the thick, fleshy roots, which is normal.
Shake off excess soil and rinse the roots with water to see the structure clearly. Look for pinkish buds (called “eyes”) at the crown—these are next year’s stems. Use a clean knife to divide the clump into sections, ensuring each has 3-5 healthy eyes and plenty of roots attached.
Place each division in its new hole so the eyes sit 1-2 inches below the soil surface—no deeper. Planting too deep prevents blooming. Backfill with your enriched soil, firming gently as you go to eliminate air pockets. The soil should feel slightly compacted when pressed but not rock-hard.
Water thoroughly to settle the soil, using 1-2 gallons per plant. You’ll see the water pool briefly before draining—this indicates good soil contact with the roots. Don’t fertilize now; wait until spring to avoid encouraging tender new growth before winter.
Apply a 2-3 inch layer of organic mulch (straw or shredded leaves work well) around the plant, keeping it 3 inches away from the stems to prevent rot. This protects roots from freeze-thaw cycles. In colder zones, add an extra inch after the ground freezes.
Mark the location with a stake—peony stems die back completely in winter, and you’ll forget where you planted them. Come spring, watch for red shoots emerging through the mulch. Remove mulch gradually as temperatures warm to prevent smothering new growth.
Keep the soil consistently moist but not soggy through the first growing season. Water deeply once weekly unless you receive 1 inch of rain. You’ll notice the plant focusing energy on root establishment rather than blooms—this is normal and sets up future success.
Remove any flower buds that form the first year. I know it’s painful, but redirecting energy to roots now means doubled bloom production in year two. By the second season, your transplanted peonies will reward you with their signature lush, fragrant flowers.
Getting the details right makes all the difference between a struggling peony and one that thrives for decades. Here’s what I’ve learned from years of transplanting these beauties.
Timing Precision: That 6-8 week window before your first hard frost in Step 1 isn’t arbitrary. I’ve found that transplanting too early (more than 8 weeks out) risks new top growth that winter will kill, while waiting until less than 6 weeks before frost doesn’t give roots enough time to establish. In my zone 5 garden, late September is the sweet spot – the soil is still warm enough to encourage root growth but cool enough to prevent premature sprouting.
Depth Discipline: The 1-2 inch planting depth in Step 3 is absolutely critical. I ruined my first peony transplant by planting it 3 inches deep – it never bloomed for three years until I dug it up and corrected the depth. When in doubt, err on the shallow side. After backfilling, the soil should just barely cover those pink eyes. Press down gently to check – you should still feel the crown’s firmness just beneath the surface.
Watering Wisdom: The 1-2 gallons per plant in Step 3 isn’t just about hydration – it’s about eliminating air pockets. I use a slow trickle from my hose for about 10 minutes per plant, which mimics the 10-minute drainage test from Step 1. You’ll see the soil settle visibly as the water displaces air. This is especially important with peonies because their thick roots can’t easily push through air pockets later. Don’t skimp here – I’ve had to replant peonies that didn’t get properly watered in, and it sets them back a full year.
Mulch Management: That 2-3 inch mulch layer in Step 4 serves two purposes: insulation and moisture retention. The key detail most people miss is removing it gradually in spring. I start pulling back the mulch when I see those red shoots emerging, but I leave a thin layer until nighttime temperatures stay above 50°F. This prevents the tender new growth from getting zapped by late frosts while still allowing the soil to warm up.
Got questions about moving your peonies? You’re not alone! Here are the most common concerns gardeners have when transplanting these stunning perennials:
When is the absolute best time to transplant peonies?
Early fall (late September to early October) is ideal—at least 6 weeks before your first hard frost. This gives roots time to establish before winter. Avoid spring moves unless absolutely necessary, as it can delay blooms for a year or two.
Probably not—don’t panic! Peonies often skip blooming the first season as they focus on root growth. If you see foliage but no flowers, it’s normal. Patience pays off: Year 2 usually brings a spectacular comeback!
Yes! Fall is perfect for dividing overcrowded clumps. Use a clean knife to split the root ball into sections with 3–5 “eyes” (buds) each. Smaller divisions may take longer to bloom, so aim for larger chunks if possible.
Not necessarily! Some wilting is normal for 1–2 weeks post-move. Keep soil moist (not soggy) and mulch lightly. If stems stay mushy or blacken, it may signal rot—reduce watering and check drainage.
Absolutely, but expect a shock! Old peonies have deep roots—dig wide (18–24 inches around the plant) to preserve as much root system as possible. Replant at the same depth (eyes 1–2 inches below soil) to avoid stress.
