
Beautiful Plants For Your Interior
Beautiful Plants For Your Interior
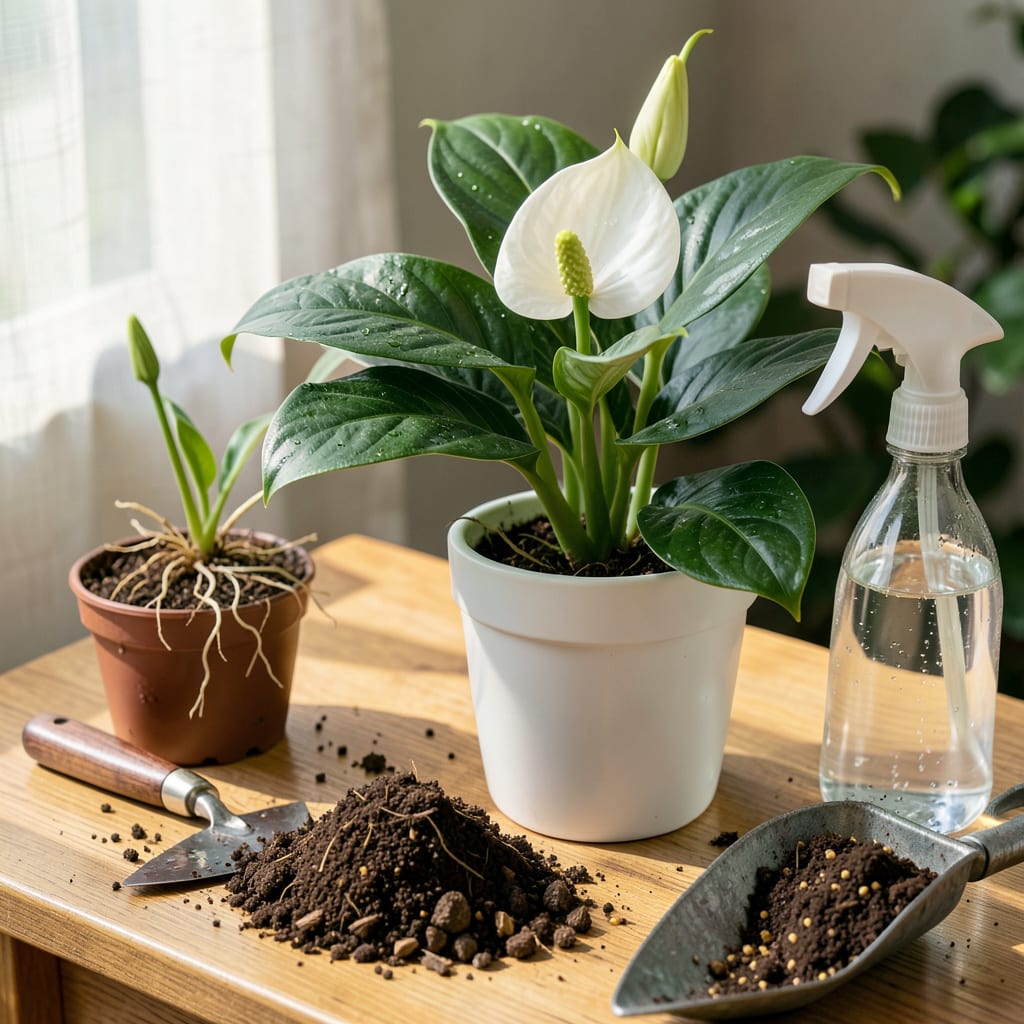
That moment when your peace lily’s roots start escaping the drainage holes? That’s not a cry for help—it’s an invitation to upgrade. I’ve moved dozens of these resilient plants, and the right transplant turns a struggling Spathiphyllum into one that pushes out glossy new leaves within weeks. The secret isn’t fancy tools, but timing and technique.
Spring or early summer makes this project foolproof—the plant’s natural growth cycle does half the work for you. You’ll need just 20 minutes, a pot that’s 1-2 inches wider, and fresh soil that drains faster than your old mix. What you get back is a plant that rewards you with bigger blooms and that signature deep green shine. No more sad, root-bound leaves.
📚 In This Guide
Moving your peace lily doesn’t have to be stressful—follow these simple steps for a smooth transition.
Choose a pot that’s 1-2 inches larger in diameter than the current one. Peace lilies thrive when slightly root-bound, so don’t jump to an oversized container. I always use clean pots to prevent disease—wash with mild soap and rinse thoroughly if reusing.
Set up your workspace with a plastic sheet or newspaper to contain the mess. Fill the new pot about one-third full with fresh, well-draining potting mix. The right mix feels light and fluffy in your hands, not dense or clumpy.
Water your peace lily 24 hours before transplanting—this helps the roots hold together. Turn the pot sideways, tap the rim gently on a table, and ease the plant out by supporting the base. If it resists, squeeze the pot’s sides to loosen the root ball.
Inspect the roots once it’s free. Healthy roots appear white or tan, while dark, mushy roots indicate rot. Trim any damaged roots with clean scissors, but don’t remove more than one-third of the root mass—this could shock the plant.
Place the root ball in the new pot, ensuring it sits at the same depth as before. The top of the root ball should be 1-2 inches below the pot’s rim to leave space for watering. Hold the plant steady while adding potting mix around the sides, pressing lightly to eliminate air pockets.
Don’t pack the soil too tightly—it should feel firm but still allow water to drain. Leave about 1 inch of space at the top to prevent water from spilling over when you water. This also gives roots room to expand upward as they grow.
Water immediately after transplanting until you see moisture draining from the bottom. This helps settle the soil around the roots. Place the plant in bright, indirect light—avoid direct sun for at least 1 week, as the roots need time to adjust.
Expect some drooping in the first few days—this is normal. Keep the soil consistently moist but not soggy. I check daily by touching the top inch of soil; if it feels dry, it’s time to water. Your peace lily should perk up within 7-10 days.
Watch for signs of stress over the next 2-3 weeks. Yellowing leaves may indicate overwatering, while brown tips suggest low humidity. I mist the leaves lightly every few days to boost humidity, especially in dry indoor environments.
Resist the urge to fertilize immediately—wait 4-6 weeks before applying a balanced houseplant fertilizer. This gives the roots time to establish in their new home. Once you see new growth, you’ll know your peace lily has successfully adjusted to its new pot.
Transplanting doesn’t have to be intimidating—these practical insights will help your peace lily transition smoothly to its new home.
Preparation is Key: The 24-hour watering before transplanting in Step 2 makes all the difference. I learned this the hard way after losing a plant to root shock. Well-hydrated roots hold together better during the move and recover faster in the new pot. Don’t skip this step, even if you’re eager to get started.
Root Handling Technique: When inspecting roots in Step 2, be gentle but thorough. I use clean scissors dipped in rubbing alcohol to trim damaged sections—this prevents spreading potential infections. Remember the one-third rule: never remove more than one-third of the root mass, no matter how tempting it might be to prune aggressively.
Soil Settling Secret: After watering in Step 4, I’ve found that gently pressing down on the soil surface helps eliminate air pockets without compacting too tightly. The soil should feel like a firm handshake—not too loose, not too tight. This balance ensures proper water drainage while giving roots good contact with the new soil.
Patience During Adjustment: Those first 7-10 days mentioned in Step 4 are critical. I’ve noticed plants perk up faster when I maintain consistent moisture—check the soil daily, but don’t overwater. The top inch should feel just slightly dry to the touch before watering again. This careful attention prevents both drought stress and root rot during the vulnerable transition period.
Transplant your peace lily every 1-2 years or when roots crowd the pot (visible through drainage holes). Spring is ideal for repotting, but you can do it anytime if the plant looks stressed. Smaller plants may need more frequent moves, while mature ones grow slower.
No! Peace lilies thrive in well-draining, aerated soil. Mix 2 parts peat moss or coco coir with 1 part perlite/pumice and 1 part compost. Avoid heavy garden soil—it retains too much moisture and can cause root rot.
Drooping is normal for 2-3 days post-transplant (shock). Keep it in bright, indirect light, water lightly, and avoid fertilizer. If wilting persists beyond a week, check for overwatering or root damage. Mist leaves to boost humidity!
Yes! If your plant is large, divide the root clumps gently with clean hands or a knife. Each division should have 2-3 leaves and healthy roots. This promotes bushier growth and gives you free plants! Do this in spring for best results.
It’s not ideal—peace lilies grow slower in cold months, increasing stress. If urgent (e.g., root rot), proceed but keep the plant in a warm spot (65–75°F) and reduce watering. Spring/early summer is the safest time for transplanting.
