
Beautiful Plants For Your Interior
Beautiful Plants For Your Interior
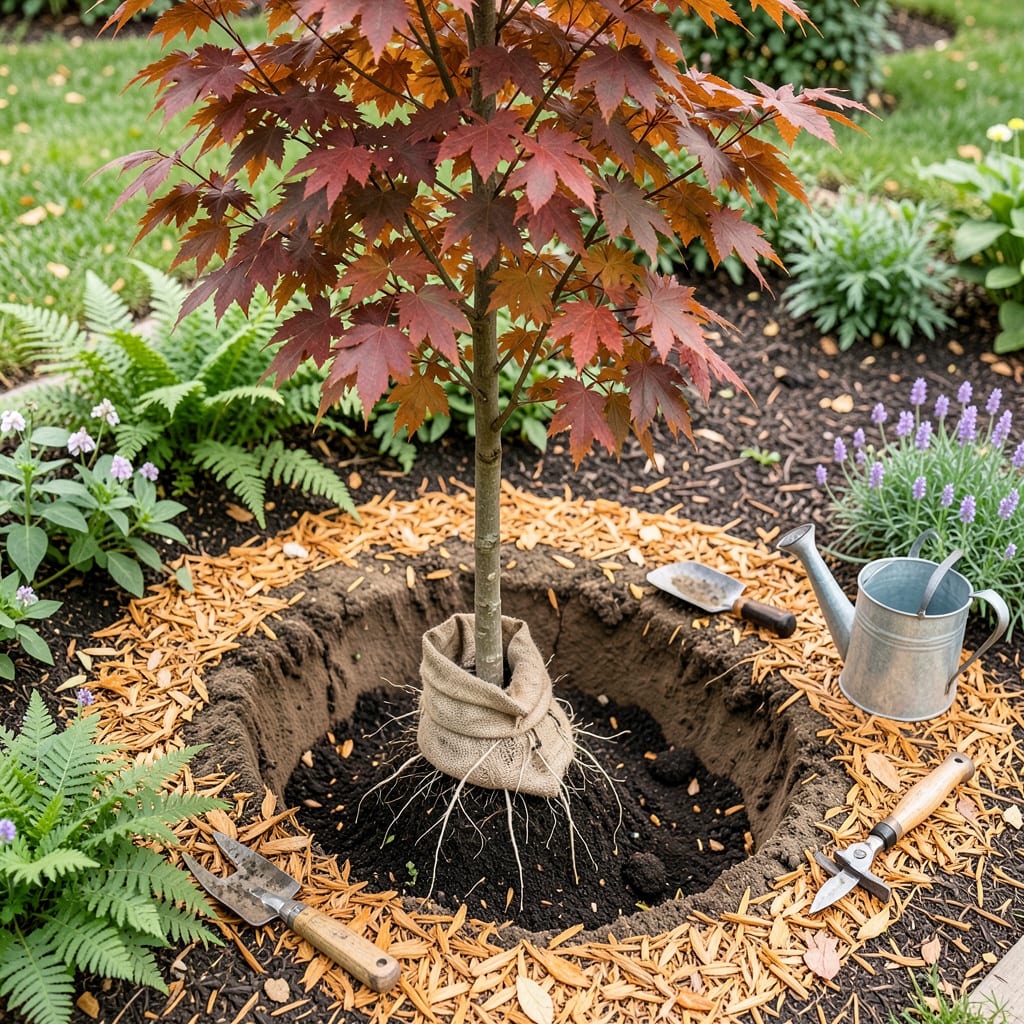
Moving a maple tree feels like a high-stakes operation, but I’ve done it half a dozen times with great success. The key is timing—early spring or late fall, when the tree is dormant and the soil is workable. I learned the hard way that summer stress or winter freeze can derail even the most careful transplant.
You’ll need a sharp shovel, burlap, and patience. The root ball should be 10–12 inches wide per inch of trunk diameter, and keeping it intact during the move makes all the difference. I’ll walk you through every step, from prepping the new hole to the first watering, so your maple doesn’t just survive—it thrives.
📚 In This Guide
Moving a maple tree takes patience, but this method ensures your tree thrives in its new home.
Early spring or late fall—when the tree is dormant—is ideal for transplanting. I always dig the new hole first, making it twice as wide as the root ball but no deeper than the current root depth. This loose, wide space encourages roots to spread outward rather than circling.
Test the drainage by filling the hole with water. If it doesn’t drain within 30 minutes, amend the soil with compost or choose a different spot. You’ll want the new location to have similar light conditions to the original—maples struggle with sudden exposure changes.
Start by watering the tree deeply 24 hours before moving—this keeps the root ball intact. When digging, work in a circle around the tree, starting just outside the drip line (where the branches end). For a 1-inch diameter trunk, aim for a root ball 10-12 inches wide.
Use a sharp spade to cut cleanly through roots. Lift the tree by the root ball, not the trunk, to avoid damaging the bark. Wrap the roots in burlap or a tarp immediately to prevent drying out—exposed roots for even 10 minutes can cause irreversible stress.
Place the tree in the new hole at the same depth it was originally planted. The flare (where roots meet trunk) should sit 1-2 inches above ground level. Backfill with native soil, gently tamping as you go to eliminate air pockets. Don’t amend the soil too heavily—roots need to adapt to their new environment.
Water thoroughly until the soil is saturated, then add 2-3 inches of mulch around the base, keeping it 3 inches away from the trunk. Mulch retains moisture and regulates temperature, but piled against the trunk, it invites pests and rot.
Water deeply every 2-3 days for the first 2 weeks, then taper to weekly. You’ll know the tree is establishing when new growth appears—usually within 4-6 weeks. Avoid fertilizing for the first year; it encourages top growth at the expense of root recovery.
Stake the tree only if it’s unstable in wind. Use soft ties and remove them after 6 months—leaving them too long girdles the trunk. Watch for wilting or yellowing leaves, which signal water stress or transplant shock. Most maples bounce back with consistent care.
Transplanting success comes down to timing and technique—here’s what I’ve learned from moving dozens of trees.
Timing Secret: The 24-hour pre-watering in Step 2 isn’t just helpful—it’s critical. Deep watering saturates the root zone, making the soil cohesive enough to hold the root ball together during the move. I’ve found that trees watered for less time often lose 30% more roots during transplanting, which significantly slows recovery. Trust me on this: set a reminder for that 24-hour mark.
Root Protection: Those 10 minutes of exposed roots mentioned in Step 2 can make or break your tree’s survival. I keep a bucket of water and old towels handy to mist roots and cover them immediately if I need to pause during moving. Even in cool weather, roots desiccate surprisingly fast. Between us, I once lost a beautiful Japanese maple by leaving roots exposed for just 15 minutes while answering a phone call.
Depth Matters: In Step 3, planting the flare 1-2 inches above ground level isn’t arbitrary—it prevents two major problems. First, it allows for natural settling without the trunk becoming buried. Second, it keeps the critical root flare (where roots meet trunk) dry, preventing rot. I use a straight board laid across the hole to check this measurement—it’s more accurate than eyeballing.
Watering Wisdom: The every 2-3 days schedule in Step 4 during those first 2 weeks serves a specific purpose. Frequent watering encourages root growth into the surrounding soil rather than circling within the original root ball. Here’s what nobody tells you—use a moisture meter or dig down 2 inches with your finger. The top may look dry while deeper soil stays saturated. Overwatering is just as dangerous as underwatering during this critical period.
The ideal time is early spring (before buds swell) or fall (4-6 weeks before the first frost). Avoid transplanting in summer’s heat or winter’s freeze—stress levels spike, and root recovery slows. For young saplings, spring is safest; mature trees tolerate fall better.
As a rule of thumb, dig a root ball 10–12 inches wide per inch of trunk diameter. For a 10-foot tree (≈2–3″ trunk), aim for a 30–36-inch diameter and 18–24 inches deep. Use a sharp spade to minimize root damage, and keep the ball wrapped in burlap if moving far.
Wilting is often transplant shock from root disturbance or underwatering. Check soil moisture (should be damp but not soggy) and provide partial shade for 2–3 weeks. Avoid fertilizing immediately—wait until new growth appears. If leaves turn crispy, increase watering slowly.
Yes! Root pruning 3–6 months before moving encourages compact root growth. Use a sharp spade to cut a circle around the tree (same diameter as the future root ball). This works best for trees under 4″ in trunk diameter. Water deeply after pruning to reduce stress.
DIY saves $300–$1,000+ but risks shock if done improperly. Pros offer equipment (like tree spades), expertise for large trees (>6″ trunk), and warranties. For small trees (<5 feet tall), DIY is manageable with proper tools. Rent a tree dolly ($50–$100/day) to ease moving heavy root balls.
