
Beautiful Plants For Your Interior
Beautiful Plants For Your Interior
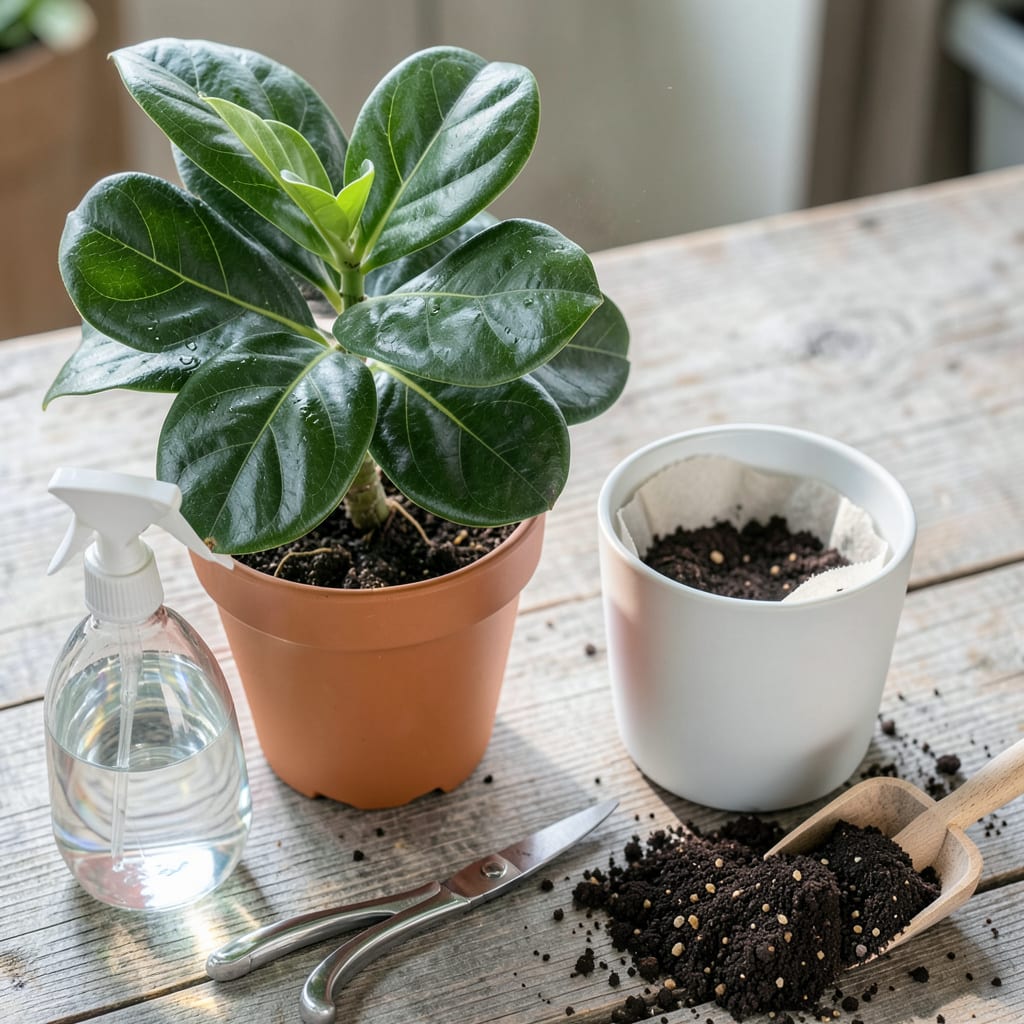
That moment when your fiddle leaf fig’s roots start circling the drain holes like they’re plotting an escape? Been there. Transplanting these dramatic divas doesn’t have to end in leaf drop or weeks of sulking—when you time it right and handle those roots gently, they’ll reward you with bigger, glossier growth than ever before.
I’ve moved dozens of these tropical showstoppers, and the secret isn’t fancy tools—it’s working with their rhythm. Spring or early summer is ideal, when the plant’s naturally geared to grow. Choose a pot just 2-3 inches wider than the current one, use chunky soil that drains fast, and treat those roots like they’re made of silk. The recovery you’ll see in three weeks will make you wonder why you didn’t do this sooner.
📚 In This Guide
Moving your fiddle leaf fig doesn’t have to be stressful—here’s how to do it without shocking your plant.
Choose a pot that’s 2-3 inches wider than the current one, with drainage holes at the bottom. I always place a coffee filter or small piece of mesh over the holes first—this prevents soil from washing out while still allowing water to drain freely. Fill the new pot about one-third full with fresh, well-draining potting mix.
Set up your workspace near where the plant currently lives. Lay down newspaper or a drop cloth to contain the mess. Have your pruners, gloves, and watering can ready before you start—once you remove the plant from its old pot, you’ll want to work quickly to minimize stress.
Water your fiddle leaf fig lightly 24 hours before transplanting. This helps the root ball hold together better during the move. When ready, turn the pot sideways and tap the sides firmly to loosen the root ball. If it’s stuck, run a knife around the inner edge of the pot to break the suction.
Support the base of the plant with one hand while sliding it out. You’ll likely see roots circling the outside—this is normal. Don’t pull on the stem or leaves, as they’re more fragile than you might think. If some roots break, don’t panic, but try to keep as much of the root ball intact as possible.
Place the root ball in the new pot, centering it so there’s equal space on all sides. The top of the root ball should sit about 1 inch below the pot’s rim. This gives you room to water without overflow. Begin filling around the sides with fresh potting mix, pressing gently to eliminate air pockets.
Don’t bury the stem deeper than it was before—that can lead to rot. I use a chopstick to work soil into tight spaces around the roots. Fill until the soil line matches where it was in the old pot. The plant should sit at the same depth, not lower.
Water immediately after transplanting until you see it drain from the bottom holes. This helps settle the soil around the roots. Place your fiddle leaf fig back in its original spot if possible—consistent light conditions reduce transplant shock. Avoid fertilizing for 4-6 weeks to let the roots recover.
Expect some leaf drop in the first week—that’s normal as the plant adjusts. Keep the soil evenly moist but not soggy for the first 2 weeks. You’ll know it’s thriving when you see new growth appearing after about 3-4 weeks.
Transplanting can feel intimidating, but these simple adjustments will help your fiddle leaf fig transition smoothly to its new home.
Preparation is Key: In Step 1, when choosing your new pot, remember that the 2-3 inch wider size is crucial—not too big, not too small. A pot that’s too large holds excess moisture, which can lead to root rot. I always test the drainage holes by pouring water through before adding soil to ensure they’re working properly.
Watering Wisdom: The 24-hour pre-transplant watering in Step 2 makes all the difference. This isn’t just about hydration—it helps the root ball stay intact when you remove it. I’ve found that using room temperature water prevents shocking the roots. If your plant is very root-bound, you might hear a satisfying “pop” when it releases from the old pot.
Depth Matters: When positioning your plant in Step 3, that 1-inch space below the rim isn’t arbitrary. It prevents water from spilling over when you water thoroughly, and gives roots room to grow upward. I use my finger to measure—it’s about the width of your fingertip. Press the soil gently but firmly to eliminate air pockets that could dry out roots.
Aftercare Attention: During those first 2 weeks mentioned in Step 4, resist the urge to fertilize even if you see leaf drop. This is normal adjustment, not a sign of distress. I keep a spray bottle handy to mist leaves lightly every few days—it helps maintain humidity while the roots establish in their new home.
Transplant every 1-2 years for young plants (active growth phase) or when roots circle the pot’s base. Mature fiddle leaf figs (5+ years) can stretch to 3-4 years between repotting. Spring/early summer is ideal—avoid winter dormancy! Look for slow growth or roots poking from drainage holes as signs it’s time.
Hold off if your plant is struggling! Transplanting adds stress—first diagnose the issue (overwatering? low light?). Revive it with consistent care for 2-4 weeks before repotting. If roots are rotting, trim damaged sections during the transplant and use fresh, well-draining soil.
Pick a cloudy day or early morning/late afternoon to avoid direct sun stress. This gives your plant time to adjust without harsh light. If indoors, move it to a bright (but not sun-drenched) spot post-transplant and hold off on fertilizing for 4-6 weeks.
Nope! Regular soil retains too much moisture, risking root rot. Opt for a chunky, fast-draining mix: 60% potting soil + 30% perlite/pumice + 10% orchid bark. Pre-mixed “fiddle leaf fig soil” or cactus/succulent blends (amended with compost) work too. Pro tip: Sterilize homemade mixes to kill pests!
Water lightly immediately after repotting to settle the soil, then wait 1-2 weeks before resuming your normal schedule. Overwatering post-transplant is a top killer! Check moisture by sticking your finger 2 inches deep—only water if dry. Mist leaves to boost humidity if needed.
