
Beautiful Plants For Your Interior
Beautiful Plants For Your Interior
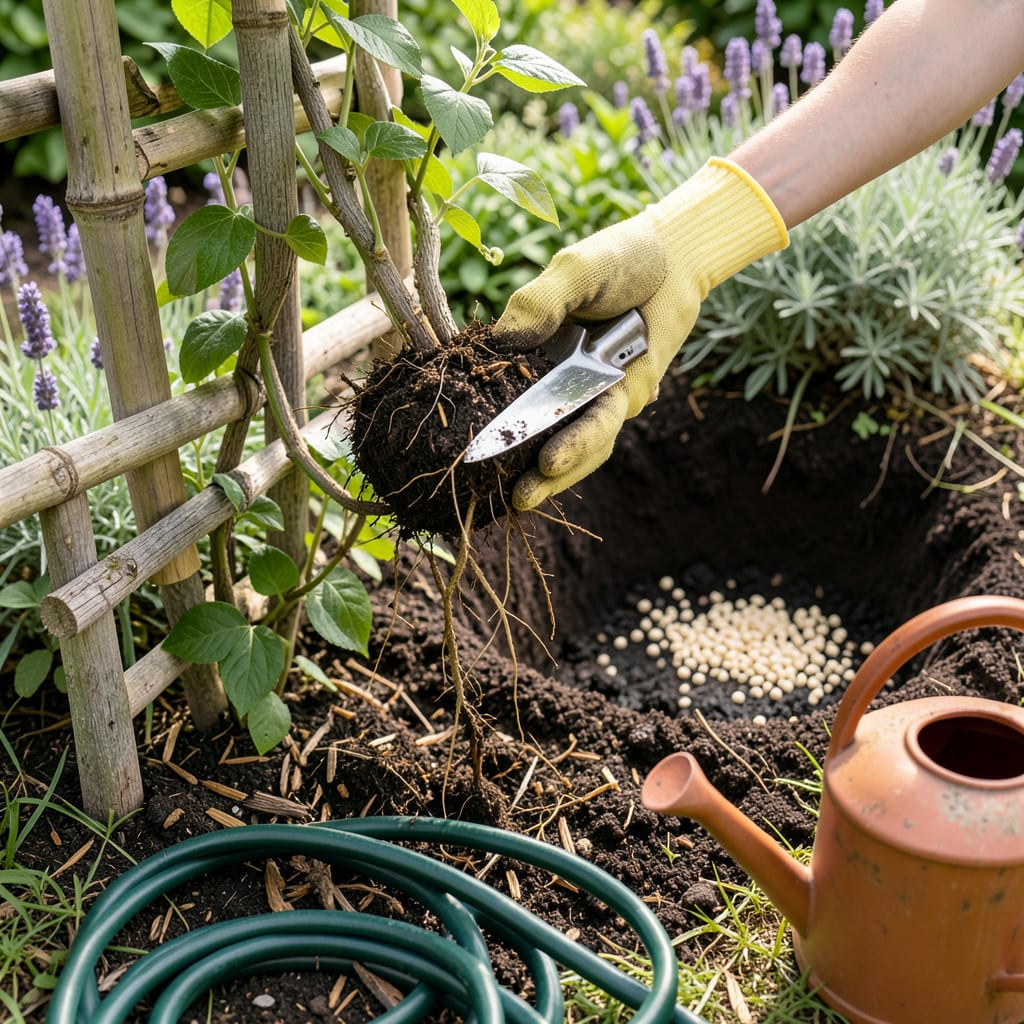
Moving a clematis vine feels like performing surgery on your garden—terrifying until you know the tricks. I’ve relocated half a dozen over the years, and the ones that thrived followed three non-negotiable rules: timing, root care, and the right planting depth. Do it wrong, and you’ll spend a season watching wilted vines; do it right, and next spring you’ll have explosive new growth climbing exactly where you want it.
The sweet spot is early spring or fall when the plant’s dormant but the soil’s workable. You’ll need a sharp spade, a bucket of water, and about 45 minutes of focused time—no rushing. What most guides won’t tell you? Clematis roots hate disturbance, so we’re treating this like a delicate negotiation, not a digging free-for-all. The payoff is a vine that establishes faster than you’d expect.
📚 In This Guide
Moving these delicate vines doesn’t have to be stressful—follow my method for minimal shock and maximum success.
The ideal window for transplanting clematis is in early spring as new growth begins, or in early fall at least six weeks before your first frost. Avoid moving them during summer heat or while flowering—this stresses the plant when it’s most vulnerable.
Dig the new hole first, making it twice as wide as the root ball and the same depth. I mix compost into the native soil at a 1:1 ratio to give roots a nutrient boost. Position the hole where the vine will receive 6+ hours of sunlight daily while keeping its roots shaded—clematis thrives with cool feet and sunny tops.
Water the clematis deeply 24 hours before transplanting to hydrate roots and reduce shock. Use a sharp spade to dig a wide circle around the plant, starting about 12 inches from the base to preserve feeder roots. Clematis roots run deep—expect to dig 18-24 inches down.
Gently lift the root ball, keeping as much soil intact as possible. If roots are pot-bound or circling, tease them apart lightly with your fingers. Check for damaged or diseased roots (mushy, dark brown) and trim them with clean pruners. Healthy roots should be firm and white or tan.
Place the clematis in the new hole so the crown (where stems meet roots) sits 2-3 inches deeper than it was originally. This encourages stronger stem growth and protects the base. Backfill with your soil-compost mix, firming gently to eliminate air pockets but not compacting.
Create a 3-inch-high soil mound around the base to direct water toward roots. Water thoroughly until the soil is saturated and you see moisture at the base. I always add a 2-inch layer of mulch (shredded bark or straw) to retain moisture and keep roots cool—just keep it 1 inch away from stems to prevent rot.
After transplanting, prune back the top growth by about one-third. This reduces water loss through leaves and helps the plant focus energy on root establishment. Use clean, sharp pruners to make cuts just above a set of healthy buds at a 45-degree angle.
Install a trellis or support structure immediately—even if the vine is small. Clematis needs something to climb as it recovers. I use 1-inch mesh or thin wooden slats, positioning them 6 inches from the base to allow airflow. Tie stems loosely with soft plant ties, leaving room for growth.
Keep the soil consistently moist (but not soggy) for the first 4-6 weeks. Check moisture by sticking your finger 1 inch into the soil—if it feels dry, water deeply at the base. Avoid overhead watering, which can encourage fungal diseases on stressed vines.
Watch for signs of transplant shock: wilting leaves, yellowing, or slow growth. If this occurs, provide temporary shade with burlap or a light cloth for 3-5 days. Feed lightly with a balanced liquid fertilizer (10-10-10) after two weeks to encourage new growth. Most clematis bounce back fully within a month when transplanted properly.
Transplanting clematis doesn’t have to be intimidating—these practical insights will help ensure your vines thrive in their new location.
Timing is Everything: The 24-hour pre-transplant watering mentioned in Step 2 makes all the difference. I’ve found that deeply hydrated roots recover much faster from the move. If your soil is particularly dry or sandy, consider watering twice—once 24 hours before and again lightly 2 hours before transplanting. This extra moisture helps the root ball hold together better when you lift it.
Root Handling Technique: When digging that 12-inch circle around the base as described in Step 2, work slowly and methodically. Clematis roots are surprisingly fragile—if you encounter resistance, stop and adjust your angle rather than forcing the spade through. I use a horizontal rocking motion to gently loosen the soil before lifting. For very mature plants, you might need to dig that 18-24 inches down in stages, removing soil in layers to preserve as many roots as possible.
Depth Matters More Than You Think: The instruction in Step 3 to plant 2-3 inches deeper than the original depth isn’t just suggestion—it’s critical for long-term health. This extra depth protects the plant’s base from temperature fluctuations and encourages stronger stem growth. When positioning your clematis, look for the original soil line on the stems (often visible as a slight color change) and measure from there. I always err on the side of 3 inches for smaller plants and 2 inches for more established vines.
Support System Strategy: The 6-inch spacing for trellises mentioned in Step 4 serves two important purposes: it allows airflow to prevent moisture-related diseases, and gives you room to work when tying stems. For young transplants, I recommend using soft plant ties that stretch slightly as the vine grows—this prevents girdling. Check your ties every 2 weeks during the first growing season and loosen as needed. The 1-inch mesh works particularly well because it gives tendrils something thin to wrap around while still being sturdy enough to support mature growth.
The ideal time is early spring (before new growth starts) or early fall (6+ weeks before frost). This gives roots time to establish without heat stress. Avoid transplanting in summer’s peak or during blooming—it can shock the plant.
It’s not recommended. Transplanting during blooming diverts energy from roots to flowers, increasing stress. If unavoidable, prune back flowers post-move and water deeply to help recovery. Wait until after flowering for best results.
Bury the base 2–3 inches deeper than its original depth. This encourages stronger root growth and protects stems from temperature swings. For grafted clematis, ensure the graft union is below soil level to prevent disease.
Don’t panic! Trim back wilted stems by ⅓ to reduce stress, then water slowly and deeply (1–2 inches of water). Provide temporary shade (like a cloth cover) for 3–5 days. Avoid fertilizer until you see new growth.
Direct planting is best for long-term health, but pots work if you must delay (e.g., bad weather). Use a large container (5+ gallons) with drainage, and keep it in partial shade. Transplant to the ground within 1–2 months.
