
Beautiful Plants For Your Interior
Beautiful Plants For Your Interior
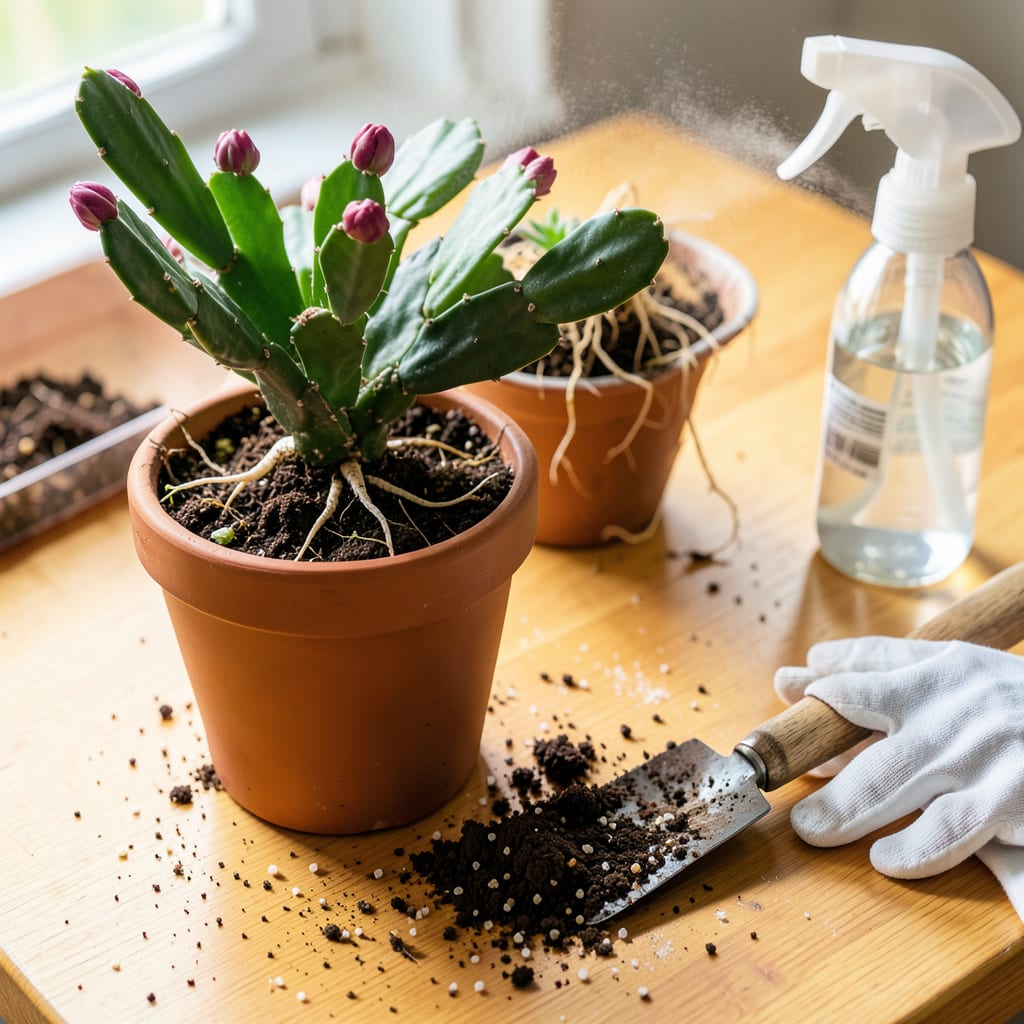
That moment when your Christmas cactus outgrows its pot is actually good news—it means you’ve kept it alive long enough to thrive. I’ve transplanted dozens of these resilient plants, and the process is simpler than you’d think. The key is timing: always move it 4-6 weeks after blooming, when the plant’s energy shifts from flowers to roots.
What you’re really doing is giving it room to produce even more of those stunning holiday blooms next season. A slightly larger pot (just 1-2 inches wider), fresh well-draining soil, and gentle handling are all it takes. Most people stress over root damage, but these plants bounce back fast—mine pushed new growth within 10 days of transplanting. No green thumb required.
📚 In This Guide
Here’s the method I’ve perfected over years—your cactus will thrive with these simple, stress-free steps.
The best time to transplant is 4-6 weeks after blooming, typically in late winter or early spring. This gives the plant time to recover before its next growth cycle. Water your cactus 2-3 days before transplanting—the roots should be moist but not soggy, which makes them easier to handle without breaking.
Gently remove the cactus from its current pot by squeezing the sides to loosen the soil, then tipping it sideways. Support the base of the plant with your fingers to prevent stem damage. If the roots are tightly bound, use your fingers to carefully tease them apart—never pull or yank, as Christmas cactus roots are delicate.
Choose a pot that’s only 1-2 inches larger in diameter than the current one. Too much extra space holds excess moisture, which leads to root rot. Ensure the new pot has drainage holes—this is non-negotiable for cacti. I prefer unglazed clay pots because they allow soil to dry more evenly between waterings.
Use a well-draining mix designed for cacti or succulents. If you’re making your own, combine 2 parts potting soil with 1 part perlite or coarse sand. Avoid heavy garden soil or mixes with high peat content—they retain too much moisture and suffocate the roots.
Place a thin layer of fresh soil mix in the bottom of the new pot. Position the cactus so it sits at the same depth as it did in its old container—burying the stem too deeply can cause it to rot. Hold the plant upright while filling in around the roots with soil, tapping the pot gently to settle everything without compacting it.
Don’t water immediately after transplanting. Wait 5-7 days before giving it a thorough drink—this allows any minor root damage to heal and prevents rot. You’ll know the plant is settling in well when the stems look firm and upright after a few days.
Place the transplanted cactus in bright, indirect light for the first week—avoid direct sun, which can stress it further. Keep it in a spot with consistent temperatures between 60-70°F. You’ll notice new growth emerging from the tips of the segments within 2-3 weeks, a sign that the transplant was successful.
Resist the urge to fertilize for at least 4 weeks—the fresh soil provides enough nutrients, and overfeeding can burn tender new roots. After this period, resume your regular care routine. If any segments look wrinkled or limp, adjust your watering schedule slightly, but don’t overreact; minor wilting is normal during recovery.
After years of transplanting these beautiful plants, I’ve learned what truly makes the difference between a struggling cactus and one that thrives.
Timing is Everything: That 4-6 week window after blooming mentioned in Step 1 isn’t arbitrary—it’s when the plant enters its natural recovery phase. I’ve found that transplanting exactly 5 weeks after blooming gives the best results, as the plant has fully finished its flowering cycle but hasn’t started aggressive new growth yet. This timing minimizes stress and maximizes recovery potential.
Root Handling Technique: When removing the cactus from its pot in Step 1, here’s what nobody tells you—if the roots are severely root-bound, soak the entire pot in lukewarm water for 10 minutes first. This loosens the soil just enough to gently separate roots without tearing them. I learned this after damaging several plants by trying to force them apart dry.
Pot Selection Secret: The 1-2 inch size increase in Step 2 is crucial, but here’s the thing: if your cactus is top-heavy, choose a heavier pot material like terracotta rather than plastic. I’ve had large plants topple over in lightweight containers. Also, always test drainage holes by pouring water through before planting—some “drainage holes” are barely functional.
Post-Transplant Observation: During that 5-7 day waiting period before watering in Step 3, watch the stem segments closely. If they start to pucker slightly, that’s normal—it means the plant is using its stored moisture. But if they become severely wrinkled, you may need to water after 4 days instead. I keep a spray bottle handy to mist the soil surface lightly if I notice excessive wilting.
The ideal time is late winter or early spring (February–April), right after flowering. This aligns with its natural growth cycle, giving roots time to establish before summer dormancy. Avoid transplanting during blooming or extreme heat—stress can stunt growth.
No! Regular soil retains too much moisture, risking root rot. Opt for a well-draining mix: combine 2 parts cactus/succulent soil with 1 part perlite or coarse sand. Add a handful of orchid bark for extra aeration—mimicking its native epiphytic habitat.
Check for these signs: roots circling the pot’s bottom, water draining too quickly, or stunted growth. If roots peek through drainage holes, it’s time! Choose a pot 1–2 inches wider—too much space can cause overwatering. Pro tip: terracotta pots help wick away excess moisture.
Transplant shock is common! Wilting usually means overwatering or root disturbance. Hold off on watering for 5–7 days, then resume lightly. Keep it in bright, indirect light (no direct sun!) and avoid fertilizing for 4–6 weeks. Patience—it should bounce back in 2–3 weeks.
If your plant is overgrown, propagation is a great alternative. Twist off 2–3 segment cuttings, let them callus for 24 hours, then plant in moist perlite or cactus mix. Skip the pot upgrade and grow new plants instead—double the holiday cheer!
