
Beautiful Plants For Your Interior
Beautiful Plants For Your Interior
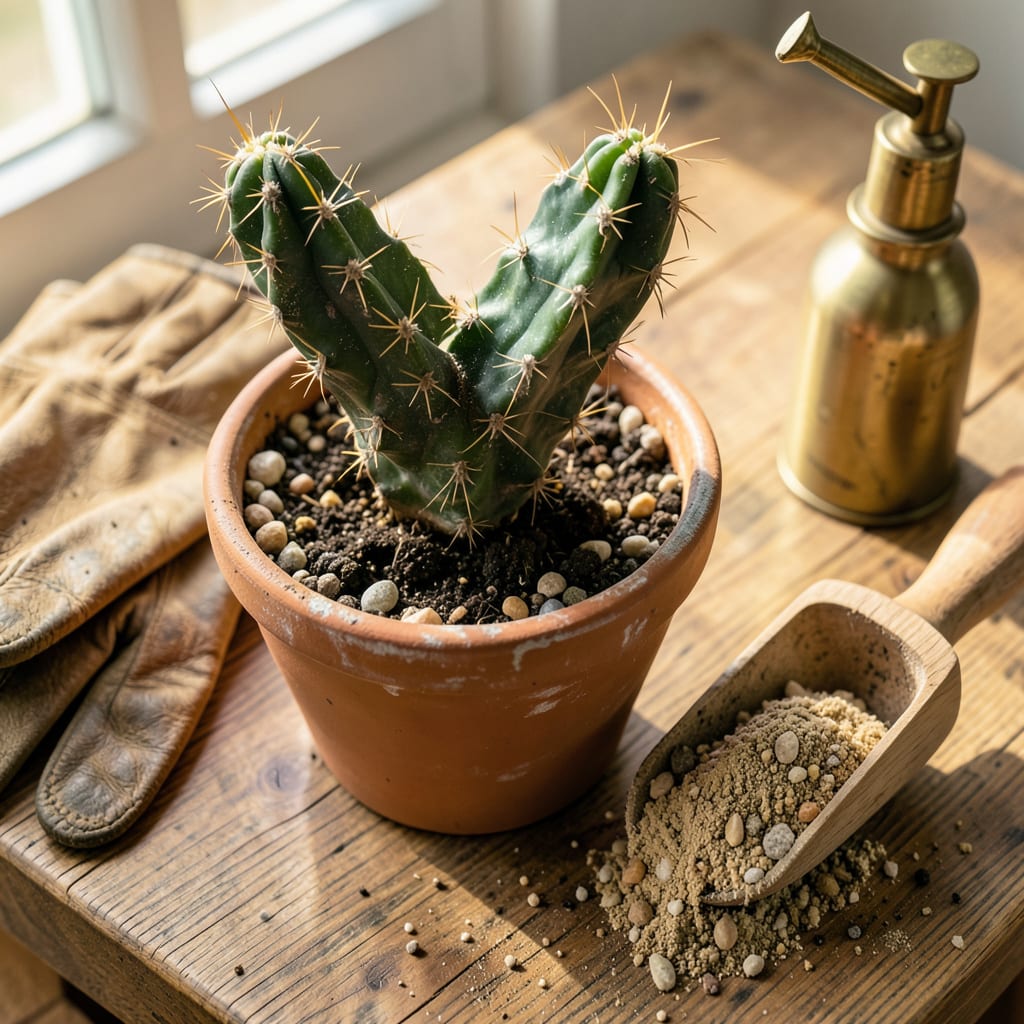
That first cactus cutting I tried to transplant rotted in a week. Now? I’ve turned single pads into thriving plants with just a few key steps—no green thumb required. The secret isn’t luck; it’s letting the cutting callus properly and using a soil mix that drains faster than you’d think possible.
You’ll watch roots form in 3-6 weeks with zero guesswork. No fancy tools, no expensive setups—just a sharp knife, the right soil, and patience during that critical drying period. By the time new spines start pushing, you’ll know exactly what “thriving” looks like (and how to avoid the soggy mistakes that kill most cuttings).
📚 In This Guide
Here’s the method I’ve used for years to ensure healthy roots and stress-free cacti after transplanting.
Start by examining your cactus cutting. The cut end must be completely dry and calloused over—this usually takes 3-7 days depending on humidity. A fresh cut that’s still moist will rot immediately when planted. I check by gently touching the base; it should feel hard and leathery, not soft or sticky.
If you notice any discoloration or soft spots on the cutting, trim them away with a clean knife. This prevents potential rot from spreading after planting. I always use rubbing alcohol to sterilize my blade between cuts—cacti are particularly sensitive to bacterial infections.
Choose a pot that’s only 1-2 inches wider than the cutting itself. Too much extra space holds excess moisture, which leads to root rot. The container must have at least one drainage hole—non-negotiable for cacti. I prefer unglazed terra cotta because it wicks away moisture from the soil.
Fill the pot with a fast-draining cactus mix (never regular potting soil). I create my own blend with equal parts potting soil, coarse sand, and perlite. Moisten the mix lightly—it should feel barely damp, like a wrung-out sponge. Pack it down gently to eliminate air pockets but leave the surface loose for planting.
Make a small hole in the center of the soil just deep enough to hold the cutting upright. For most cacti, you’ll want to bury about 1/4 to 1/2 inch of the base. Don’t push it in—this can damage the delicate new roots. Instead, hold it upright and gently firm the soil around it.
Here’s the thing—don’t water immediately. Wait 5-7 days before the first watering. This gives any minor root damage time to heal and prevents rot. I place a small stone or two around the base to help stabilize the cutting during this critical period.
Move the newly potted cutting to a location with bright, indirect light for the first 2-3 weeks. Direct sun too soon can scorch the plant while it’s establishing roots. A south-facing window with sheer curtains works perfectly, or about 3 feet away from a grow light.
Maintain temperatures between 65-80°F during the day and no cooler than 50°F at night. Cacti need warmth to root properly. I avoid placing them near drafty windows or air conditioning vents during this vulnerable period.
After the initial waiting period, water deeply until it runs out the drainage hole, then wait until the soil is completely dry before watering again. For most cacti in 2-4 inch pots, this means watering every 10-14 days. Always check by sticking your finger 1 inch deep—if it feels dry, it’s time.
Watch for signs of successful rooting: the cutting should feel firmly anchored when you gently tug it after 3-4 weeks. New growth at the top is another good indicator. If the base stays firm and the color remains vibrant, you’ve done it right. The first flowers typically appear 6-12 months after transplanting, depending on the species.
After years of trial and error with cactus propagation, I’ve learned these key details make all the difference between a thriving plant and a rotting disappointment.
The Callousing Process: That 3-7 day drying period in Step 1 isn’t just a suggestion—it’s the single most critical factor for success. I’ve ruined cuttings by rushing this step. The cut end should feel as hard as the cactus itself before planting. In humid climates, you might need the full 7 days, while arid environments may callous in just 3. When in doubt, give it an extra day.
Soil Moisture Control: In Step 2, when preparing your cactus mix, err on the side of too dry rather than too wet. I use this test: squeeze a handful of your prepared mix—if even a single drop of water comes out, it’s too moist. The “wrung-out sponge” consistency mentioned in the instructions is perfect. Remember, cacti evolved to survive drought, not dampness.
Environmental Stability: During those first 2-3 weeks mentioned in Step 4, consistency is everything. I learned this the hard way after losing several cuttings to temperature swings. Keep your cactus in that 65-80°F range religiously. A simple digital thermometer near your plant can save you heartache. Even brief exposure to drafts or temperatures below 50°F can set back root development by weeks.
The Waiting Game: That 5-7 day delay before first watering in Step 3 feels like torture, but it’s non-negotiable. I mark my calendar and resist the urge to check on the cutting during this time. Every time you disturb it, you risk introducing moisture to the vulnerable base. The stones I place around the cutting serve double duty—they stabilize the plant and remind me not to fuss with it prematurely.
Let the cutting callus for 3–7 days (longer for thick cuts like prickly pear). This dry, hardened layer prevents rot when planted. Skip this step, and your cutting may turn mushy—patience is key!
Soil is best—cacti despise soggy roots! Water rooting often leads to rot. Instead, plant the callused cutting in fast-draining cactus mix and mist lightly every 2–3 weeks until roots form (4–8 weeks).
Yellowing = overwatering; softness = rot. Stop watering immediately, remove the cutting, and trim any black/brown spots. Let it dry for 1–2 weeks before replanting in fresh, dry soil.
Aim for spring or early summer—warm temps (70–90°F) speed up rooting. Avoid winter (dormancy slows growth) or extreme heat (stresses the plant). Indoor growers can transplant year-round with grow lights.
Not required, but it can help stubborn species (like columnar cacti). Dust the callused end lightly with powdered hormone before planting. Skip for easy-rooting types (e.g., jade or paddle cactus).
